

Why, hello there from me and my new friend, “Bones.” We are both very excited for Halloween this year
Posted by admin on
Ha. But seriously, I bought a few life-size skeleton decorations for our holiday house and I kept talking to this one every now and again. It started as a joke, but I think it’s morphing into something else. Send help!
I love a fun, seasonal sweater this time of year (or T-shirt, depending on the weather). I worked with Canon USA to create a few Halloween-themed printable templates you can use to make your own Halloween sweater at home. I’ll also give you a few tips for making any design you can print at home in case you want to use a different phrase or pumpkin-pun. Ha. I used my Canon PIXMA TS 9521C to complete and print my templates. I use this printer ALL the time to print everything from documents for work to personal photos for my annual photo album. I love how printing at home means I can do a quick little project like this, or just print a few high-quality photos at a time. Love it!
We created two different Halloween theme designs you can download and print.. But you can SO easily create your own design using any fonts or phrases you like, and if you have design skills, then the sky’s the limit on what you can create for your template. Once you have your design, here’s what you do.
Supplies:
-sweater or T-shirt (your size, your kiddo, whatever! and it doesn’t have to be new, just space to add your design)
-inkjet fabric transfer paper
-scissors
-iron and ironing board or flat surface
-Inkjet printer (mine is the Canon PIXMA TS9521C)
First, print your design. If you are using one of our templates or your own design that contains text, make sure to mirror or flip canvas horizontal (or vertical depending on the original orientation). You need the words to look backwards, as if seeing them in a mirror. That way once you transfer them to your garment they will be the correct, readable way.
Next, cut out your design. I like to cut the design out and immediately put each piece on top of the garment I plan to transfer it to (as opposed to stacking in a pile or something). I find this helps me keep organized and also keep the spacing between letters and other elements more true to the template.
Last, transfer your design to the garment. Simply follow the instructions of your fabric transfer paper (they vary some depending on what brand/kind you use). Most of the time this involves carefully ironing into place.
Super simple project that I hope gets you as excited for Halloween as me and Bones are feeling. You could easily make these for your whole family or a group of friends/office buds. This would also be a really fun and easy project to make at a party—just have everyone bring their own garment. Lots of options! Tag us if you make your own sweater—we want to see! xo. Emma
Credits // Author: Emma Chapman. Photography: Janae Hardy and Emma Chapman. Photos edited with A Color Story Desktop.
#Celebrate #Sponsored #Crafts #D.I.Y.Project #Fashion
Related Posts
-
![Target Dorm Room Finds | Cute, Affordable, Essentials To Mark Off!]()
Target Dorm Room Finds | Cute, Afford...
-
![Style Guide to Western Jeans: Ringers Vs Wrangler Vs Ariat]()

Style Guide to Western Jeans: Ringers...
-
![Sleeveless Striped Maxi Dress for $27.99 (was $65.99).]()
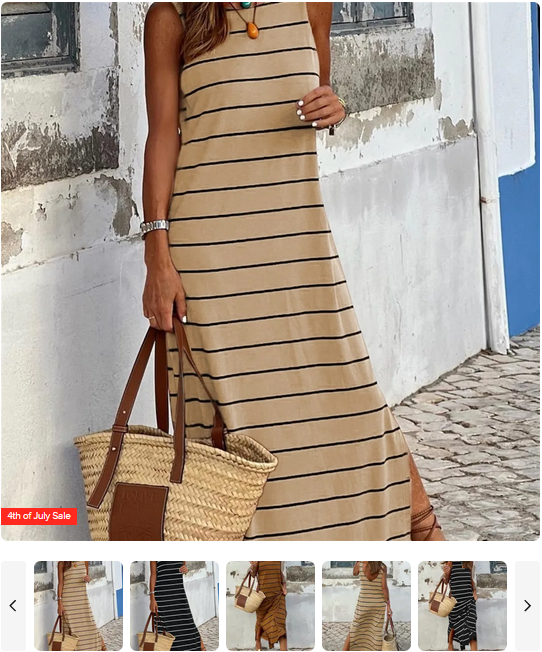
Sleeveless Striped Maxi Dress for $27...
-
![J. Crew 50% off Swim, Slub tees and Polos, Allen Edmonds 25% off Factory 2nds, & More – The Thurs. Men’s Sales Handful]()
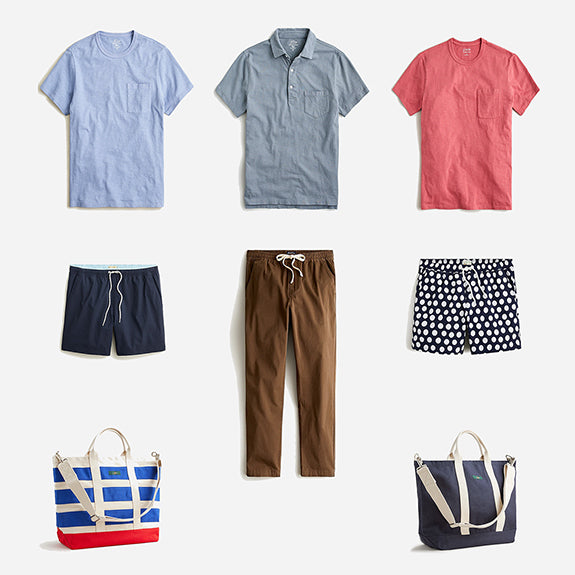
J. Crew 50% off Swim, Slub tees and P...


