

DIY One-Shoulder Evening Gown–Self-drafted
Posted by admin on
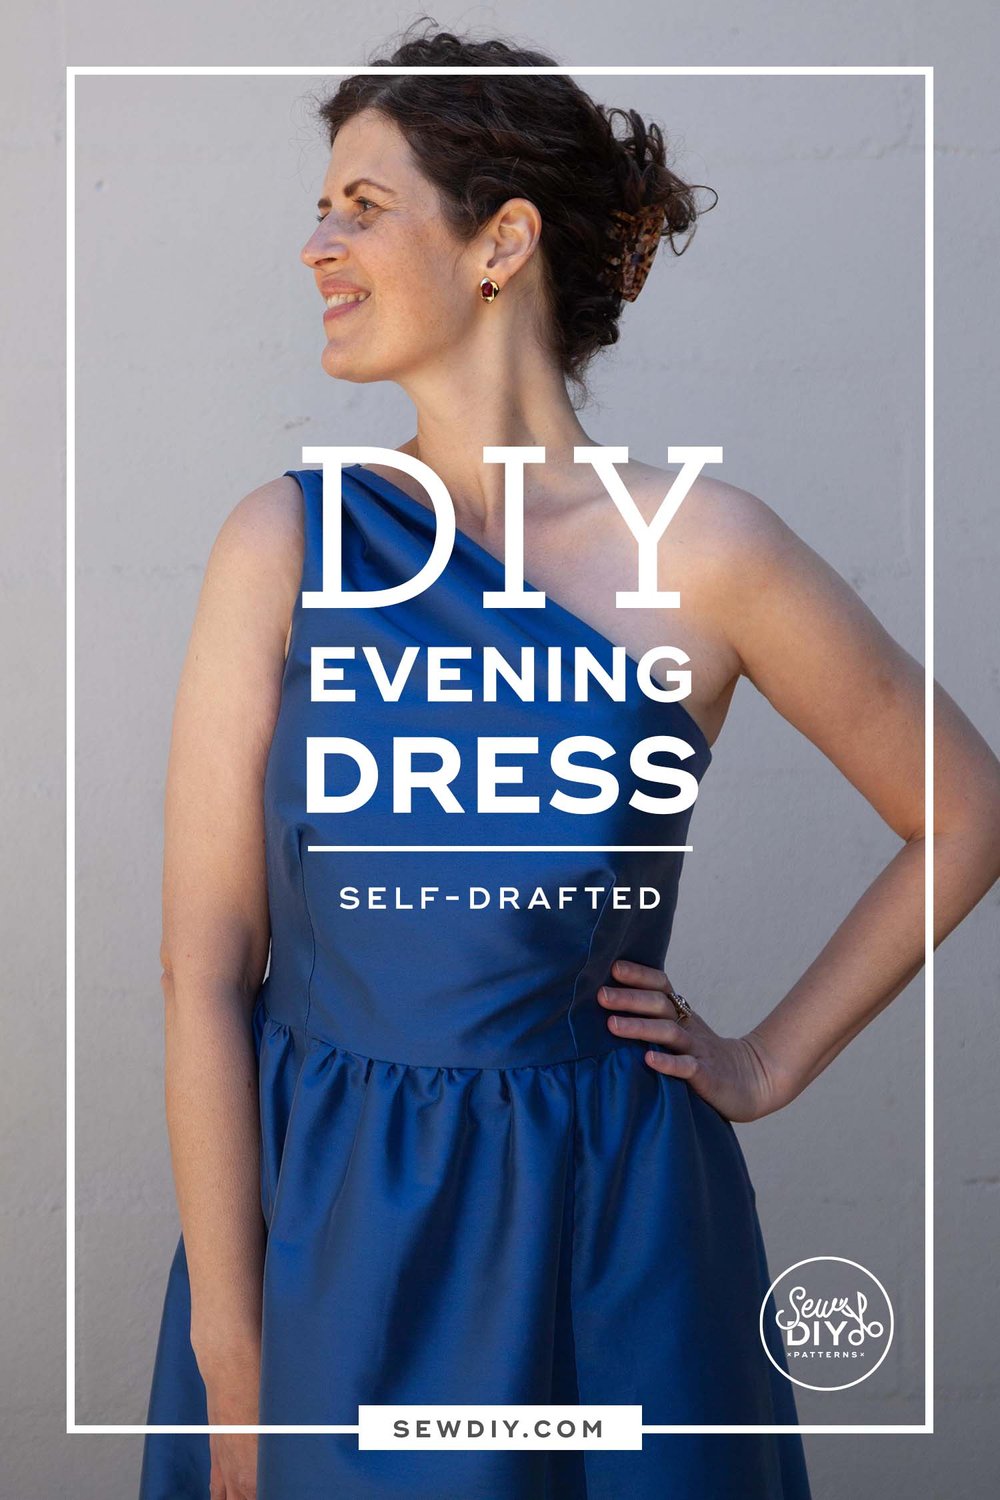
Today's post is all about a personal project, a DIY evening gown. I share all the details of making the dress, from inspiration to pattern drafting, fabric shopping and sewing. Plus, I made a matching clutch. Obviously, I could have gone to the mall and bought myself a dress but I'm a sewist through and through and that means when a big even comes up I have to, or rather get to, make my own dress. Plus, I've always found it challenging to find clothes that fit me well. In part, it's because I'm taller than average but it's also because I have a larger bust. Sewing my own dress is more fun and I know that I'll end up with a style and fit that I really love.

INSPIRATION
The first step in making my own dress was to look for inspiration. I looked at a variety of places to find a style that liked including online shops, pinterest and my own pattern stash. I also looked a bit at sewing patterns. When I don't know exactly what I'm looking for, I like to look through The Fold Line's pattern database. They have so many patterns that I'm not familiar with. It's a really great resource. (I used to feel like I knew all the sewing patterns off the top of my head but the pattern industry has exploded in the last 10 years and I can not keep up, which I think is a great thing!)
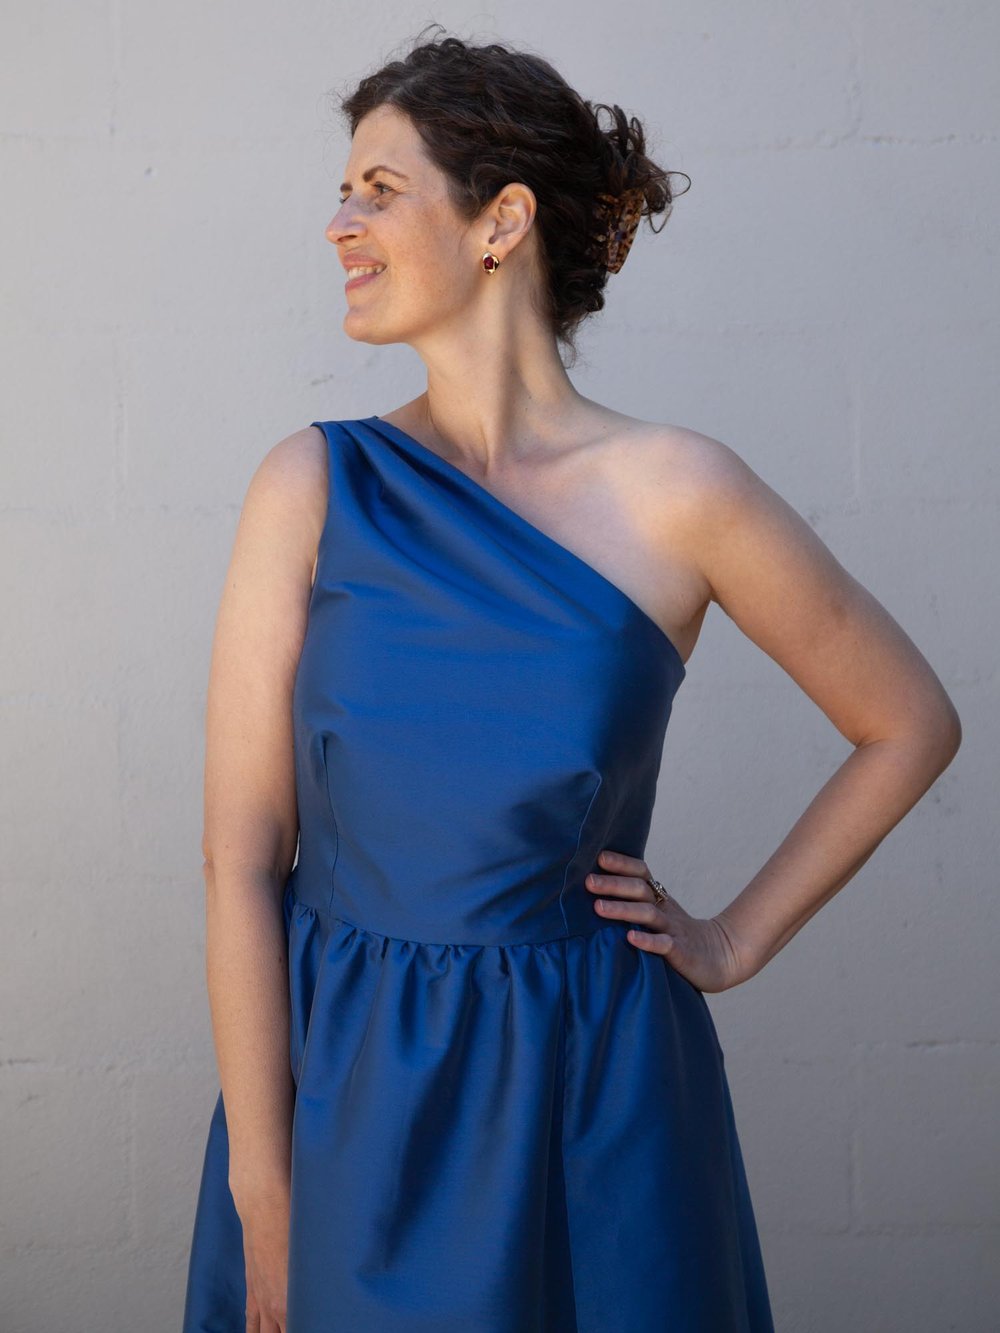
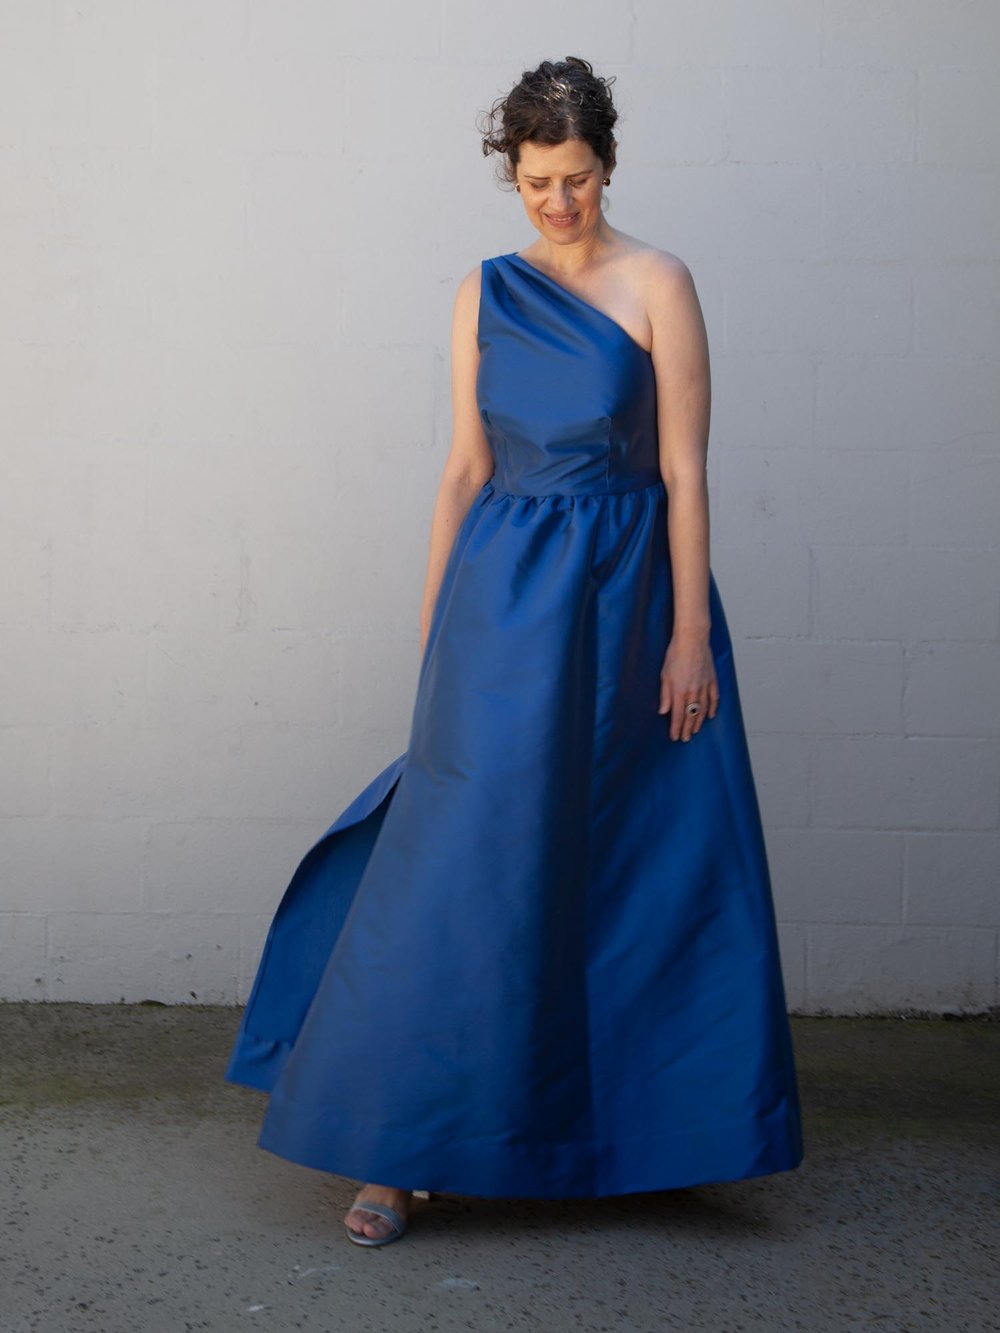
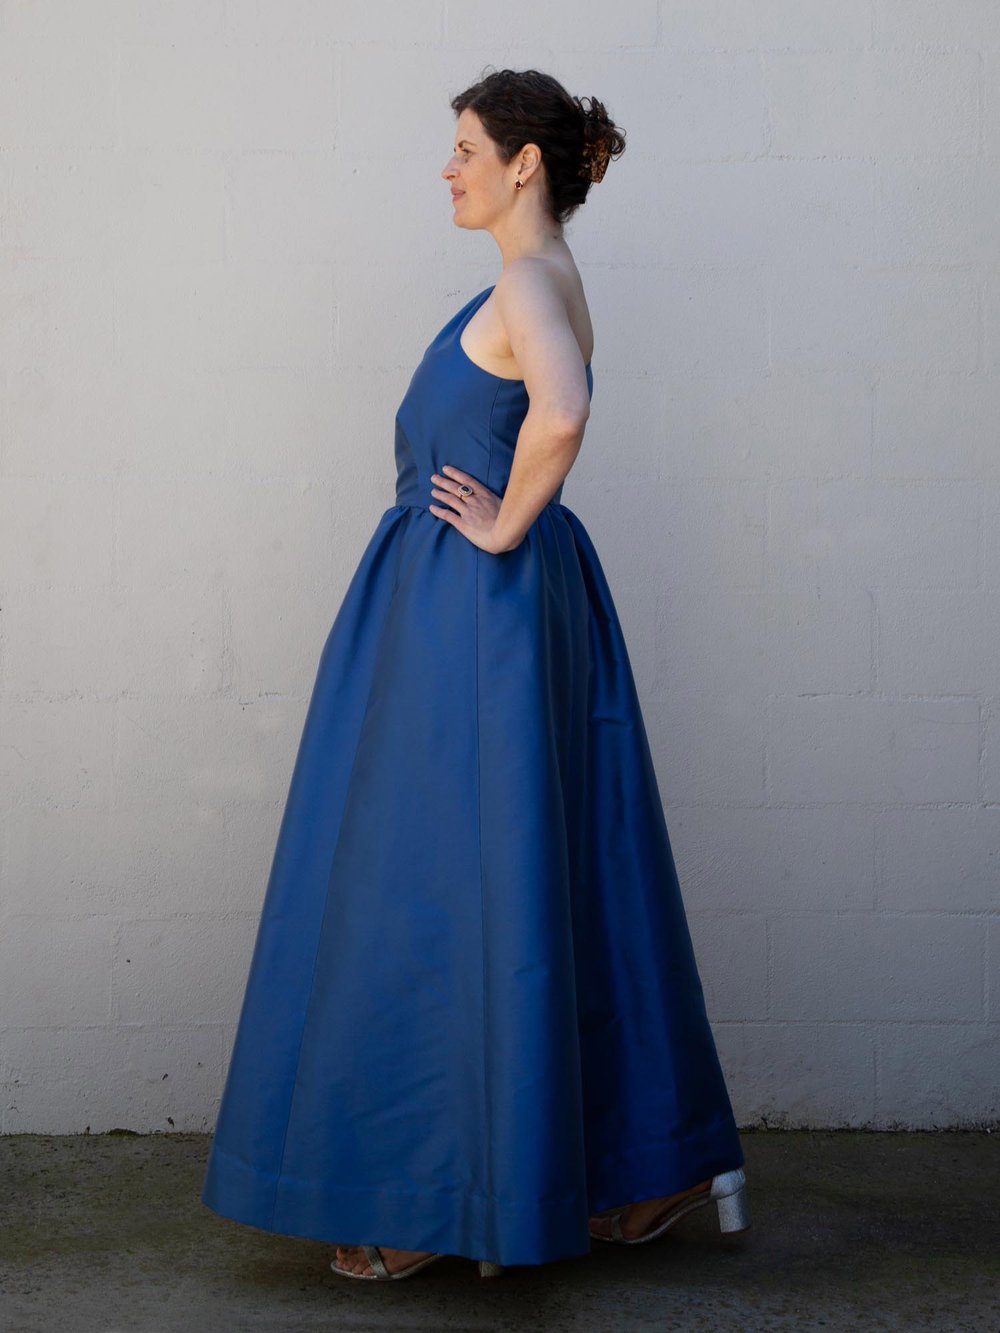
So, after lots of perusing, I found this dress at Nordstrom's that I really liked. I particularly liked the one shoulder and the drama of the skirt. The big changes that I made was to not include a ruffle at the shoulder and instead of a circle skirt, I made a gathered skirt. The circle skirt would have added more volume but I was worried about how much fabric it required.

The video above covers most of the things in this post, plus there are clips of sewing the dress. You can also watch the video on YouTube. Timestamps are below if you want to skip ahead to a certain section.
TIMESTAMPS
Inspiration 00:59
Pattern drafting process 1:39
Buying fabric 4:35
Sewing the dress 8:22
Adding a waiststay 12:55
Sewing the clutch 14:10
VIdeo of final dress 15:50
THINGS MENTIONED IN THIS VIDEO (some of these are affiliate links)
💃 Crinkle Metallic Ruffle One Shoulder Gown by MAC DUGGAL at Nordstrom
✂️ Butterick 6582 (Out of print by widely available used)
✂️ Pattern Making for Fashion Design by Helen Joseph Armstrong
✂️ Mood Fabrics (I wasn't able to find the fabric I used online.)
✂️ Sunray Pleated Clutch Pattern by Constructivism on Etsy
💃 Shoes I wore: Catalina Ankle Strap Sandal JEWEL BADGLEY MISCHKA at Nordstrom
PATTERN
After settling on the pleated one shoulder style, I looked in my pattern stash to see if I had anything similar to start with, and I found Butterick 6582. This pattern is currently out of print by widely available used on Etsy. I cut out this pattern and made a full bust adjustment. When I cut out the pattern, I noticed that the under bust darts were asymmetrical from left to right and angled in a way I'd never seen before. I thought it was a little weird but went ahead and made a muslin.
For some reason, I didn't feel like the fit was great so I looked in my pattern drafting book to see what I could find. (The book I used is Pattern Making for Fashion Design by Helen Joseph Armstrong.) The book actually had the same design that I was going for but it had symmetrical darts. So, I decided to give it a try, starting from one of my existing blocks.
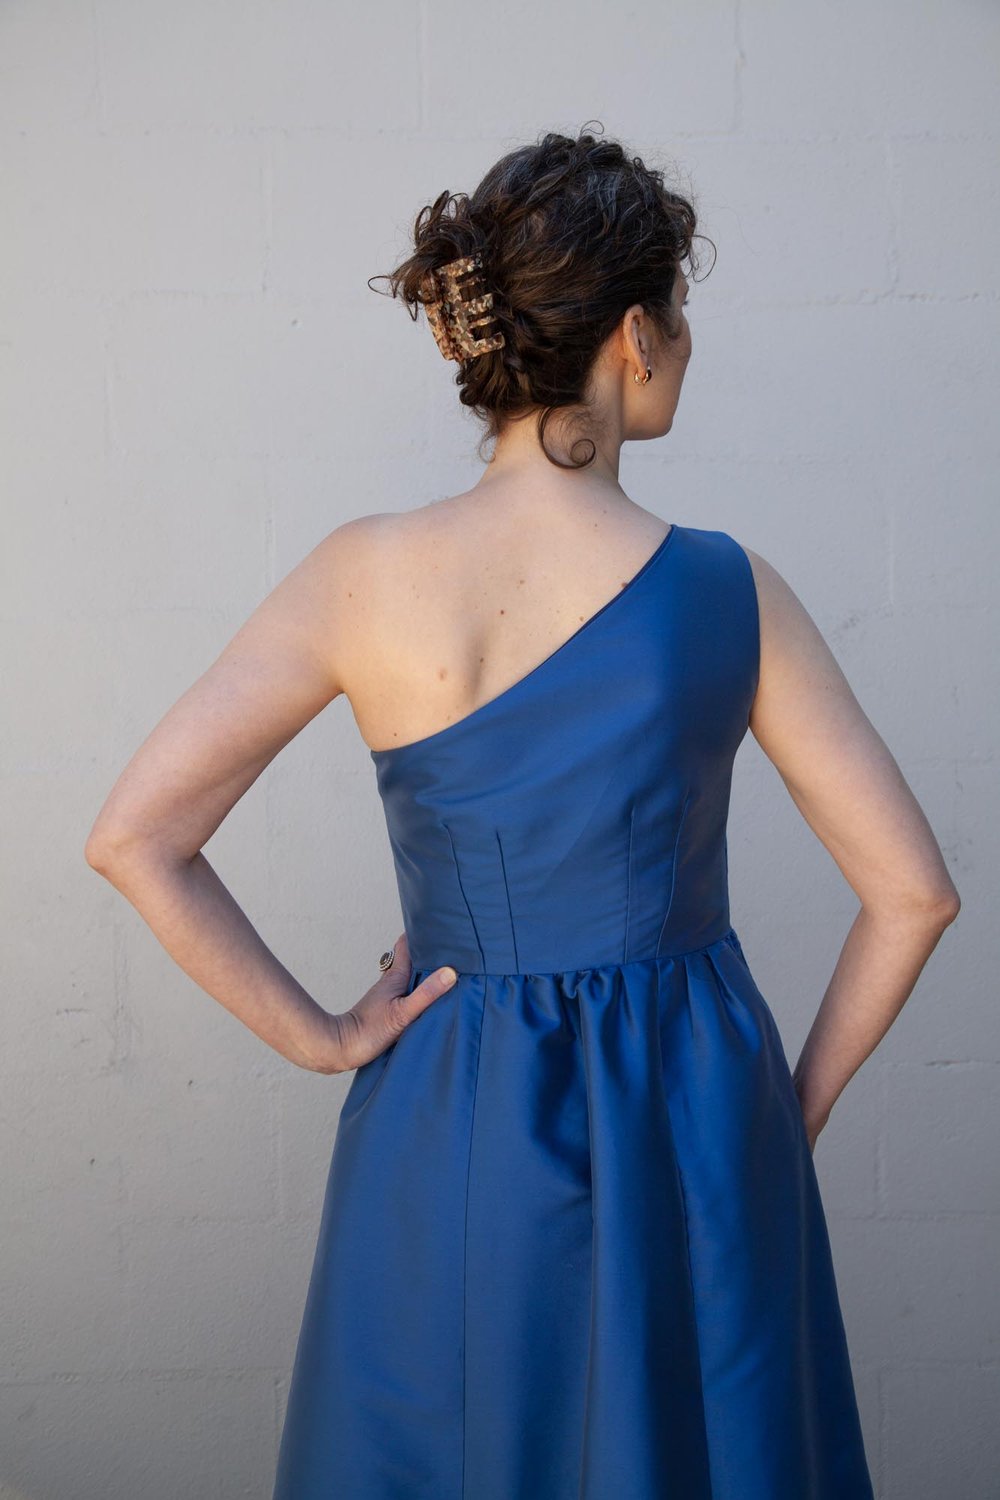
I probably went through three or four additional muslins, trying to get the fit on the bust right and then, I worked on the fit of the back. I think I have a bit of a swayback and having two darts at the back really helped. In retrospect, two darts under the bust may have been better too. The tricky thing about this design is that it transfers the darts to the shoulder so you get excess fabric essentially above the bust, which is then gathered into the shoulder. I think it might be a design better suited to a smaller bust.
A few tips for making muslins:
Baste a zipper into the muslin. This will give you a much better idea of the fit than if you use pins. Fold the seams at the seam line, pin to the zipper and baste in place.
Wear the bra that you plan to wear with the dress. Different bras will create a different shape and your dress will fit very differently depending on the bra. (During the muslin process, I went to Nordstrom and was fitted for a strapless bra. I ended up in a 34DD of this bra. I usually wear a 36D but this is the sister size and the fitter recommended a tighter band to help it stay up.)
Take photos or a video of yourself wearing the muslin. I found this particularly helpful when trying to fit the back of the dress.
FABRIC
During the muslin process, I was also shopping for fabric online. I was looking for a medium weight silk in a dark blue and just couldn't find what I wanted. I felt like I just needed to see the fabric in person, so one afternoon, I headed down to the LA Fashion District. (I recently updated my guide to fabric shopping in LA. Check it out here.) Some sewing friends recommended the store Fabrics & Fabrics so I headed there first. They had a great selection of silks at good prices, $25-30 per yard. But, I didn't see the color I wanted. Michael Levine also had some nice silk dupioni, but again nothing that felt like THE FABRIC.
So, I took myself over to Mood Fabrics, which is only about a 15 minute drive from downtown. They have an amazing selection of fine fabrics for evening wear, seriously stunning stuff. The only drawback is that it costs about twice as much as the shops downtown. After probably 45 minutes of perusing the silks, I found a medium weight silk blend in the perfect blue color. It was $40 a yard which was more than I wanted to pay but after finding nothing downtown, I decided to go for it. I bought fabric and an invisible zipper from Mood and lining fabric and thread from Joanns. Below is the full cost breakdown.
Mood Fabrics
$160 Silk fabric (4 yards at $40/yard)
$1.50 Zipper
Joanns
$23.97 Lining fabric (3 yards at $7.99/yard)
$3.19 Thread (1 spool)
Etsy
$6 Clutch sewing pattern
$194.66 Total before tax
I also bought a strapless bra for $76 and shoes for about $80. My inspiration dress is almost $600 and made with polyester fabric so I'm pretty happy that I managed to make a dress and matching clutch for just under $200.
SEWING THE DRESS
After getting all my supplies, it was time to sew the dress. By that point, I had less than two weeks but I felt good that my design would be simple to construct and most fitting problems were already dressed. The biggest "mistake" that I made was I cut the fabric so that the shoulder was on the opposite side than I intended. And then I did the same with the slit in the skirt. I think I was just overthinking it. But it's definitely one of the challenges of sewing an asymmetrical garment!
I started by assembling the bodice and attaching it to the lining. Then, I cut out trapezoid shaped panels for the six-panel gathered skirt. I assembled the skirt, gathered the waist edge and stitched it to the bodice, leaving the lining hanging free and an opening at the side seam for the zipper. To install the invisible zipper, I first basted it in. To be honest, I had to baste it in three times because I hadn't made the side seams of the back and front equal when drafting. Silly mistake! But after fixing the side seams and basting, the zipper went in very smoothly. I also made a skirt lining and attached that to the bodice lining. Next I hemmed the skirt and lining.
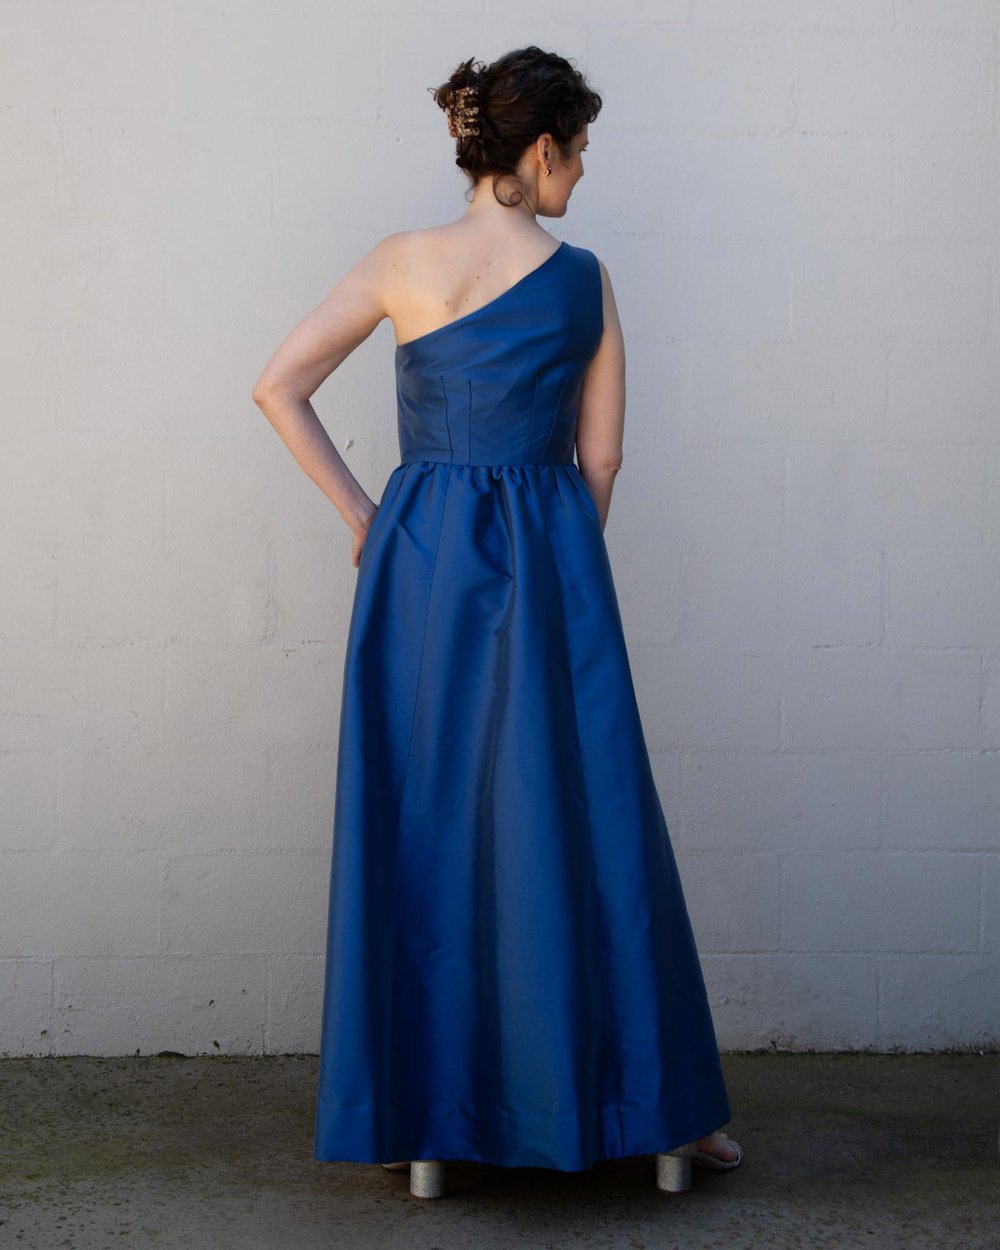
And finally I attached the waist stay. I highly recommend a waist stay if you are making a strapless or one-shoulder dress because it will move some of the weight of the dress to the waist stay and, in the case of a one-shoulder dress, help it hang more evenly. You might be able to see in these photos that the side of the dress without a shoulder is hanging slightly lower, because I took these photos before installing the waist stay. It's subtle.
To make the waist stay, I followed this tutorial and used grosgrain ribbon and a slider from my stash. I think I could have made the waist stay a little looser because after I put it in, I would sometimes get a wrinkle above my bust. (So many fit factors with this dress!!!)

THE CLUTCH
I managed to finish the dress with about 5 days to space, so I decided to sew myself a matching clutch. I wasn't terribly committed to a matching purse but I didn't have another purse that felt appropriate. I used the Sunray Pleated Clutch Pattern by Constructivism and purchased it on Etsy. I think it's a really cute design and it was the perfect size for me.
The bag came together pretty easily but the instructions were too wordy for my taste. For example, there's a whole set of instructions at the beginning about interfacing and cutting out the pattern that could have been simplified by saying "we recommend the block fusing method" and then a definition of that. There are 61 steps in all and it uses a mix of illustration and photos. The details are probably good for someone who's never sewn before but I'd prefer the booklet to be more streamlined and to have the extra detail in a sewalong. I followed the instructions pretty faithfully until the end. I attached the lining and handle to the bag using methods I've done in the past.
All in all, I loved the clutch and recommend the pattern if you're looking to make an evening bag.

Overall, I'm counting this project as a success. The dress made me feel elegant and fancy, just what I was looking for. I think the fit could have been a little better, and/or I could have chosen a design better suited to my shape. But, I'm glad that I tried out a new style and proud that I made it myself. I probably won't be making a one-shoulder dress again but it was a great experience. If I had had more time, I would have tried to make a more corseted style strapless dress that was very fitted at the bust and waist. Fitting curves is just harder than fitting rectangles.
Funny thing, when I first looked at these photos, and before I wore the dress to the event, I didn't love the dress and I ended up taking in the darts a little bit. I felt like I had made it too loose. But now that a few weeks have gone by, I like the look of the dress a lot more. I had a lot of fun wearing and making this dress. And I have no plans to make another evening dress anytime soon.
Related Posts
-
![Target Dorm Room Finds | Cute, Affordable, Essentials To Mark Off!]()
Target Dorm Room Finds | Cute, Afford...
-
![Style Guide to Western Jeans: Ringers Vs Wrangler Vs Ariat]()

Style Guide to Western Jeans: Ringers...
-
![Sleeveless Striped Maxi Dress for $27.99 (was $65.99).]()
Sleeveless Striped Maxi Dress for $27...
-
![J. Crew 50% off Swim, Slub tees and Polos, Allen Edmonds 25% off Factory 2nds, & More – The Thurs. Men’s Sales Handful]()
J. Crew 50% off Swim, Slub tees and P...


