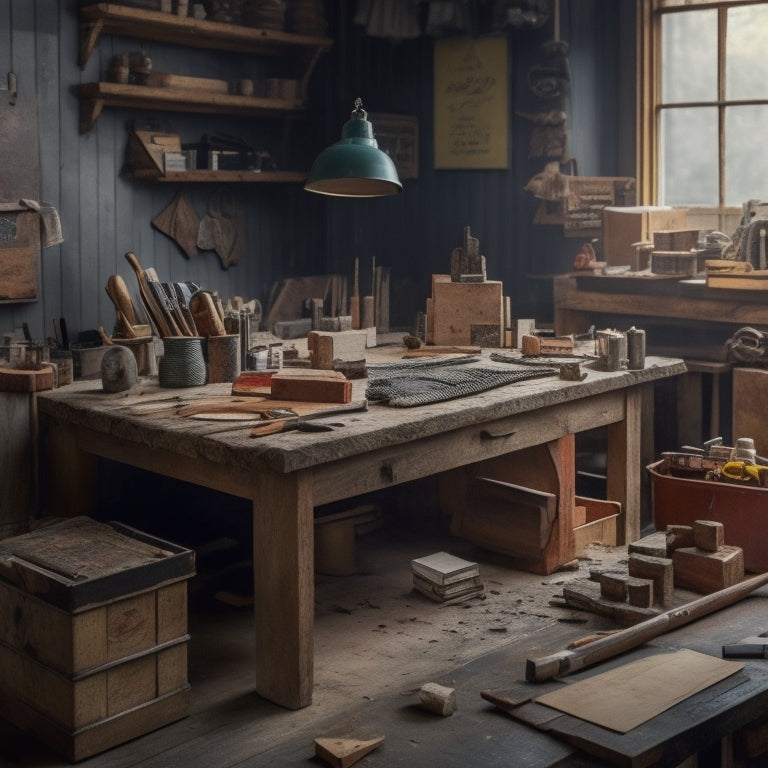
Why Renovate With the Right Block Finishing Tools
When you're renovating with blocks, using the right finishing tools is essential for achieving a professional-looking result that reflects your unique style and lasts for years to come. The wrong tools can lead to uneven spreads, poor edging, and a subpar finish. On the other hand, investing in specialized tools like trowels, jointers, and edgers engineered for block finishing can help you achieve seamless shifts, precise control, and a high-quality finish. By understanding the importance of these tools and learning how to use them properly, you'll be well on your way to completing a renovation that exceeds your expectations and stands the test of time - and that's just the beginning of what you can accomplish.
Key Takeaways
• Right block finishing tools enable precision, efficiency, and professional results, making renovation projects more successful and cost-effective.
• Specialized tools like trowels, jointers, and edgers are engineered for specific tasks, ensuring high-quality finishes and reducing the risk of errors.
• The correct tool size and type for the job ensures proper mortar spread, even surfaces, and seamless edging, resulting in a superior finish.
• Regular tool maintenance and proper technique development are crucial for achieving consistent, high-quality results and extending tool lifespan.
• Using the right block finishing tools enhances creativity, allowing for unique textures, patterns, and designs that elevate renovation projects and reflect personal style.
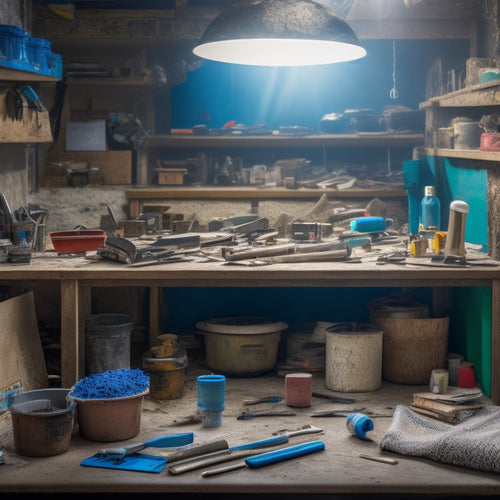
Essential Tools for Block Finishing
When finishing blocks, you'll need a range of specialized tools to achieve a professional-looking result, including trowels, jointers, and edgers that are specifically designed for this task. These tools are engineered to handle the unique demands of block finishing, guaranteeing a smooth, even finish.
To maintain the quality of your work, regular tool maintenance is vital. You'll need to clean and inspect your tools frequently to prevent damage and wear. For instance, you should regularly clean your trowel's notched blade to prevent mortar buildup, which can affect the tool's performance. Jointers also require regular cleaning to prevent dust and debris from accumulating and affecting the joint's alignment.
In addition to cleaning, you should also perform routine checks on your tools to identify any signs of wear or damage. This includes inspecting the edges of your edgers for signs of wear and replacing them as needed.
Choosing the Right Trowel Size
When selecting a trowel, you'll want to take into account the surface area you're working with, as the right size will make all the difference in your block finishing project.
A trowel that's too small will slow you down, while one that's too large may be unwieldy, so it's essential to choose the right size for your specific needs.
Trowel Size Matters Most
You'll need to select a trowel that's proportionate to the size of your block and the area you're covering, as the right trowel size is critical to achieving a smooth, even finish. A trowel that's too small will leave you with an uneven spread, while one that's too large will be difficult to maneuver.
When choosing the right trowel size, consider the block's dimensions and the surface area you need to cover. A larger block requires a larger trowel, typically between 12 and 18 inches. For smaller blocks, a 6- to 10-inch trowel is more suitable.
Additionally, think about the trowel material and shape. A stainless steel or aluminum trowel is ideal for most applications, while a rectangular or square shape allows for more even spreading.
Handling Large Surfaces Easily
Handling large surfaces requires a trowel that can efficiently cover the area, and a larger trowel size, typically between 18 and 24 inches, is usually necessary to achieve an even spread.
When tackling large surfaces, you'll want to focus on surface preparation techniques that guarantee a uniform base for your block finishing. A larger trowel size allows you to cover more ground with each pass, reducing the time and effort required to complete the job.
When choosing a trowel for large area strategies, contemplate the type of material you're working with and the desired finish. A larger trowel with a flexible blade is ideal for spreading material evenly and preventing unevenness.
You'll also want to reflect on the weight and balance of the trowel, as a well-balanced tool will reduce fatigue and improve control.
Precision Edging Techniques
For precision edging, selecting the right trowel size is essential, as it directly affects the quality of the finish and the accuracy of the edges. You want to verify that your trowel is the right fit for the job, providing you with the precision control you need for a professional-looking finish.
When choosing a trowel, consider the size of the area you're working on, as well as the type of material you're using. A larger trowel may be necessary for larger surfaces, while a smaller trowel is better suited for tighter spaces.
Here's a guide to help you select the right trowel size for your project:
| Trowel Size | Recommended Use | Edge Alignment |
|---|---|---|
| 12' x 4' | Large surfaces, heavy material | Precise control for straight edges |
| 9' x 3' | Medium surfaces, standard material | Accurate alignment for curved edges |
| 6' x 2' | Small surfaces, light material | Delicate control for intricate edges |
| 3' x 1' | Tight spaces, detailed work | Precise alignment for small edges |
| 1' x 0.5' | Fine details, precision work | Ultimate control for minute edges |
Edging and Jointing Made Easy
With the right edging and jointing tools, precise control over block finishing becomes a reality, allowing you to achieve seamless shifts and uniform surfaces.
You'll be able to master various edging techniques, from simple bevels to intricate curves, with ease and accuracy. By investing in high-quality jointing strategies, you'll guarantee that your blocks fit together perfectly, creating a cohesive and polished finish.
When it comes to edging, having the right tools is essential. A high-quality edger will give you the precision and control you need to achieve professional-looking results.
Whether you're working with concrete, stone, or brick, the right edger will help you create clean, crisp edges that add depth and visual interest to your design.
Texturing Tools for Unique Looks
When you're looking to add visual interest to your block finishing project, you'll want to contemplate the right texturing tools to achieve a unique look.
You'll have the flexibility to create a wide range of patterns and designs, from subtle to dramatic, using various texture variety options.
Patterns and Designs
You can create visually striking patterns and designs on your block walls by using specialized texturing tools that impart unique textures and profiles. These tools allow you to achieve a wide range of looks, from modern and sleek to rustic and distressed. With the right tools, you can create patterns that complement your interior design style, whether it's minimalist, industrial, or luxurious.
When seeking pattern inspiration, consider current design trends, such as geometric shapes, organic forms, or bold statements. You can also draw inspiration from natural elements, like wood grain or stone textures.
Some popular texturing tools for creating unique patterns and designs include:
-
Stamp tools, which create repetitive patterns with ease
-
Stencil tools, which allow for precise control over design elements
-
Carve tools, which enable free-form designs and textures
Texture Variety Options
Achieving a unique look for your block walls requires exploring a diverse range of texturing tools that can produce distinct textures, from rough and rugged to smooth and refined.
You'll want to reflect on the various texture application techniques that can help you achieve the desired aesthetic. For instance, you can use wire brushes to create a rough, irregular texture or specialized trowels to produce a smooth, even finish.
When choosing a texturing tool, it's crucial to contemplate the surface preparation methods required for best results. For example, some tools work best on freshly poured concrete, while others are designed for use on cured surfaces.
Understanding the specific requirements of each tool will help you achieve a professional-looking finish.
Custom Finish Creation
With the right texturing tools, you can craft bespoke finishes that transform your block walls into one-of-a-kind statements, elevating your renovation project to new heights. By leveraging advanced texturing techniques, you can create custom finishes that reflect your unique style and vision. This level of customization allows you to differentiate your project from others, making it truly stand out.
To achieve this level of customization, consider the following key factors:
-
Custom color selection: Choose from a vast palette of colors to create a hue that perfectly complements your design aesthetic.
-
Unique surface treatments: Experiment with various textures, from rough to smooth, to add depth and visual interest to your block walls.
-
Advanced tooling capabilities: Utilize specialized tools to create intricate patterns, shapes, and designs that add an extra layer of sophistication to your finishes.
Importance of Float and Tamping
Float and tamping tools play an essential role in block finishing, as they enable masons to create a smooth, even surface by removing excess mortar and filling gaps between blocks.
When you use these tools correctly, you'll achieve a professional-looking finish that's both durable and visually appealing.
Mastering float techniques is vital, as it allows you to remove excess mortar and create a uniform surface. You'll need to choose the right float for the job, considering factors like the type of block, mortar, and desired finish.
Tamping methods are also critical, as they help to fill gaps between blocks and guarantee a solid bond. By using the right tamping tools, you'll be able to compact the mortar and eliminate air pockets.
By combining effective float techniques with precise tamping methods, you'll be able to achieve a high-quality finish that meets your standards.
With the right tools and techniques, you'll have complete control over the finishing process, guaranteeing a professional-looking result that exceeds your clients' expectations.
Achieving Smooth Finishes Easily
By selecting the appropriate finishing tools and mastering basic techniques, you can efficiently create smooth, even surfaces on your blocks. To achieve this, it's crucial to focus on smoothing techniques that promote finish consistency. With the right tools and skills, you'll be able to remove imperfections, fill gaps, and create a uniform finish.
Here are some key considerations to keep in mind:
Tool selection: Choose finishing tools that are designed for your specific block type and desired finish. This may include specialized floats, trowels, or edgers.
Technique mastery: Develop a consistent technique for applying and smoothing your finish. Practice makes perfect, so be sure to hone your skills before tackling a large project.
Material preparation: Verify your blocks are properly prepared before applying a finish. This includes cleaning, sanding, and filling any gaps or imperfections.
Cutting and Chiseling Block Efficiently
Cutting and chiseling block efficiently requires mastering techniques for making precise cuts and removing excess material to achieve the desired shape and size. To do this, you'll need to develop effective block cutting techniques.
This involves selecting the right cutting tool, such as a diamond blade or a masonry saw, and using it correctly. For instance, when using a diamond blade, make sure to keep it cool by periodically spraying water on the cutting area. This will prevent overheating and extend the blade's lifespan.
When chiseling block, you'll need to use a chisel that's been sharpened using proven chisel sharpening methods. A dull chisel will only lead to frustration and wasted time. By keeping your chisel sharp, you'll be able to remove material efficiently and accurately.
Additionally, practice proper chiseling techniques, such as using gentle, controlled strokes and maintaining a consistent angle. With the right techniques and tools, you'll be able to cut and chisel block efficiently, achieving professional-looking results with ease.
Safety Precautions for Block Renovation
As you master the techniques for cutting and chiseling block efficiently, it's equally important to prioritize safety precautions to prevent accidents and guarantee a successful renovation project. You must take control of your workspace to minimize risks and secure a smooth process.
-
Wear personal protective equipment (PPE) such as safety glasses, gloves, and a dust mask to shield yourself from flying debris and harmful particles.
-
Maintain a clean and organized workspace by regularly sweeping the floor and disposing of waste materials to prevent tripping and slipping hazards.
-
Assure proper ventilation in your workspace to prevent the buildup of dust and fumes, which can cause respiratory problems and other health issues.
Frequently Asked Questions
Can I Use a Hammer to Tap Finishing Tools Instead of a Rubber Mallet?
You're wondering if you can use a hammer to tap finishing tools instead of a rubber mallet.
While it's tempting to reach for a hammer, it's not the best choice. Hammers can deliver too much force, causing excessive tool impact that may damage your finishing tools or the surrounding material.
Instead, consider hammer alternatives like a dead blow mallet or a nylon-tipped hammer, which provide a more controlled strike.
How Often Should I Clean and Maintain My Block Finishing Tools?
Did you know that 70% of tool failures are due to improper maintenance?
You'll want to clean and maintain your block finishing tools regularly to guarantee tool longevity. Aim to clean your tools after every use and perform thorough maintenance every 3-6 months, depending on usage frequency.
This will help prevent rust, corrosion, and wear, ultimately extending the life of your tools and saving you money in the long run.
Are There Any Eco-Friendly Block Finishing Tools Available in the Market?
When you're in the market for eco-friendly block finishing tools, you'll find options made from sustainable materials that reduce environmental impact.
Look for tools with energy-efficient designs that optimize tool efficiency, reducing waste and consumption.
You'll also discover tools with recyclable components, minimizing landfill waste.
Can I Rent Block Finishing Tools Instead of Buying Them?
Imagine yourself on a construction site, surrounded by half-finished walls and piles of materials.
Now, picture the cost of buying all the necessary block finishing tools. It's a hefty sum, isn't it?
That's why you're considering renting them instead. You can rent individual tools or entire sets, depending on your project's needs.
Compare the costs: block tool rental might be the more affordable option, especially for one-time or infrequent use.
Do I Need to Use a Level When Finishing Blocks for a Small Project?
When finishing blocks for a small project, you'll want to make certain accurate block alignment.
To achieve this, you'll need to use a level. This tool helps you employ precise leveling techniques, assuring your blocks are perfectly horizontal or vertical.
By using a level, you'll avoid costly mistakes and make certain a professional-looking finish.
Don't risk uneven blocks - invest in a level to get the job done right.
Conclusion
As you've now assembled your arsenal of block finishing tools, you're ready to build a masterpiece that rivals the ancient Greeks' iconic structures.
With the right trowel, edging tools, and texturing devices, you'll be chiseling your way to a smooth, professional finish in no time.
Remember, a strong foundation is key, so don't skimp on the float and tamping.
With these tools and a dash of finesse, your block renovation will be a work of art that stands the test of time.
Related Posts
-

Affordable Plastering Tools for Home Renovation Success
You're taking the first step towards a successful home renovation by investing in the right plastering tools. Start w...
-

Stucco Patching Material Checklist for Home Renovation
You'll need a range of essential tools, including a putty knife, wire brush, hawk or flat trowel, level, and straight...
-
Get Discounted Plastering Tool Sets for DIY Renovations
You can find discounted plastering tool sets online, at local hardware stores, and thrift stores, offering a range of...


