Why DIY Home Renovation Demands a Repair Checklist
Share
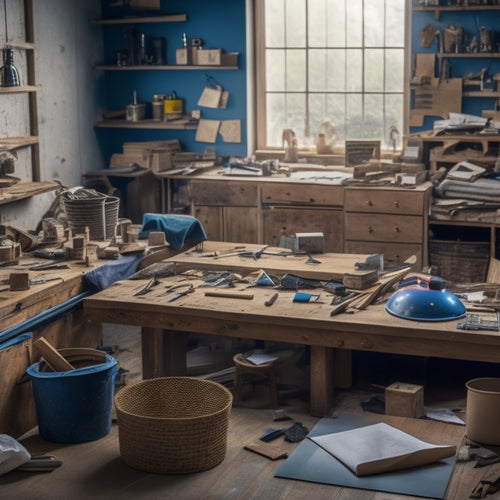
When taking on a DIY home renovation, you're likely to uncover a range of defects that need attention, from cracking concrete to hidden structural damage. Without a thorough repair checklist, it's easy to overlook critical issues, leading to costly rework or even safety hazards. A checklist guarantees you identify and address problems like concrete cracks, uneven settlement, and environmental exposure, and guides you in selecting the right tools, taking safety precautions, and identifying hidden damage areas. By prioritizing a repair checklist, you'll stay on top of your project and set yourself up for success - and there's even more to discover that'll help you get it right.
Key Takeaways
• A repair checklist helps identify and address underlying causes of damage, preventing further deterioration and costly repairs.
• It ensures that critical areas, such as structural integrity and environmental exposure, are not overlooked during renovation.
• A checklist promotes a methodical approach, reducing the risk of human error and ensuring that all repairs are thorough and effective.
• By prioritizing tasks and allocating resources effectively, a repair checklist saves time and money in the long run.
• It provides a record of maintenance activities, enabling homeowners to track progress and identify patterns for future efficiency.
Common Concrete Crack Causes
Cracks in concrete often appear due to various factors, including improper installation, settlement, and exposure to harsh environmental conditions, which you should be aware of to address the issue effectively.
As a DIY enthusiast, it's crucial to understand that concrete is prone to shrinkage cracks, which occur when the concrete mixture shrinks as it cures. This type of crack is usually hairline and doesn't compromise the structural integrity of the concrete.
On the other hand, heaving issues can cause more significant cracks, especially when the soil beneath the concrete expands and contracts due to changes in temperature and moisture levels. This can lead to uneven settlement, putting pressure on the concrete and causing it to crack.
You should also be mindful of exposure to harsh environmental conditions, such as extreme temperatures, heavy rainfall, or direct sunlight, which can cause concrete to deteriorate over time.
DIY Concrete Repair Tool Essentials
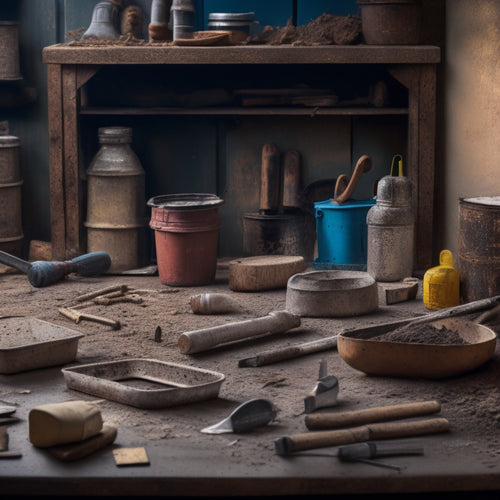
Now that you've identified the cause of the concrete crack, you'll need to gather the right tools to tackle the repair job effectively. A DIY concrete repair kit typically includes a set of essential tools to guarantee a successful repair.
First, you'll need a mixing bucket, a mixing stick, and a trowel to apply the repair compound. A putty knife or scraper is also necessary for removing loose debris from the crack. Don't forget to include a level and a straightedge to guarantee the repair is even and level.
When it comes to mixing techniques, having the right tools is vital. A mixing paddle or drill with a mixing bit is essential for thorough mixing. You'll also need a measuring cup or scale to accurately measure the repair compound and water.
Additionally, a mixing stick or tamping tool helps to remove air pockets and guarantee a strong bond between the old and new concrete. By having these essential repair tools and mastering proper mixing techniques, you'll be well on your way to a successful DIY concrete repair.
Safety Precautions to Take
You must take necessary safety precautions to protect yourself from potential hazards when working with concrete repair compounds and tools. Failing to do so can result in serious injuries or even fatalities. It's crucial to invest in protective gear, including gloves, safety glasses, and a dust mask, to prevent skin and eye irritation, as well as respiratory problems.
| Hazard | Precaution |
|---|---|
| Skin irritation | Wear gloves and protective clothing |
| Eye damage | Wear safety glasses and goggles |
| Respiratory issues | Use a dust mask and ventilate the area |
| Slips and falls | Guarantee a clean and dry work surface |
| Electrical shock | Keep electrical tools away from water |
Additionally, consider taking safety training courses to learn how to handle concrete repair compounds and tools safely. This will not only protect you from harm but also guarantee that the repair job is done efficiently and effectively. Remember, safety should always be your top priority when working on DIY home renovation projects. By taking the necessary precautions, you can minimize the risk of accidents and guarantee a successful outcome.
Identifying Hidden Damage Areas
During the concrete repair process, it's essential to thoroughly inspect the surrounding areas for hidden damage, as underlying structural issues can exacerbate the problem if left unchecked.
You'll want to look for signs of hidden moisture, which can seep into walls, floors, and ceilings, compromising the structural integrity of your home. Check for water stains, warping, or discoloration on surfaces, and use a moisture meter to detect hidden water damage.
Additionally, inspect the surrounding walls, floors, and ceilings for cracks, sagging, or unevenness. These can be indicative of underlying structural issues that need to be addressed before proceeding with repairs. Pay particular attention to areas around windows, doors, and joints, where water and air can seep in and cause damage.
Post-Repair Maintenance Tips
Post-Repair Maintenance Tips
To prevent future damage and guarantee the longevity of your repairs, regular maintenance checks should become an integral part of your home's upkeep. By incorporating preventive maintenance into your routine, you'll avoid costly repairs down the line. Here are some essential tips to keep in mind:
| Area | Task | Frequency |
|---|---|---|
| Roof | Inspect for damaged or missing shingles, clear debris | Bi-annually |
| Plumbing | Check for leaks, inspect water pressure | Quarterly |
| Electrical | Test outlets, inspect circuit breakers | Semi-annually |
When conducting routine inspections, pay attention to even the smallest signs of wear and tear. Addressing issues promptly will prevent them from escalating into major problems. Additionally, keep a record of your maintenance activities to track your progress and identify potential patterns. By staying on top of maintenance, you'll enjoy a safer, more efficient, and more valuable home. Remember, a little effort now can save you a lot of hassle and expense in the long run.
Frequently Asked Questions
Can I DIY a Renovation With No Prior Experience?
Can you DIY a renovation with no prior experience? You can, but it's essential to acknowledge your limitations.
Building DIY confidence takes time and practice. Start by gathering reliable renovation resources, such as tutorials, online courses, and expert advice.
Assess your skills honestly and focus on small, manageable tasks. As you gain experience, you'll develop the confidence to tackle more complex projects.
How Long Does a Typical DIY Renovation Project Take?
When you commence a DIY renovation, you're not just rolling up your sleeves, you're diving into a complex puzzle.
The million-dollar question is, how long will it take? Renovation timeframes vary wildly, but with solid project planning, you can set realistic expectations.
Typically, a DIY project can span anywhere from a few weeks to several months, depending on the scope and your availability.
Be prepared to flex and adjust as unforeseen challenges arise.
Can I Reuse Old Materials in My Renovation Project?
When deciding if you can reuse old materials in your renovation project, you'll need to assess their condition and potential for reuse.
Employing reuse techniques can save you time and money. However, you must also consider material sourcing and the feasibility of repurposing existing materials.
Inspect the materials carefully, and don't hesitate to replace them if they're damaged or outdated.
Are DIY Renovation Permits Usually Required by Law?
You're enthusiastic to plunge into your DIY renovation, but don't assume you can sidestep the law.
Unlike a casual weekend project, major renovations usually require permits by law.
Familiarize yourself with local renovation regulations to avoid costly delays.
The permit process may seem tedious, but it guarantees your project meets safety standards and complies with building codes.
Don't risk fines or even demolition - take the time to obtain necessary permits before starting your project.
Should I Involve a Professional for Complex Renovation Tasks?
When tackling complex renovation tasks, you're wise to contemplate involving a professional.
They'll help you with accurate cost estimation, guaranteeing you don't overspend.
Additionally, they'll implement necessary safety precautions, protecting you and your property from potential risks.
By doing so, you'll avoid costly mistakes and guarantee a successful outcome.
Don't hesitate to bring in an expert for tasks beyond your expertise – it's a smart investment in the long run.
Conclusion
As you emerge from the DIY home renovation trenches, remember that a repair checklist is your shield against future cracks and crevices.
It's the thread that weaves together the fragile fabric of your home's foundation, ensuring that every repair is a permanent stitch.
By following this roadmap, you'll fortify your abode against the relentless forces of wear and tear, and stand victorious over the chaos of concrete cracks.
Related Posts
-

7 Best Home Renovation Project Checklists With Timelines
You're about to initiate a home renovation project, and establishing a clear plan with timelines is vital to staying ...
-

Trowel Tool Cost for DIY Home Renovation Projects
When it comes to your DIY home renovation project, you'll need to budget for a variety of trowel tools, including stu...
-

3 Best Planter Shopping Timeline Tips for Renovators
When incorporating planters into your renovation project, you'll want to plan carefully to avoid delays and guarantee...


