What Tools Do I Need for Floor Renovation
Share
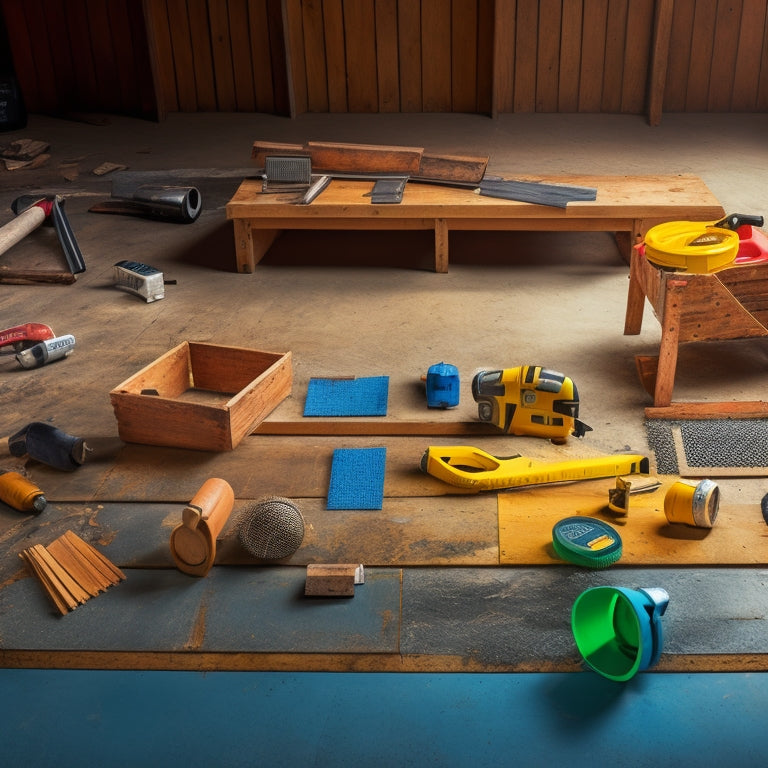
You'll need a range of tools for a successful floor renovation, starting with essential safety gear like goggles, hearing protection, and sturdy gloves. Measuring and marking tools, such as tape measures and laser distance meters, guarantee accurate layouts. Cement mixing and pouring tools, like cement mixers and pouring buckets, help with concrete preparation. Tamping and finishing tools, including tampers and screed boards, achieve a smooth finish. Additionally, you'll need cutting and shaping tools, edging and jointing tools, and specialized flooring equipment, like floor sanders and tile cutters. From here, you can dive deeper into the specifics of each tool and how they'll help you attain a professional finish.
Key Takeaways
• Essential safety gear, including goggles, hearing protection, and gloves, prevents injuries and ensures a successful renovation process.
• Measuring and marking tools, such as tape measures and stud finders, ensure accurate measurements and layouts.
• Cleaning and preparation tools, including floor scrapers and adhesive removers, prepare the surface for new flooring installation.
• Specialized flooring equipment, such as floor sanders and tile cutters, aid in the installation and finishing of new flooring.
• Debris disposal tools and practices, including proper disposal and inspection, maintain a clean and safe work environment.
Essential Safety Gear for Flooring
When renovating a floor, you'll need to wear essential safety gear to protect yourself from the physical demands and hazardous materials involved in the process. This gear is vital to prevent injuries and guarantee a successful renovation.
First and foremost, you'll need safety goggles to shield your eyes from debris and dust. These goggles should have a robust frame, anti-fog lenses, and a snug fit to provide ideal protection.
Additionally, hearing protection is a must-have, as power tools and equipment can generate loud noises that can cause permanent hearing damage. Invest in earplugs or earmuffs that can reduce noise levels by at least 20 decibels.
Don't forget to wear a dust mask or respirator to prevent inhaling hazardous particles and fumes.
Finally, wear sturdy gloves, a long-sleeved shirt, and pants to protect your skin from cuts, abrasions, and chemical splashes.
Measuring and Marking Tools
Measure your floor space accurately with the right tools to guarantee a successful renovation, as incorrect measurements can lead to costly mistakes and delays.
To achieve precise measurements, you'll need a tape measure, laser distance meter, or a combination of both. These tools will help you master various measuring techniques, such as calculating room dimensions, identifying obstructions, and determining the location of electrical outlets and plumbing fixtures.
When it comes to marking your floor, you'll require a range of marking methods to secure accurate layout and installation. Invest in a quality chalk line reel, a level, and a marker or pencil to define your renovation boundaries.
These tools will enable you to create straight lines, mark cutouts, and identify areas that require special attention. Don't forget to use a stud finder to locate wall studs and avoid potential hazards.
Cement Mixing and Pouring Tools
With your floor space accurately measured and marked, you can now focus on preparing the surface for new flooring, which requires the right cement mixing and pouring tools to guarantee a strong and durable foundation.
Cement mixing is an essential step, and you'll need a reliable cement mixer to achieve the perfect consistency. Electric or gas-powered mixers are ideal for large projects, while manual mixers are suitable for smaller areas.
When it comes to pouring, having the right techniques is vital. You'll need a pouring bucket or a cement pouring wheel to guarantee smooth, even distribution. For large areas, consider using a concrete pump to minimize labor and maximize efficiency.
Invest in a set of mixing paddles and a mixing stick to guarantee thorough mixing and to prevent lumps. Don't forget to have a bucket of clean water and a measuring cup on hand to achieve the perfect mix ratio.
Tamping and Finishing Tools
You'll need a range of tamping and finishing tools to guarantee your newly poured concrete floor is compacted, smooth, and even. These tools will help you achieve the desired finish and confirm your floor can withstand heavy foot traffic and last for years to come.
To get started, you'll need the following tamping and finishing tools:
-
A tamper or tamping tool to compact the concrete and remove air pockets
-
A screed board or straightedge to level and smooth out the surface
-
A bull float to apply a smooth, even finish
-
A power trowel or ride-on trowel for large areas, to speed up the finishing process
-
A finishing trowel or hand trowel for detailed work and adding the final finishing touches
Mastering tamping techniques and applying the right finishing touches can make all the difference in achieving a professional-looking finish.
Cutting and Shaping Tools
Once you've achieved a smooth, even finish, it's time to focus on cutting and shaping your concrete floor to fit around obstructions or create custom designs. This stage requires precision and the right tools to get the job done.
You'll need a variety of saw blades designed specifically for concrete, including diamond blades and abrasive blades. Diamond blades are ideal for making precise cuts, while abrasive blades are better suited for rougher, more aggressive cuts.
When it comes to shaping techniques, you'll need to take into account the type of concrete you're working with and the desired outcome. For example, you may need to use a walk-behind saw or a handheld saw for more intricate cuts. Additionally, you may need to use shaping techniques such as grinding or polishing to achieve the desired finish.
It's important to choose the right saw blade type and shaping technique for your specific project to guarantee professional-looking results. By investing in the right cutting and shaping tools, you'll be able to create a unique and customized concrete floor that meets your design vision.
Edging and Jointing Tools
Edging and jointing tools are essential for creating a professional-looking finish by defining the boundaries and controlling the cracking of your concrete floor. These tools help you achieve a seamless joint between the concrete and adjacent materials, ensuring a durable and long-lasting floor.
When it comes to edging and jointing, you'll need the following tools:
-
Edger: A handheld or walk-behind tool used to create a clean, defined edge along the perimeter of your concrete floor.
-
Jointing trowel: A specialized trowel used to fill and finish joints between concrete slabs, ensuring a smooth and even surface.
-
Jointing sand: A type of sand specifically designed for filling joints, available in various colors to match your concrete finish.
-
Edging techniques guide: A resource that provides detailed instructions and tips on various edging techniques to achieve a professional finish.
-
Jointing materials calculator: A tool that helps you estimate the amount of jointing materials needed for your project, ensuring you have the right quantities on hand.
Cleaning and Preparation Tools
When you're preparing a floor for renovation, you'll need to get rid of the old stuff first.
You'll use specific tools to remove old adhesive, scrape off debris, and sweep and vacuum the area to get it ready for the new flooring.
Remove Old Adhesive
You'll need to scrape off old adhesive residue using a floor scraper or an adhesive remover to guarantee a clean surface for your new flooring installation. This step is vital in ensuring a strong bond between the old floor and the new one.
To effectively remove old adhesive, you'll need to employ the right adhesive removal techniques. Here are some essential tools and methods to take into account:
-
Floor scraper: A floor scraper is a long-handled tool with a flat, rigid blade that's perfect for scraping off old adhesive.
-
Adhesive remover: A chemical-based adhesive remover can dissolve and break down old adhesive, making it easier to remove.
-
Heat gun: A heat gun can be used to soften the adhesive, making it easier to scrape off.
-
Scouring pad: A scouring pad can be used to scrub off remaining adhesive residue.
-
Disposal bags: Always dispose of removed adhesive residue and cleaning materials according to local adhesive disposal methods and regulations.
Scrape Off Debris
With the old adhesive removed, scrape off any remaining debris and dust from the floor surface using a broom or a dust mop to create a clean slate for the new flooring installation. This step is essential for surface preparation, as any leftover debris can compromise the adhesion of the new flooring.
You'll need a sturdy scraper or a putty knife to remove stubborn particles, taking care not to gouge the floor. Once you've removed the bulk of the debris, use a dustpan and broom to sweep up the remaining dust and particles.
Make sure to dispose of the debris properly to avoid any mess or hazards. Effective debris disposal is key to a successful floor renovation.
After scraping and sweeping, inspect the floor surface for any remaining imperfections or rough spots. Use a floor scraper or an edger to smooth out the surface, ensuring it's even and level.
This will provide a solid foundation for your new flooring, guaranteeing a professional-looking finish. By taking the time to properly scrape off debris, you'll set yourself up for success in the installation process.
Sweep and Vacuum
Now that the floor is clear of debris, sweep and vacuum the entire surface to remove any remaining dust and dirt particles, ensuring a clean and dust-free environment for the new flooring installation. This vital step is often overlooked, but it's essential for a successful renovation.
Here are some essential tips to keep in mind when sweeping and vacuuming your floor:
-
Use a soft-bristled broom or a dusting mop to sweep the floor, working in sections to trap dust and dirt particles.
-
For hardwood or laminate floors, use a vacuum cleaner with a soft floor attachment to avoid scratching the surface.
-
When vacuuming, use slow and deliberate passes to pick up dirt and debris, rather than quick back-and-forth motions.
-
Pay special attention to corners, baseboards, and tight spaces where dust and dirt tend to accumulate.
-
Consider using a vacuum with a HEPA filter, which can trap 99.97% of particles as small as 0.3 microns, ensuring a truly clean and dust-free environment.
Specialized Flooring Equipment
Equipped with the right specialized flooring equipment, renovators can efficiently tackle complex flooring projects, from installing intricate tile patterns to refinishing hardwood floors. These tools are designed to simplify tasks, reduce labor, and guarantee professional-grade results.
| Tool | Purpose |
|---|---|
| Floor Sander | Removes old finishes, smooths out surfaces, and prepares floors for refinishing |
| Moisture Tester | Detects moisture levels in concrete, wood, and other materials to prevent flooring failures |
| Tile Cutter | Cuts tile quickly and accurately, reducing waste and labor |
| Edger | Trims and shapes flooring materials around corners, baseboards, and other tight spaces |
When choosing specialized flooring equipment, consider the type of flooring you're working with, the scope of the project, and your budget. Don't be afraid to invest in high-quality tools that will last for multiple projects and deliver consistent results. With the right equipment, you'll be able to tackle even the most complex flooring projects with confidence and precision. By having these tools at your disposal, you'll be able to work more efficiently, reduce downtime, and produce exceptional results that exceed your clients' expectations.
Frequently Asked Questions
Can I Renovate My Floor if I Have a Crawl Space Underneath?
You can renovate your floor over a crawl space, but first, make certain you've got adequate crawl space insulation and a proper moisture barrier installation to prevent moisture issues and structural damage down the line.
How Do I Deal With Old Adhesive Residue on the Subfloor?
When dealing with old adhesive residue on the subfloor, you'll need to scrape it off using a putty knife or scraper, then apply an adhesive removal solution, letting it sit before rinsing and proceeding with subfloor preparation.
What Is the Best Way to Handle Uneven Subfloor Surfaces?
When tackling uneven subfloor surfaces, you'll need to employ subfloor leveling techniques, such as self-leveling compounds or cement-based underlayments, and consider moisture barrier options like epoxy or polyurethane coatings to guarantee a stable, dry foundation.
Do I Need a Permit for a Floor Renovation in My Area?
You'll need to determine if a permit is required for your floor renovation by checking local building codes and ordinances, as requirements vary; research online or consult with local authorities to guarantee compliance with floor renovation permits.
Can I Reuse the Original Underlayment Material or Must I Replace It?
'You'll face a flooring fork: salvage or swap the underlayment. Assess its condition, considering moisture considerations and underlayment options. If it's damaged or outdated, replace it to guarantee a solid, long-lasting foundation for your new floor.'
Conclusion
You've made it to the finish line!
Think of your floor renovation as a masterpiece of art, where every tool is a brushstroke that brings your vision to life.
With the right gear, you've painted a picture of perfection - from the essential safety gear that's your canvas, to the specialized equipment that adds the final flourishes.
Now, step back and admire your handiwork, knowing that every tool has played its part in creating a floor that's truly a work of art.
Related Posts
-

Smart Guide to Buying Second-Hand Renovation Tools
When buying second-hand renovation tools, you'll want to set clear renovation goals and a realistic budget to priorit...
-

5 Must-Have Plastering Tools for Safe Renovation
You'll need a range of essential tools to tackle your plastering project safely. Invest in a variety of trowels, incl...
-

Stucco Tool Kit Checklist for Home Renovation
You'll need a thorough stucco tool kit to guarantee a successful home renovation, as the right tools can make all the...


