What Are the Must-Have Tools for Wall Renovation
Share
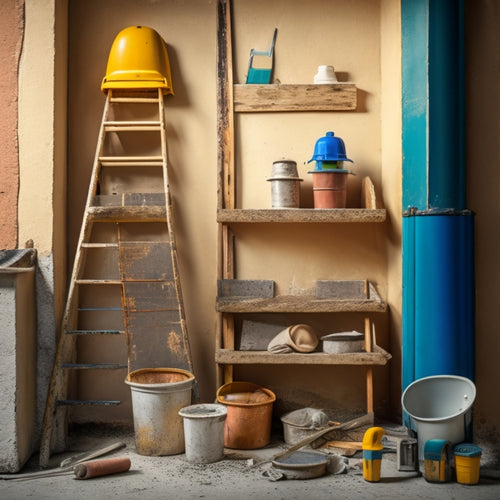
You'll need a solid arsenal of specialized tools to transform your walls into stunning, professionally finished surfaces. For concrete finishing, essential tools include a range of trowels (v-notched, rounded, and square-edged), power trowels for large areas, and scraping or grinding tools for surface preparation. Don't forget to invest in regular maintenance to keep your tools in peak condition. Proper tool investment and upkeep are vital for achieving smooth, even surfaces. As you explore the world of concrete finishing, you'll discover the importance of mastering techniques to support decorative finishes, and how the right tools can make all the difference in your renovation journey.
Key Takeaways
• Invest in a range of specialized concrete trowels, including v-notched, rounded, and square-edged, for specific applications and textures.
• Power trowels are a must-have for large areas and high-traffic surfaces, ensuring efficiency and professional results.
• Regular maintenance of tools is crucial, as it ensures peak performance, longevity, and avoids damage to the concrete surface.
• A hopper gun and stamping tools are essential for applying decorative overlays and creating intricate designs on walls.
• Safety protocols and manufacturer instructions should be followed when using specialized tools and techniques for advanced concrete finishing methods.
Essential Concrete Finishing Techniques
When preparing to renovate a wall, mastering essential concrete finishing techniques is crucial to achieving a smooth, even surface that will support your desired finish.
You'll want to focus on perfecting the concrete texture techniques that will lay the groundwork for your chosen decorative concrete finishes. Start by understanding the importance of surface preparation, as any imperfections will be magnified by your finish.
Next, you'll need to decide on the type of finish you want to achieve, whether it's a high-gloss polish, a textured stamp pattern, or a subtle color wash. This will determine the specific concrete texture techniques you'll employ, such as tamping, floating, or troweling.
By controlling the finish from the outset, you'll be able to achieve a uniform appearance that meets your exacting standards. Remember, the key to success lies in attention to detail and a thorough understanding of the concrete finishing process.
With practice and patience, you'll be able to achieve professional-level results that will elevate your wall renovation project.
Best Concrete Finishing Tools Needed
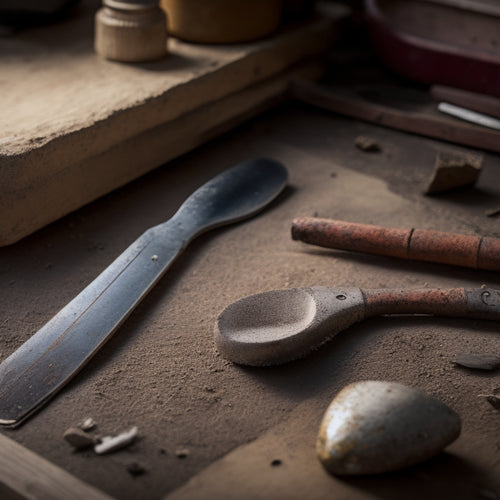
You'll need a range of specialized tools to bring your concrete finishing vision to life, from essential handheld devices to heavy-duty machinery designed for high-precision results. Among the most significant tools are concrete trowel types, including v-notched, rounded, and square-edged trowels. Each type is suited for specific finishing tasks, such as applying texture or achieving a smooth finish. Additionally, you'll need a power trowel, which is ideal for large areas and high-traffic surfaces.
Proper finishing tool maintenance is also important to guarantee peak performance and extend the lifespan of your tools. Regularly clean and inspect your tools for damage or wear, and perform routine tasks like sharpening and lubricating to keep them in top condition.
A well-maintained toolset will help you achieve professional-grade results and avoid costly mistakes. By investing in the right concrete finishing tools and dedicating time to their upkeep, you'll be well on your way to creating stunning, long-lasting concrete surfaces that meet your exacting standards.
Preparing Concrete Surfaces Properly
Preparing Concrete Surfaces Properly
Before applying any finishing techniques, verify the concrete surface is properly prepared by removing any debris, oil, or old adhesive residue that may interfere with the bonding process.
You'll need to ascertain a clean and even surface for ideal results. Start by sweeping or blowing off loose debris, followed by a thorough cleaning with a degreaser or solvent to remove any oil or grease. Next, use a scraper or grinder to remove old adhesive residue, taking care not to scratch the surface.
Proper surface preparation is essential for successful bonding, and it's equally important to address moisture control. Excessive moisture can lead to adhesion issues, so you'll need to test the surface for moisture levels. If necessary, apply a moisture-control product to regulate the moisture levels.
Once the surface is clean, dry, and free of residues, you can proceed with confidence, knowing your finishing techniques will adhere properly. By taking the time to prepare the concrete surface correctly, you'll save yourself time and effort in the long run, guaranteeing a professional-looking finish that will last.
Achieving Smooth Concrete Finishes
Achieving Smooth Concrete Finishes
With a properly prepared concrete surface in place, you can now focus on achieving a smooth finish by using the right tools and techniques to eliminate imperfections and create a uniform appearance. The key to a smooth finish lies in the timing of the finishing process. You'll need to work efficiently to achieve the desired concrete surface textures.
| Finishing Stage | Description |
|---|---|
| Floating | Eliminate imperfections, create a uniform base |
| Tamping | Compact the surface, remove air pockets |
| Edging | Create clean edges, define boundaries |
| Finishing | Apply final touches, achieve desired texture |
| Curing | Seal and protect the finished surface |
Advanced Concrete Finishing Methods
Beyond the fundamental finishing stages, advanced concrete finishing methods can elevate your wall renovation project by incorporating specialized techniques and tools to produce unique textures, patterns, and decorative effects.
You'll need to invest in high-quality tools and materials to achieve these advanced finishes. For instance, decorative overlays can add a touch of elegance to your walls. These overlays involve applying a thin layer of cement-based or polymer-modified material to create intricate designs or patterns. You'll need a specialized tool, such as a hopper gun or a stamping tool, to apply and shape the overlay material.
To achieve textured finishes, you'll need to use specialized tools like texture mats or stamping tools. These tools can create unique, three-dimensional patterns on your walls. You can also experiment with different techniques, such as acid etching or chemical staining, to create unique, one-of-a-kind finishes.
Remember to follow safety protocols and manufacturer instructions when working with these advanced techniques and tools. With practice and patience, you can create stunning, high-end finishes that will take your wall renovation project to the next level.
Frequently Asked Questions
How Do I Protect My Floors From Concrete Dust and Debris?
When tackling a wall renovation, you'll inevitably face the issue of concrete dust and debris damaging your floors. To protect them, you'll need to prioritize dust containment.
Start by covering your floors with a durable, impermeable floor covering, such as plastic sheeting or a specialized dust-containment mat. Secure it tightly to prevent any debris from seeping underneath.
This proactive step will save you time and hassle in the long run, ensuring your floors remain unscathed throughout the renovation process.
Can I Renovate Walls With Existing Electrical Outlets Intact?
You're wondering if you can renovate walls with existing electrical outlets intact. The answer is, it's possible, but not always ideal.
Outlet relocation might be necessary to accommodate new wall insulation or structural changes. You'll need to assess the outlet's location and condition to determine if it can remain in place.
If not, you'll need to plan for relocation, ensuring it meets electrical codes and safety standards.
What Safety Gear Is Necessary for Wall Renovation Projects?
As you commence your wall renovation project, safety shouldn't be an afterthought - it's the cornerstone of a successful venture.
Imagine a cloud of debris and dust swirling around you like a tornado, threatening to blind and choke you. Don't let that nightmare become a reality!
You'll need safety goggles to shield your eyes from flying particles and dust masks to filter out hazardous airborne particles.
Invest in these essentials to protect yourself from the unseen dangers lurking in your renovation project.
How Do I Handle Wall Renovation Mess and Cleanup Efficiently?
When tackling a wall renovation, you'll need to prioritize mess management and develop efficient cleanup techniques to maintain an organized workspace.
Start by designating a specific area for debris and scraps, and use tarps or drop cloths to contain dust and mess.
As you work, regularly sweep and vacuum the area to prevent debris buildup.
Are There Any Specific Permits Required for Wall Renovations?
Don't assume you can dive right into that wall renovation without checking the permits, or you'll risk costly delays.
You're in control when you understand the permit requirements upfront. Research your local renovation regulations to determine if you need a permit.
Typically, electrical, plumbing, or structural changes require permission. Check with your local government to confirm, and factor in the timeframe for approval.
Conclusion
You've made it to the final stage of your wall renovation project!
With the right concrete finishing techniques and tools, you've achieved a smooth, polished surface.
According to the American Concrete Institute, the global concrete market is projected to reach $463.6 billion by 2025, indicating the growing demand for high-quality concrete finishes.
As you stand back to admire your handiwork, remember that attention to detail and the right tools are key to a professional-looking finish that will stand the test of time.
Related Posts
-

7 Crucial Tools for a Successful Stucco Renovation
To guarantee a successful stucco renovation, you'll need a range of essential tools. First, invest in a stucco mixer ...
-

Crack Repair Inspection Checklist for Home Renovation
When creating a crack repair inspection checklist for your home renovation project, you'll want to identify crack typ...
-

Why Inspect Stucco Repair Equipment Before Renovation
When starting a stucco repair renovation, you need to inspect your equipment to prevent accidents, save time and mone...


