Top Tools for Sealing Your DIY Renovation Success
As you seal your DIY renovation, you'll need the right tools to guarantee a professional-looking finish that lasts. For concrete sealing, invest in a high-pressure washer, shot blaster, and good quality broom for thorough cleaning. Application tools like a concrete sealer applicator, squeegee, and caulk gun are essential for precise control and a smooth finish. Exceptional surface preparation requires a putty knife, sandpaper, and power sander. Don't forget important safety gear, including hard hats, safety glasses, and respirator masks. With these tools, you'll be well on your way to a successful DIY renovation; now, discover the specific techniques to master them.
Key Takeaways
• Use a high-pressure washer (minimum 3,500 PSI) and cleaning equipment like shot blasters or floor scrapers to thoroughly clean concrete surfaces.
• Invest in a concrete sealer applicator, squeegee, and caulk gun to achieve a smooth, consistent finish and precise control over sealer application.
• Choose the right type of sealer (acrylic, polyurethane, or silane) based on environmental conditions and desired finish to ensure a professional-looking result.
• Prepare surfaces properly using putty knives, sandpaper, or power sanders to remove old adhesives, caulk, or paint and smooth out rough spots.
• Prioritize safety by wearing personal protective equipment (PPE) like hard hats, safety glasses, and respirator masks to prevent accidents and injuries.
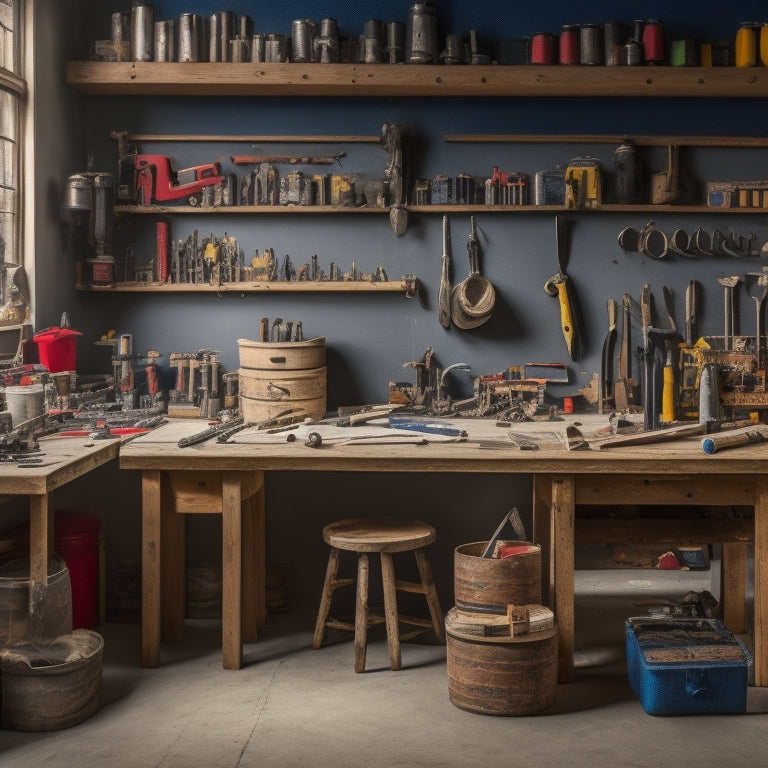
Essential Tools For Concrete Sealing
Sealing concrete effectively requires possessing the right tools for the job, including a high-pressure washer, a concrete sealer applicator, and a squeegee. You'll need to confirm a uniform coating and prevent unevenness.
You'll use the high-pressure washer to thoroughly clean the concrete surface, removing dirt, grime, and old sealer residue. This step is essential in guaranteeing a strong bond between the new sealer and the concrete.
Next, you'll apply the concrete sealer using the applicator, which allows for precise control over the amount of sealer used. This is critical in achieving the ideal thickness for effective concrete curing.
To confirm a smooth, even finish, you'll use the squeegee to remove excess sealer and air pockets. This technique is key in preventing unevenness and achieving a professional-looking result.
By mastering these sealing techniques, you'll be able to protect your concrete from damage, extend its lifespan, and enhance its appearance.
With the right tools and a bit of practice, you'll be well on your way to achieving a beautifully sealed concrete surface that will impress anyone.
Best Sealers for DIY Projects
When tackling a DIY concrete sealing project, you'll need to select a suitable sealer that meets your specific needs, taking into account factors such as the type of concrete, environmental conditions, and desired finish. The best sealant type for your project will depend on these factors, as well as your personal preferences and priorities.
| Sealer Type | Key Features |
|---|---|
| Acrylic | Water-based, easy to apply, and dries clear. Ideal for interior projects and decorative concrete. |
| Polyurethane | Oil-based, provides a high-gloss finish, and offers excellent durability. Suitable for high-traffic areas and exterior projects. |
| Silane | Eco-friendly option, penetrates deep into the concrete, and provides long-lasting protection. Ideal for garage floors and driveways. |
When choosing a sealer, consider eco-friendly options like silane sealers, which are non-toxic and environmentally friendly. Additionally, think about the level of sheen you want to achieve, as well as the level of protection you need. By selecting the right sealer for your project, you'll guarantee a professional-looking finish that will last for years to come.
Reliable Cleaning Equipment Options
You'll need reliable cleaning equipment to prepare your concrete surface for sealing, guaranteeing a strong bond between the concrete and sealer. A pressure washer is a must-have for removing dirt, grime, and old sealers. Look for a model with a minimum of 3,500 PSI and a wide fan tip to cover more area.
For tougher jobs, consider a shot blaster or floor scraper to remove old coatings and surface imperfections. Don't forget to invest in a good quality broom or scrub brush for manual cleaning and agitation.
When it comes to cleaning techniques, remember to always work in sections, starting from the top and working your way down to prevent dirt and debris from spreading to clean areas. Use a degreaser or concrete cleaner specifically designed for the type of dirt or stain you're dealing with.
Regular equipment maintenance is vital to extend the lifespan of your cleaning tools. Make sure to clean and store them properly after each use, and perform routine checks for worn-out parts or damaged components.
Effective Application Tool Essentials
When it comes to effective application tool essentials, you'll want to master the art of applying even pressure to guarantee a smooth, consistent finish.
You'll also need to develop caulk gun control, as this will help you achieve precise lines and avoid messy mistakes.
Apply Even Pressure
To guarantee a professional finish, apply even pressure across the surface, maintaining consistent contact between the tool and the material to prevent unevenness and defects.
You'll achieve ideal pressure distribution by using the correct sealing techniques, ensuring a uniform bond between the sealant and the surface. This is vital, as uneven pressure can lead to weak points, compromised seal integrity, and ultimately, a subpar finish.
When applying even pressure, pay attention to the tool's angle and orientation. Adjust the tool as needed to accommodate irregular surfaces or corners, ensuring consistent contact and pressure distribution.
You should also consider the material's properties, as some may require more or less pressure to achieve an effective seal.
Caulk Gun Control
Mastering caulk gun control is pivotal in achieving a professional finish, as it enables you to dispense the ideal amount of sealant with precision, guaranteeing a strong, uniform bond.
You'll want to choose the right caulk type for your specific project, as different formulas are designed for various surfaces and applications. For example, silicone caulk is ideal for wet areas, while acrylic caulk is better suited for dry zones.
To achieve the best results, it's crucial to develop effective caulk techniques. Start by cutting the nozzle at an angle, allowing for a precise bead of caulk.
Hold the gun at a 45-degree angle, applying gentle to moderate pressure. Move the gun in a steady, continuous motion, maintaining consistent pressure to guarantee a smooth, even application. Avoid applying too much caulk, as this can lead to mess and waste.
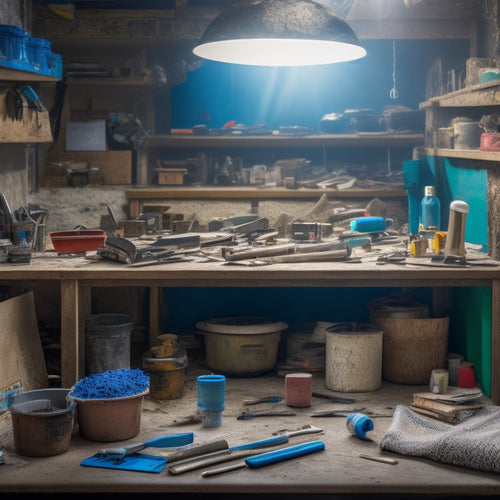
Top-Notch Surface Preparation Tools
You'll need a solid arsenal of surface preparation tools to scrape, sand, and smooth out imperfections, guaranteeing a strong bond between old and new materials. Mastering surface preparation techniques is essential, as it sets the stage for a successful renovation. The surface texture's importance can't be overstated, as it directly affects the adhesion of new materials.
To achieve a smooth, even surface, you'll need a variety of tools at your disposal. Start with a putty knife or scraper to remove old adhesives, caulk, or paint. Next, break out the sandpaper or a power sander to smooth out rough spots. For more aggressive surface preparation, consider a belt sander or an orbital sander.
Don't forget to dust and vacuum regularly to prevent debris from interfering with your progress. By investing in high-quality surface preparation tools and honing your techniques, you'll guarantee a strong, long-lasting bond between old and new materials, setting your DIY renovation up for success.
Crucial Safety Gear and Accessories
As you prepare for your DIY renovation project, you'll need to prioritize your safety above all else.
You're about to handle power tools, hazardous materials, and heavy objects, so it's vital you wear the right gear to protect yourself from potential risks.
From hard hats to safety glasses and respirator masks, you'll need to make certain you have the essential safety accessories to prevent accidents and injuries.
Hard Hat Protection Essentials
Hard Hat Protection Essentials
Wearing a hard hat is a non-negotiable aspect of DIY renovation, and selecting the right protection essentials is critical to ensuring your safety on the job site. You can't afford to compromise on hard hat benefits, as it's the first line of defense against head injuries. When choosing a hard hat, consider helmet compatibility with other safety gear, such as safety glasses and ear protection.
Here are some key considerations for hard hat selection:
| Feature | Description |
|---|---|
| Impact Resistance | Hard hats should be able to withstand falling objects and debris |
| Comfort | Look for hats with padding and adjustable suspension systems for maximum comfort |
| Visibility | Choose hats with bright colors and reflective strips for increased visibility |
Safety Glasses Requirements
Safety glasses, an essential component of your personal protective equipment (PPE), must meet specific requirements to safeguard your eyes from hazardous materials, flying debris, and other job site dangers.
When selecting safety glasses, you must verify they comply with established safety regulations and eyewear standards. This is vital, as subpar eyewear can leave you vulnerable to serious eye injuries.
To guarantee peak protection, look for safety glasses that meet the following criteria:
-
Lens material: Lenses should be made from impact-resistant polycarbonate or Trivex material to withstand the rigors of your renovation project.
-
Frame design: The frame should be durable, comfortable, and securely fit around your eyes to prevent glasses from slipping or falling off.
-
Certifications: Confirm your safety glasses bear the ANSI Z87.1 or EN 166 certification marks, indicating compliance with stringent eyewear standards.
Respirator Mask Options
When working with hazardous materials or in dusty environments, you need a reliable respirator mask to filter out airborne contaminants and protect your respiratory system.
The right respirator mask can be the difference between breathing easy and suffering from respiratory issues. There are several respirator mask types to choose from, including half-face, full-face, and powered air-purifying respirators (PAPRs). Each type has its unique features and benefits, so it's crucial to select the one that best suits your specific needs.
Look for respirator mask features such as filters with a high MERV rating, adjustable straps for a secure fit, and a comfortable design that won't obstruct your vision.
Some respirators also come with additional features like ventilation systems or speaking diaphragms. Consider the level of protection you need, the type of contaminants you'll be working with, and the duration of use when selecting a respirator mask.
Advanced Finishing Touch Tools
With your DIY renovation project nearing completion, you'll want to focus on the finer details, and that's where advanced finishing touch tools come into play, enabling you to achieve a professional-looking finish. These specialized tools will help you refine your finishing techniques, guaranteeing a polished outcome that showcases your hard work.
To take your project to the next level, consider the following advanced finishing touch tools:
-
Orbital Sanders: Ideal for smoothing out surfaces, orbital sanders provide a high-quality finish and are fundamental for removing imperfections.
-
Detail Sanders: These precision tools allow you to access tight spaces and corners, perfect for intricate trim work and molding.
-
Finishing Nails: Designed for precise control, finishing nails guarantee a seamless finish, blending with the surrounding material for a flawless appearance.
Proper tool maintenance is vital to guarantee these advanced finishing touch tools continue to perform at their best. Regularly clean and store your tools to prevent damage and extend their lifespan.
Frequently Asked Questions
Can I Use a Concrete Sealer on Newly Poured Concrete?
You're wondering if you can use a concrete sealer on newly poured concrete. Here's the deal: you need to wait.
Applying a sealer too soon can trap excess moisture, compromising the concrete's strength.
Acrylic and silane-based sealers can be applied 28 days after pouring, while siloxane-based sealers require a 6-month wait.
Make certain to choose the right sealer type and timing for your project to guarantee the best results.
Do I Need to Prime the Surface Before Applying a Sealer?
You're about to take the plunge, applying a sealer to your newly poured concrete. But hold on, don't rush in just yet!
You're wondering if priming the surface is a necessary step. The answer is, it depends. Proper surface preparation is vital for a successful seal.
If your concrete is porous or has been previously treated, priming may be essential. Skipping this step can lead to uneven sealing techniques and a subpar finish.
Are All Concrete Sealers Suitable for Outdoor Use?
You shouldn't assume all concrete sealers are suitable for outdoor use.
When it comes to outdoor durability, not all sealers are created equal.
You'll need to choose a sealer that can withstand harsh weather conditions, UV rays, and thermal shock.
Look for sealer types specifically designed for outdoor use, such as silane-modified polyethers or siloxanes, which offer superior protection against the elements.
How Long Does It Take for a Concrete Sealer to Fully Dry?
Can you really afford to wait around for your concrete sealer to dry?
When it comes to drying time, you're at the mercy of two key factors: drying conditions and sealer types.
Depending on the environment, drying conditions can range from a few hours to several days.
Acrylic sealers typically dry within 1-2 hours, while polyurethane and epoxy-based sealers can take 24 hours or more.
Make sure you plan ahead and choose the right sealer for your project's timeline.
Can I Apply a Concrete Sealer Over Existing Paint or Coatings?
When you're planning to apply a concrete sealer, you'll need to verify it's compatible with any existing paint or coatings.
You can't just slap it on; proper adhesion is key. Check the sealer's specs to see if it's compatible with your existing paint or coatings.
If not, you'll need to strip the old finish before applying the new sealer.
Otherwise, you risk poor paint adhesion, which can lead to peeling or flaking.
Conclusion
As you wrap up your DIY renovation, remember that a successful seal is just as important as the project itself.
Did you know that a well-sealed surface can increase the lifespan of your renovation by up to 50%?
With the right tools, you can guarantee a professional-grade finish that will make your project stand out.
From essential concrete sealing tools to high-quality surface preparation equipment, you've got the know-how to take your DIY renovation to the next level.
Related Posts
-

DIY Plastering Supply Checklist for Home Renovation
To tackle a DIY plastering project for your home renovation, you'll need a solid checklist of supplies. Start with es...
-

What to Look for in Pneumatic Renovation Tools
When selecting pneumatic renovation tools, you'll want to take into account several key factors to guarantee optimal ...
-
Get Discounted Plastering Tool Sets for DIY Renovations
You can find discounted plastering tool sets online, at local hardware stores, and thrift stores, offering a range of...


