Top Hand Tools for Home Renovation Success
Share
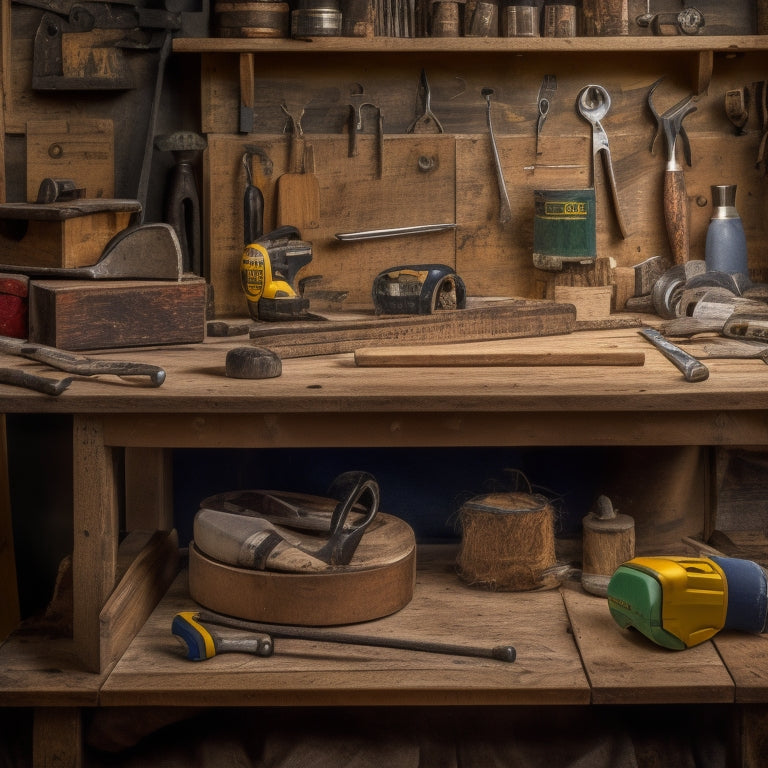
To guarantee home renovation success, you'll need a reliable arsenal of hand tools that cater to various tasks. Essential grip and hold tools like pliers and clamps provide control, while cutting and shaping tools like circular saws, miter saws, and jigsaws deliver precision cuts. Measuring and marking tools, such as tape measures and levels, assure accuracy, and fastening and joining tools like screwdrivers and wrenches secure materials. Sanding and smoothing tools, prying and lifting tools, and safety essentials like protective gear round out your arsenal. With these tools at your disposal, you'll be well-equipped to tackle any renovation task, and by exploring each category further, you'll reveal the secrets to achieving exceptional results.
Key Takeaways
• A reliable arsenal of hand tools is necessary for home renovation tasks, including grip and hold tools, cutting and shaping tools, and more.
• Ergonomic design and high-quality materials improve tool performance, durability, and user comfort during extended use.
• Mastery of various cutting tools, such as circular saws, miter saws, and jigsaws, is essential for precision cuts and shapes.
• Accurate measurements and markings are vital, and high-quality tools like tape measures, leveling tools, and marking tools ensure precision and reliability.
• Safety and protection essentials, including protective eyewear, gloves, hearing protection, and dust masks, are crucial for preventing accidents and injuries during renovation tasks.
Essential Grip and Hold Tools
As you commence your home renovation journey, a reliable arsenal of grip and hold tools is essential for tackling various tasks, from tightening loose screws to securing heavy materials in place.
You'll need tools that provide a secure grip, allowing you to work efficiently and safely. Look for grip and hold tools with ergonomic designs, which will reduce fatigue and discomfort, even during extended use. The grip textures of these tools are also vital, as they can greatly impact your ability to maintain control. For instance, a tool with a rubberized grip can provide a secure hold, even in slippery conditions.
When selecting grip and hold tools, consider the specific tasks you'll be performing. Pliers, for example, are ideal for gripping and bending various objects, while clamps are better suited for holding materials in place.
Additionally, consider the material and construction of the tools, as well as any additional features that may enhance their performance. By investing in a range of grip and hold tools, you'll be well-equipped to tackle any task that comes your way, and complete your home renovation project with confidence.
Cutting and Shaping Tools
When you're tackling a home renovation project, you'll need to make precise cuts and shapes in various materials.
To achieve professional-looking results, you'll want to master the use of cutting and shaping tools, including circular saws, miter saws, and jigsaws.
Circular Saw Essentials
You'll need a reliable circular saw to tackle various cutting and shaping tasks in your home renovation project, so selecting the right one is vital. When choosing a circular saw, consider the motor's power, blade size, and speed. A saw with a high-torque motor and a 7-1/4 inch blade is ideal for most tasks. Additionally, look for a saw with a variable speed control to enhance performance and blade life.
Proper circular saw maintenance is essential to guarantee peak performance and extend the tool's lifespan. Regularly clean the saw's exterior and blade, and check for worn or damaged parts. Lubricate the saw's pivot points and check the blade's alignment to prevent kickback.
Furthermore, always follow circular saw safety guidelines to avoid accidents. Wear protective gear, including safety glasses and gloves, and keep your work area clean and well-lit. Never reach over the saw blade, and always keep your hands away from the cutting area.
Miter Saw Accuracy
Accurate cuts rely on a miter saw's precise calibration, so it is essential to regularly check and adjust the saw's bevel and miter scales to assure square cuts. You'll want to verify the saw is properly calibrated before starting your project to avoid costly mistakes. In addition to calibration, proper miter saw maintenance is key to achieving accurate cuts. This includes regularly cleaning the saw's blade and rails, as well as lubricating the moving parts.
To take your miter saw techniques to the next level, consider the following tips:
| Technique | Description | Benefits |
|---|---|---|
| Fine-tune bevel scale | Adjust bevel scale to guarantee precise angled cuts | Increased accuracy, reduced waste |
| Use a high-tooth-count blade | Opt for a blade with 60-80 teeth for smoother cuts | Improved finish, reduced sanding |
| Implement a zero-clearance insert | Reduce debris and improve cut quality | Increased safety, reduced maintenance |
| Practice, practice, practice | Develop muscle memory for precise cuts | Increased confidence, improved results |
| Regularly check for square | Verify the saw's squareness to prevent errors | Accurate cuts, reduced rework |
Jigsaw Curve Control
To master jigsaw curve control, start by selecting the right blade for your project, as the tooth count, material, and geometry all impact the saw's ability to make precise, curved cuts.
You'll want to choose a blade with a high tooth count (14-24 TPI) for smooth, accurate cuts, and consider a blade with a curved or angled geometry for tighter radius cuts.
Additionally, consider the material you're cutting - a bi-metal or high-carbon steel blade will handle wood and metal with ease, while a diamond-coated blade is ideal for tile or concrete.
Once you've selected the right blade, it's time to focus on your jigsaw cutting techniques.
Use a slow, steady motion to maintain control, and apply gentle to moderate pressure - too much pressure can cause the blade to wander or bind.
For tighter curves, use a shorter stroke and adjust your cutting angle to maintain consistent contact with the material.
Measuring and Marking Tools
When it comes to measuring and marking tools, you'll quickly realize that accuracy is vital in home renovation.
You'll need to make certain that your measurements are precise and your marks are accurate, which is why investing in high-quality tools is essential.
From tape measures that provide exact lengths to levels that guarantee straight lines, you'll be relying on these tools to get the job done correctly.
Tape Measures Matter
Measuring rooms, walls, and objects with precision requires a reliable tape measure that can withstand the rigors of repeated use.
You'll find various tape measure types on the market, including fiberglass, steel, and hybrid models. Fiberglass tapes are ideal for indoor use, offering flexibility and resistance to abrasion. Steel tapes, on the other hand, are more durable and suitable for heavy-duty applications. Hybrid tapes combine the benefits of both, providing a balance between flexibility and durability.
When selecting a tape measure, accuracy is paramount. Look for a tape with a high level of precision, typically ±1/16 inch or ±1 mm.
A high-quality tape measure will also feature a rugged design, ergonomic grip, and a clear, easy-to-read display. You may also want to take into account a tape measure with additional features, such as fractional readings, stud markings, or a built-in calculator.
Leveling Is Key
Leveling Is Key
Accurate leveling is essential in home renovation, as even slight deviations from true horizontal or vertical can throw off entire projects, so you'll need a reliable level to guarantee your work is square and plumb. A quality level guarantees that your cabinets, shelves, and countertops are perfectly aligned, which is critical for both aesthetics and functionality.
To master leveling techniques, you'll need to invest in the right leveling tools. Here are a few essentials to take into account:
| Leveling Tool | Description |
|---|---|
| Bubble Level | A classic, affordable option for checking horizontal and vertical surfaces |
| Laser Level | Projects a precise, self-leveling line or dot for more complex tasks |
| Digital Level | Provides precise, digital readings for accurate measurements |
| Torpedo Level | Compact, versatile option for tight spaces and small projects |
When choosing a level, think about the specific demands of your project. Will you be working with large, heavy materials or tight, confined spaces? Select a level that fits your needs and budget, and don't be afraid to invest in a high-quality tool – it's an investment in the success of your renovation. By mastering leveling techniques and using the right tools, you'll guarantee that your finished project is precise, professional, and built to last.
Marking With Precision
You'll need to accurately transfer measurements to your materials, and that's where measuring and marking tools come in, guaranteeing your cuts, drills, and installations are precise and error-free.
A quality tape measure will become your go-to for taking precise readings, while a combination square will help you achieve perfect 90-degree angles.
When it comes to marking techniques, a fine-tip marker or a pencil with a sharpener will allow you to make precise marks on various surfaces.
For alignment strategies, consider investing in a laser level or a straightedge to ensure your marks are straight and true.
Don't underestimate the importance of a level and plumb tool, which will guarantee your markings are perfectly horizontal or vertical.
By incorporating these measuring and marking tools into your arsenal, you'll be able to tackle even the most complex renovation tasks with confidence.
With precise measurements and accurate markings, you'll be well on your way to achieving professional-looking results.
Fastening and Joining Tools
When tackling a home renovation project, having the right fastening and joining tools at your disposal enables you to efficiently assemble and secure various components, from cabinets and countertops to flooring and roofing systems. You'll need a variety of screwdrivers, including flathead, Phillips, and hex (or Allen) drivers, to tackle different screw types. Don't forget bolt options, such as socket sets and wrenches, for securing heavier loads.
Here's a breakdown of essential fastening and joining tools to contemplate:
| Tool | Description | Uses |
|---|---|---|
| Screwdriver set | Includes flathead, Phillips, and hex drivers | Assembling cabinets, installing fixtures |
| Socket set | Covers various bolt sizes and types | Securing heavy loads, like roofing and flooring |
| Wrench set | Includes adjustable and fixed wrenches | Tightening and loosening bolts and nuts |
With these tools in your arsenal, you'll be well-equipped to tackle a range of fastening and joining tasks, ensuring your renovation project stays on track. Remember to choose high-quality tools that fit comfortably in your hand, providing the precision and control you need to get the job done right.
Sanding and Smoothing Tools
Your arsenal of sanding and smoothing tools is essential for achieving a professional-grade finish, as these implements help to refine and perfect surfaces, removing imperfections and preparing them for painting, staining, or sealing.
With the right tools, you'll be able to master various sanding techniques, ensuring a smooth finish that's free of scratches and swirl marks.
To get started, you'll need the following sanding and smoothing tools:
-
Belt sander: Ideal for removing old finishes, sanding large surfaces, and shaping wood.
-
Orbital sander: Perfect for sanding curved surfaces, removing rust, and polishing metal.
-
Detail sander: Great for sanding small areas, such as corners and crevices, and for intricate work.
-
Hand sanders: Essential for fine-tuning and smoothing out surfaces by hand.
-
Sandpaper: Available in various grits, this is a must-have for any sanding and smoothing task.
Prying and Lifting Tools
Prying and lifting tools are vital for dislodging and removing materials, such as old flooring, baseboards, or molding, without damaging surrounding surfaces. You'll need these tools to get the job done efficiently and effectively.
A pry bar, also known as a crowbar, is a must-have in your toolkit. When using a pry bar, it's important to employ proper crowbar techniques to avoid damaging adjacent surfaces. Start by inserting the pry bar into a gap or crevice, then apply gentle pressure while leveraging the tool to dislodge the material. Remember to always maintain control and use your body weight to your advantage.
It's equally important to prioritize pry bar safety. Always wear protective gear, such as gloves and safety glasses, and guarantee a secure grip on the tool. Be mindful of your surroundings and keep bystanders at a safe distance. Additionally, never use a pry bar near electrical outlets or wires, and avoid applying excessive force, which can lead to accidents or damage.
Safety and Protection Essentials
As you commence your home renovation project, you must prioritize safety and protection by equipping yourself with essential gear to prevent injuries and damage. Safety should never be compromised, and investing in the right safety gear will guarantee a smooth and successful project.
Here are the must-haves for your safety and protection essentials:
-
Protective eyewear: Safety glasses or goggles will shield your eyes from debris, dust, and other hazards.
-
Work gloves: Heavy-duty gloves will provide grip, protection, and comfort for your hands while handling tools and materials.
-
Hearing protection: Earplugs or earmuffs will safeguard your hearing from loud power tools and machinery.
-
Dust masks: Respiratory protection will prevent inhalation of dust, fibers, and other airborne particles.
-
First aid kit: A well-stocked first aid kit will enable you to respond promptly to minor accidents and injuries.
Frequently Asked Questions
How Often Should I Clean and Maintain My Hand Tools?
You should clean and maintain your hand tools regularly to guarantee tool longevity.
Create a maintenance schedule to stay on track.
Daily, wipe down tools with a dry cloth to remove dirt and debris.
Weekly, inspect tools for rust or damage, and apply lubricant as needed.
Monthly, disassemble and clean complex tools, and sharpen cutting edges.
Can I Use Hand Tools for Outdoor Construction Projects?
Just like a trusted compass guides you through uncharted territories, you're wondering if your hand tools can navigate the wilds of outdoor construction projects.
The answer is yes, but with caution. You'll need to prioritize outdoor durability when selecting tools, opting for rust-resistant materials and weather-sealed components.
Make smart tool selections, and you'll be well-equipped to tackle the elements and bring your outdoor vision to life.
Are Hand Tools Suitable for DIY Projects With Children?
When tackling DIY projects with kids, you're not only bonding but also teaching valuable skills. However, you must prioritize child safety above all.
Start by introducing age-appropriate hand tools, ensuring a comfortable grip and manageable weight. Provide thorough tool education, demonstrating proper usage and emphasizing safety precautions.
As you work together, supervise closely, and encourage your child to ask questions, fostering a culture of caution and respect for tools.
Can I Share Hand Tools With Friends and Family?
You're probably tempted to lend your prized tools to friends and family, but think twice.
While it's generous to share, tool sharing can be a recipe for disaster if you don't consider safety.
You've invested in quality tools, and you know how to handle them safely.
However, others may not be as familiar, and accidents can happen.
Weigh the risks and set clear guidelines before sharing to guarantee everyone's safety and your tools' longevity.
How Do I Store Hand Tools When Not in Use?
When you're not using your hand tools, you need a solid storage strategy to keep them organized and within reach.
You'll want to invest in tool organization systems, like cabinets, drawers, or pegboards, that allow you to categorize and store each tool efficiently.
Look for storage solutions with adjustable compartments, dividers, and labels to maximize space and minimize clutter.
Conclusion
As you stand in your newly renovated home, surrounded by the fruits of your labor, you can't help but think it was no coincidence that having the right tools made all the difference.
With the essential grip and hold tools, cutting and shaping tools, and the rest, you were able to bring your vision to life.
You've proven that with the right arsenal, even the most intimidating tasks can become manageable.
Your hard work and the right tools have resulted in a beautiful, functional space that's truly your own.
Related Posts
-

Why Use Concrete Blocks in Home Renovation
You're considering using concrete blocks in your home renovation, and for good reason: they offer a unique combinatio...
-

What Tools to Rent for Block Wall Renovation
When renovating a block wall, it's vital to have the right tools for the job. You'll need demolition tools like pry b...
-

7 Best Plastering Bat Sizes for DIY Renovations
When tackling DIY renovations, you'll want to choose the right plastering bat size to achieve a professional-looking ...


