Repair Tool Hacks for DIY Home Renovation Success
Share
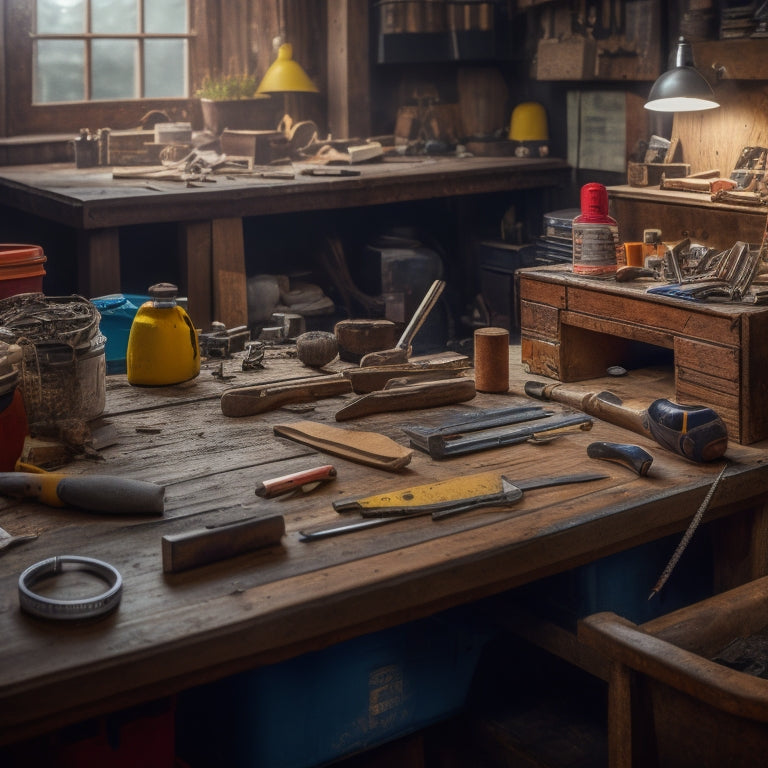
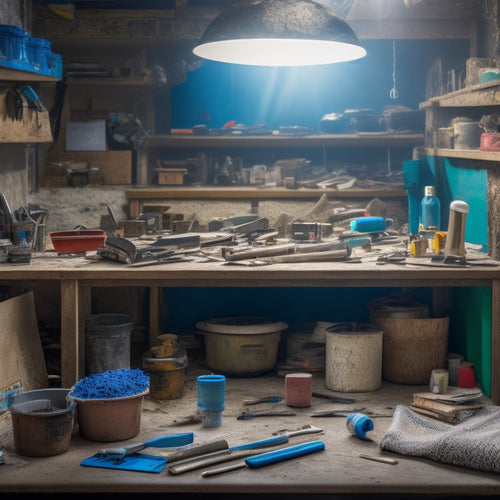
You're about to reveal the secrets to transforming your DIY home renovation project from mediocre to magnificent with the right repair tool hacks. Start with essential concrete block repair tools like a level and string line, hammer and chisel, and trowel and jointer. Then, master mixing and application techniques with reliable mixers and trowel tricks. Precision cutting tools, leveling tools, and measuring tools will also elevate your project. Don't forget critical cleaning tools and safety gear to protect yourself from debris and hazards. With these hacks, you'll be well on your way to a successful renovation - and there's even more to discover to take your project to the next level.
Key Takeaways
• Ensure perfect mortar consistency with a reliable mixer, and choose the right blade type for concrete cutting to achieve professional results.
• Invest in quality tools like grout floats, pointing trowels, and laser levels to enhance project quality and avoid costly mistakes.
• Use safety gear essentials like gloves, safety glasses, and hard hats to protect yourself from debris and chemicals during renovation.
• Master mixing and application techniques, such as the fold and scrape method, to achieve a smooth finish and seamless repair.
• Practice makes perfect, so experiment with different pointing and grouting methods to develop your skills and achieve a flawless finish.
DIY Concrete Block Repair Tool Essentials
When tackling a concrete block repair project, you'll need a few essential tools to get the job done efficiently and effectively.
First, you'll need a level and a string line to guarantee your blocks are straight and level. A hammer and chisel will come in handy for breaking away old mortar and removing damaged blocks. Don't forget a trowel for applying new mortar and a jointer for finishing the joints.
When selecting blocks, consider block selection strategies such as choosing blocks with similar texture and color to the originals. This will ensure a seamless repair. You'll also need to decide on repair material options, like type S or N mortar, and whether to use a sand or cement-based mix.
Additionally, a wheelbarrow or mixing tub, a shovel, and a hose will be necessary for mixing and transporting mortar. Safety gear like gloves, safety glasses, and a dust mask are must-haves to protect yourself from debris and dust.
With these tools, you'll be well-equipped to tackle your concrete block repair project like a pro.
Must-Have Mixers for Mortar Magic
You'll need a reliable mixer to achieve the perfect mortar consistency, so it's important to explore the best options for mixing magic. For DIY home renovation projects, it's vital to choose the right mixer type for the task at hand. Drum mixers are ideal for large batches, while paddle mixers are better suited for smaller quantities. If you're working with epoxy-based mortars, consider a high-torque mixer to handle the thick, viscous material.
Mastering blending techniques is also significant for achieving the perfect mortar consistency. Start by adding the dry ingredients to the mixer, followed by the wet ingredients. Use a slow, controlled motion to combine the mixture, avoiding over-mixing, which can lead to a weak bond.
For a more uniform blend, try the 'fold and scrape' method, where you fold the mixture towards the center and scrape the sides of the mixer.
Trowel Tricks for Smooth Finishes
When you're working with a trowel, you're aiming for a smooth finish, and it all starts with your technique.
You'll get the best results if you hold your trowel at a right angle to the surface, which helps prevent unevenness and guarantees a consistent coat.
Hold at Right Angle
To achieve a smooth finish, hold your trowel at a 90-degree angle to the surface, allowing you to spread the material evenly and scrape off excess with a single, fluid motion. This technique guarantees a consistent layer, preventing unevenness and lumps.
When measuring the angle, use right angle tools like a combination square or a bevel gauge to confirm accuracy. A precise angle measurement is essential, as even the slightest deviation can affect the overall finish.
As you work, maintain the 90-degree angle by keeping your wrist straight and your arm firm. This will help you apply consistent pressure, resulting in a smooth, even layer.
Remember to move the trowel in a single direction, following the surface's contours. Avoid applying too much pressure, which can cause the material to ooze out beyond the edges.
Clean as You Go
How much time and effort will you save by cleaning your trowel and surrounding area frequently, preventing dried material from building up and making the job much harder? By incorporating a cleaning schedule into your workflow, you'll avoid the frustration of dealing with clogged trowels and messy workspaces.
As you work, make it a habit to wipe your trowel clean with a damp cloth after each use. This efficient organization tip will save you time in the long run and guarantee a smooth finish.
Don't let dried material build up and harden on your trowel, making it difficult to remove. Instead, take a few seconds to clean as you go, and you'll be rewarded with a professional-looking finish.
Concrete Block Cutting Pro Tips
You'll likely need to cut concrete blocks to fit around obstructions or to create a custom pattern, and having the right techniques makes all the difference. When it comes to cutting concrete blocks, you'll want to master various cutting techniques to achieve precise cuts.
For instance, you can use a masonry saw or a circular saw with a diamond blade to make straight cuts. For curved cuts, consider using a masonry blade on a grinder or a concrete saw.
Blade selection is also vital. A diamond blade is ideal for cutting through concrete, as it's durable and resistant to wear. However, it's important to choose the right type of diamond blade for your saw, as some are designed specifically for dry cutting or wet cutting.
Additionally, consider the blade's thickness and the type of concrete you're working with. With the right cutting techniques and blade selection, you'll be able to make accurate cuts and achieve professional-looking results.
Leveling Tools for Perfect Alignment
With your concrete blocks cut to size, now it's time to guarantee they're perfectly aligned, and that's where leveling tools come in. You can't afford to have your blocks skewed, or your entire structure will be compromised. That's why investing in a good leveling tool is essential for DIY home renovation success.
You have two primary options: laser levels and spirit levels. Laser levels are ideal for larger projects, as they project a precise level line across your workspace. They're especially handy for ensuring your walls are perfectly plumb.
Spirit levels, on the other hand, are more versatile and can be used for smaller tasks, like leveling individual blocks or checking the accuracy of your laser level.
When choosing a leveling tool, look for accuracy, durability, and ease of use. Don't skimp on quality, as a faulty leveling tool can lead to costly mistakes down the line.
Pointing and Grouting Game Changers
Two essential steps in achieving a professional-looking finish are mastering the art of pointing and grouting, which can make all the difference in your DIY home renovation project.
You've invested time and effort into leveling and aligning your surfaces, and now it's time to bring it all together with a flawless pointing and grouting job.
To take your pointing game to the next level, remember these game-changing tips:
-
Choose the right grout type: Select a grout that complements your tile and suits your project's specific needs, such as epoxy-based grout for high-traffic areas or acrylic grout for more flexibility.
-
Master the pointing techniques: From the 'buttering' method to the 'push-pull' technique, experiment with different approaches to find what works best for you and your tile.
-
Use the right tools: Invest in a high-quality grout float and a pointing trowel to guarantee a smooth, even application.
- Practice makes perfect: Don't be discouraged if your first attempts don't turn out as expected – keep practicing, and you'll soon be a pointing and grouting pro!
Cleaning Tools for a Fresh Start
Cleaning Tools for a Fresh Start
Stock your cleaning arsenal with the right tools to tackle dirt, grime, and old adhesive residue, guaranteeing a fresh start for your DIY home renovation project. You'll need a combination of scrubbers, solvents, and cleaning solutions to get the job done. Here are some essentials to add to your cleaning kit:
| Tool | Purpose | Tips |
|---|---|---|
| Wire brush | Remove grout, mortar, and old adhesive | Use gentle strokes to avoid scratching surfaces |
| Solvent-based cleaner | Dissolve grease, grime, and old adhesive | Wear gloves and work in a well-ventilated area |
| Microfiber cloths | Dust and clean surfaces without leaving streaks | Machine wash and reuse for best tool maintenance |
When it comes to cleaning techniques, remember to always work from top to bottom to prevent dirt and debris from spreading. Regular tool maintenance is also vital to guarantee your cleaning arsenal stays effective. Clean and store your tools properly after each use, and replace them when necessary. By following these tips, you'll be well on your way to a fresh start for your DIY home renovation project.
Safety Gear for Protection First
As you start your DIY home renovation project, you're probably excited to get hands-on with the construction.
But before you pick up a hammer or power tool, remember that safety comes first.
You'll need to gear up with the right protective equipment to prevent injuries, and that's where eye protection, hard hats, and gloves come into play.
Eye Protection Essentials
Protect your peepers from potential projectiles by investing in high-quality eye protection gear before you start demolition or renovation work. You don't want to risk permanent eye damage from flying debris, dust, or chemical splashes. Safety glasses and face shields are must-haves for any DIY enthusiast.
Here are some essentials to take into account:
-
Safety glasses with anti-fog coating: Prevents fogging and guarantees clear vision even in humid environments.
-
Face shields with impact-resistant lenses: Provides additional protection for your face and eyes from heavy debris.
-
Goggles with ventilation: Reduces fogging and allows for airflow to prevent moisture buildup.
- Prescription safety glasses: If you wear glasses, don't compromise on safety – invest in prescription safety glasses that meet ANSI standards.
Hard Hat Necessities
You'll likely spend a lot of time under ceilings, roofs, and overhead structures during your renovation project, so make sure you're wearing a hard hat that meets ANSI standards to safeguard your skull from falling objects and debris.
A good hard hat is made from durable materials like high-density polyethylene (HDPE) or fiberglass, which can withstand impacts and protect your head.
Look for hats with a suspension system that absorbs shock and distributes the force of impact. Hard hat accessories like chin straps, visors, and ear protection can enhance your safety and comfort.
Consider a hat with a built-in sweatband to keep you dry and focused on the task at hand.
Don't forget to inspect your hard hat regularly for signs of wear and tear, and replace it if it's damaged or expired.
Glove Safety Features
With your head safely protected, it's time to turn your attention to your hands, which will be handling power tools, rough materials, and sharp objects. This makes gloves with specific safety features a must-have for DIY home renovation projects. You'll want gloves that provide protection without compromising dexterity or grip.
Here are some key features to look for:
-
Glove materials: Look for gloves made from durable, cut-resistant materials like Kevlar, synthetic yarns, or high-quality leather. These will provide protection against cuts, abrasions, and punctures.
-
Grip technology: A good grip is essential for maintaining control of tools and materials. Look for gloves with grip technology that provides traction, even in wet or oily conditions.
-
Palm reinforcement: A reinforced palm will help prevent blisters and abrasions, allowing you to work for longer periods without fatigue.
- Finger protection: Some gloves offer additional protection for your fingers, such as reinforced fingertips or padding to prevent injury from impact or compression.
Measuring Tools for Precision Matters
Take precise measurements by investing in a reliable set of measuring tools, as inaccurate calculations can lead to costly mistakes and wasted materials. You'll be amazed at how often you'll reach for these essential tools during your DIY home renovation project.
Here are some must-haves to get you started:
| Measuring Tool | Description |
|---|---|
| Measuring Tape | Flexible, retractable tape for measuring distances up to 25 feet |
| Digital Caliper | Precise, electronic caliper for measuring small distances with accuracy up to 0.01mm |
| Level | Guarantees surfaces are perfectly horizontal or vertical for precise installations |
| Laser Measure | Quickly measures distances and calculates area and volume with high accuracy |
These measuring tools will help you achieve precision in your DIY projects. With them, you'll be able to make accurate cuts, installations, and adjustments, guaranteeing a professional-looking finish. Remember, precision matters, and the right tools will make all the difference in your renovation success.
Frequently Asked Questions
Can I Use a Drill as a Makeshift Mixing Tool for Mortar?
You're wondering if you can use a drill as a makeshift mixing tool for mortar. While it's possible, it's not the most effective method.
You'll end up with an uneven mix and potentially damaging your drill. Instead, invest in drill attachments specifically designed for mixing, like a paddle or mixing bit.
They'll help you master various mixing techniques, ensuring a smooth, consistent blend. It's worth the extra cost for a professional-looking finish.
How Do I Prevent Trowel Marks on Freshly Laid Concrete Blocks?
You're trying to smooth out a freshly laid concrete block, but those pesky trowel marks keep ruining the finish.
Think of your trowel as a dance partner - you need to glide across the surface in harmony.
Focus on your trowel technique, holding it at a 45-degree angle and applying gentle pressure.
For concrete smoothing, use long, sweeping strokes, feathering the edges to blend with the surrounding area.
This will help you achieve a seamless finish, and your concrete block will look like a pro's work.
What Is the Best Way to Store Leftover Mortar for Future Use?
When it's time to store leftover mortar, you'll want to preserve it for future use. To do this, you'll need to master mortar storage techniques.
First, remove as much air as possible from the container to prevent drying. Then, seal the container tightly and store it in a cool, dry place.
Another trick is to add a layer of water on top to prevent the mortar from setting.
With these leftover mortar preservation tips, you'll be ready to tackle your next project.
Can I Use a Pressure Washer to Clean Concrete Block Surfaces?
You're wondering if a pressure washer is the right tool to clean concrete block surfaces. The answer is yes, but with caution!
A pressure washer can be a huge time-saver, blasting away dirt and grime with ease. However, be mindful of the pressure setting to avoid damaging the block.
For ideal concrete block maintenance, use a wide fan tip and keep the nozzle at least 12 inches away from the surface. This will guarantee a thorough clean without causing damage.
Are There Any Eco-Friendly Alternatives to Traditional Concrete Block Materials?
You're looking for eco-friendly alternatives to traditional concrete block materials.
You'll be happy to know there are sustainable materials that can replace or reduce concrete usage.
Consider using recycled aggregates, like reclaimed asphalt or crushed glass, to create a more environmentally friendly structure.
Additionally, explore options like bamboo blocks, rammed earth, or even 3D-printed blocks made from recycled materials.
These innovative solutions can help you build a more sustainable and eco-conscious space.
Conclusion
You've made it! With these repair tool hacks in your DIY arsenal, you're ready to tackle that home renovation project like a pro.
Remember, having the right tools is just the beginning. According to the National Association of Home Builders, 83% of homeowners who undertake DIY projects report feeling a sense of accomplishment and pride in their work.
So, get out there and start building – your sense of pride is waiting!
Related Posts
-

5 Best Home Renovation Project Timeline Checklists
You're looking for a clear understanding of the timeline for your home renovation project. A good place to start is w...
-

Stucco Tool Kit Checklist for Home Renovation
You'll need a thorough stucco tool kit to guarantee a successful home renovation, as the right tools can make all the...
-

Get Discounted Plastering Tool Sets for DIY Renovations
You can find discounted plastering tool sets online, at local hardware stores, and thrift stores, offering a range of...


