Must-Have Tools for Bricklaying Home Renovation Success
Share
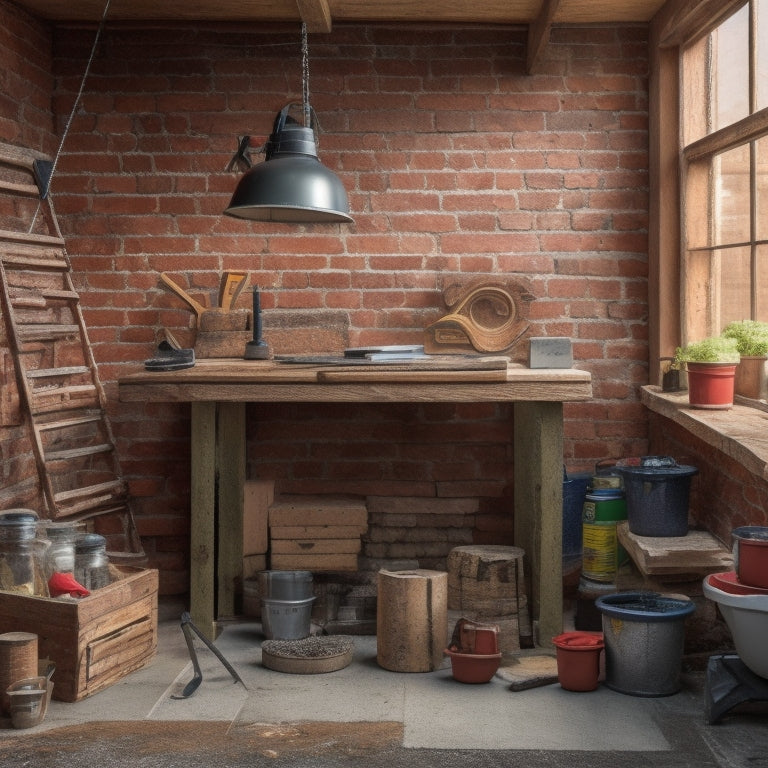
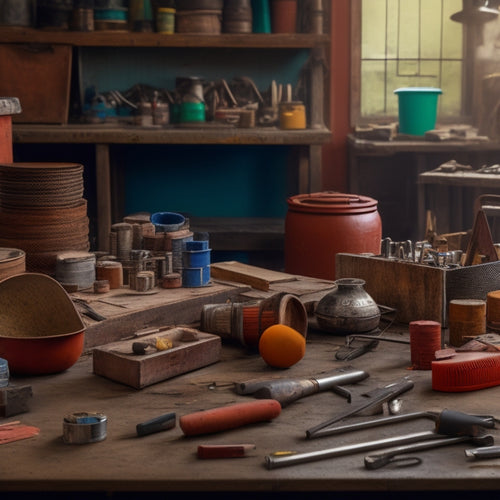
As you prepare for your bricklaying home renovation project, ensuring you have the right tools is essential for success. You'll need fundamental hand tools like trowels, jointers, and hammers, as well as measuring and marking tools like tape measures and chalk lines. Mixing and mortar tools, such as mortar mix and mixing paddles, are also important, along with tamping and leveling essentials like tamping trowels and spirit levels. Don't forget cutting and shaping tools, safety gear, and cleaning and finishing tools. With the right tools in your arsenal, you'll be well-equipped to tackle your project with confidence, and discover the nuances that set professionals apart from DIYers as you move forward.
Key Takeaways
• Essential hand tools like trowels, jointers, and hammers are crucial for bricklaying tasks such as scooping, spreading, and tapping bricks into place.
• Accurate measuring and marking tools like tape measures, chalk lines, and spirit levels ensure straight and level walls, preventing structural issues.
• Mixing and mortar tools like mortar mix, mixing paddles, and tamping trowels are vital for achieving uniform mortar consistency and structural integrity.
• Safety gear and protective wear like hard hats, safety goggles, gloves, and steel-toed boots are must-haves to prevent injuries and ensure a safe working environment.
• Cleaning and finishing tools like wire brushes, joint rakes, and pointing trowels are necessary for removing excess mortar, tidying up joints, and achieving a polished finish.
Essential Hand Tools for Bricklaying
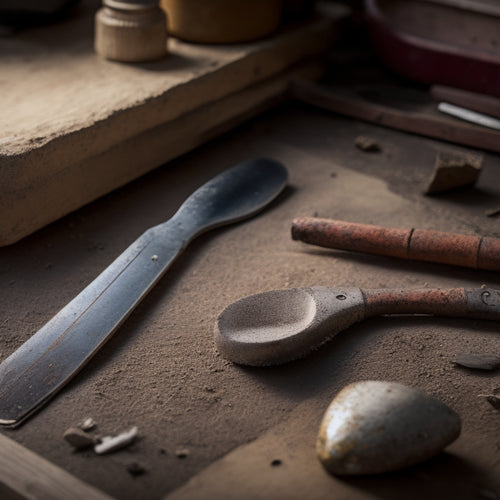
With a solid foundation in bricklaying techniques, you'll need the right set of essential hand tools to bring your projects to life. Think of these tools as your trusty sidekicks, helping you lay bricks like a pro.
First, you'll need a sturdy trowel for scooping and spreading mortar. Don't skimp on quality here, as a good trowel will last you a lifetime.
Next, grab a jointer or pointing trowel for smoothing out excess mortar between bricks. You'll also need a spirit level to verify your walls are straight and level.
Don't forget a hammer for tapping bricks into place and a bolster chisel for removing excess mortar. Finally, invest in a tool belt or pouch to keep your essentials within easy reach.
Remember, tool maintenance is key to extending the life of your gear. Regularly clean and store your tools to prevent rust and damage.
With these must-haves in your arsenal, you'll be well on your way to creating stunning brickwork that'll make even the most seasoned pros jealous!
Measuring and Marking Tools
Measure twice, cut once is a mantra that rings particularly true in bricklaying, where precise measurements and markings are essential to achieving perfectly aligned courses and avoiding costly mistakes.
You can't afford to wing it when it comes to measuring and marking your brickwork. That's why you'll need reliable tape measures that can withstand the rigors of the job site. Invest in a good-quality tape measure that's durable, accurate, and has a sturdy hook that won't slip off the edge of your workpiece.
When it comes to marking your courses, chalk lines are the way to go. They allow you to snap accurate lines quickly and easily, ensuring your bricks are aligned perfectly.
Don't bother with cheap, flimsy chalk lines that will break or wear out quickly – you need ones that can withstand the demands of your project.
With the right measuring and marking tools, you'll be able to achieve professional-looking results that will make your clients proud. Remember, precision is key in bricklaying, and with these tools, you'll be well on your way to creating a masterpiece.
Mixing and Mortar Tools
When you're working with brick, getting the mortar mix just right is vital.
You'll need the right tools to make certain you're creating a consistent blend that will hold your structure together.
Now, let's take a closer look at the essential tools you'll need to mix and prepare mortar like a pro.
Mixing the Perfect Blend
You're about to create the foundation of a structurally sound bricklaying project by crafting the perfect blend of mortar, a delicate balance of strength, workability, and durability that relies on the right mixing tools.
The art of mixing mortar is all about mastering the right techniques and selecting the ideal mortar type for your project. As you get started, remember that there's no one-size-fits-all approach to mixing mortar. You'll need to experiment with different mixing techniques, such as the 'dash' or 'dollop' method, to find what works best for you and your specific project needs.
When it comes to mortar types, you'll encounter a range of options, including Type S, Type N, and Type M. Each type is suited for specific applications, so it's crucial to choose the right one for your bricklaying project.
For example, Type S mortar is perfect for high-strength applications, while Type N is better suited for general-purpose use.
With the right mixing tools and a solid understanding of mortar types, you'll be well on your way to crafting a blend that's strong, durable, and ready to support your bricklaying masterpiece.
Mortar Mixing Paddles
With a sturdy mortar mixing paddle in hand, you'll be able to effectively combine and blend your carefully selected mortar ingredients into a uniform, workable mix. This essential tool is the backbone of any successful bricklaying project, ensuring that your mortar is smooth, consistent, and ready for application.
When it comes to mortar paddle types, you've got options. From the classic square-edged paddle to the rounded-edge and corner-notched varieties, each design serves a specific purpose. The key is to choose the one that suits your mixing style and the type of mortar you're working with.
Here are some tips to keep in mind for ideal paddle performance:
-
Regularly clean and dry your paddle to prevent mortar buildup and rust.
-
Inspect your paddle for signs of wear, replacing it when necessary to maintain mixing efficiency.
-
Store your paddle in a dry place, protected from the elements and potential damage.
Measuring Mortar Consistency
Now that you've mixed your mortar to perfection, it's time to evaluate its consistency, a critical factor in achieving a strong, durable bond between bricks. You don't want your hard work to crumble, literally!
Consistency assessment is key to ensuring your mortar is neither too runny nor too thick. You'll need a few simple tools for mortar testing.
Grab your trusty trowel and scoop up a small amount of mortar. Hold the trowel vertically, and if the mortar sticks to the trowel without sagging, it's too thick. If it slides right off, it's too thin.
The sweet spot is when it holds its shape but still flows slightly. You can also perform the 'squeeze test' by placing a small amount of mortar between your thumb and index finger. If it oozes out easily, it's good to go! If not, it's back to the mixing board for you.
Tamping and Leveling Essentials
Tamping and leveling tools help you confirm accurate and even bricklaying by removing excess mortar and checking the alignment of courses. You can't just slap those bricks together and expect a sturdy wall; you need to finesse them into place. That's where tamping and leveling come in. Mastering these techniques will make all the difference between a professional-looking job and a hot mess.
To get it right, you'll need the following essentials:
-
Tamping trowel: A must-have for removing excess mortar and filling gaps. It's like a mini-bully for your bricks.
-
Level: Because who doesn't love a straight line? This guarantees your courses are aligned and your wall won't be wonky.
-
Spirit level with a vial: This handy tool lets you check the levelness of your bricks and courses with precision. No more eyeballing it!
Cutting and Shaping Tools
You'll need to precision-cut and shape bricks to fit around obstructions, corners, and edges, requiring a specialized set of tools that can handle these intricate tasks. Don't worry, we have you sorted! Here are the must-haves for cutting and shaping bricks like a pro:
| Tool | Description | Purpose |
|---|---|---|
| Diamond blade saw | A high-speed saw with a diamond-coated blade | Cutting through hard, dense bricks |
| Masonry saw | A handheld saw with a carbide-tipped blade | Cutting curves and irregular shapes |
| Brick hammer and chisel | A heavy-duty hammer and chisel set | Breaking and shaping bricks by hand |
| Wet tile saw | A precision saw with a rotating blade and water cooling | Making precise, angled cuts |
| Brick nippers | Long-handled, curved pincers | Trimming and shaping brick edges |
From choosing the right saw blade types to mastering various cutting techniques, having the right tools makes all the difference. With these cutting and shaping tools in your arsenal, you'll be able to tackle even the most complex bricklaying projects with confidence. So, go ahead and get ready to cut, shape, and build your way to success!
Safety Gear and Protective Wear
As you prepare for a bricklaying project, you can't afford to overlook the importance of safety gear and protective wear.
You'll be working with heavy materials, sharp edges, and potentially hazardous chemicals, so it's vital to have the right gear to safeguard your well-being.
Let's take a closer look at the essential safety items you should have, starting with hard hat essentials and eye protection matters.
Hard Hat Essentials
Your hard hat essentials should include a safety helmet that meets ANSI Z89.1 standards, coupled with a face shield or safety glasses, to protect your head and face from falling objects, debris, and other hazards on the bricklaying site.
It's not just about looking cool (although, let's be real, you'll look awesome in that hard hat); it's about adhering to hard hat regulations and ensuring your safety.
Here are a few hard hat essentials to keep in mind:
-
Regular inspections: Check your hard hat for signs of wear and tear, such as cracks, dents, or fading. If it's damaged, replace it ASAP.
-
Proper storage: When not in use, store your hard hat in a dry, cool place, away from direct sunlight. This will prevent degradation and extend its lifespan.
-
Correct fit: Make sure your hard hat fits snugly and comfortably. A loose fit can compromise its effectiveness in case of an accident.
Eye Protection Matters
Protecting your eyes from flying debris, chemical splashes, and other hazards is just as essential as shielding your head, which is why you need reliable eye protection that meets ANSI Z87.1 standards.
You don't want to be that guy who's left squinting like a pirate after a mishap on the job site. The eye protection benefits are clear: you'll avoid scratched corneas, reduce the risk of eye infections, and prevent permanent vision damage.
When choosing eyewear, consider the type of hazards you'll face. If you're working with chemicals, opt for goggles with a good seal. For flying debris, go for safety glasses with durable frames and shatter-resistant lenses.
Don't skimp on quality – cheap eyewear can be more of a hindrance than a help. Look for eyewear with anti-fog coatings, scratch-resistant lenses, and comfortable frames that won't slip down your nose.
With the right eye protection, you'll be able to focus on the task at hand (or should we say, at brick?) without worrying about your peepers.
Laying and Setting Tools
Laying bricks efficiently requires mastering the use of essential laying and setting tools, which enable you to accurately position and secure each brick in place.
With the right tools, you'll be able to perfect your bricklaying techniques and guarantee a sturdy wall reinforcement.
Here are the must-have tools to get the job done:
-
Trowel: A good trowel is your best friend when it comes to laying bricks. It helps you scoop, spread, and smooth out the mortar with ease.
-
Level: A level guarantees that your bricks are perfectly aligned and your walls are straight. You can't afford to skip this step, or your entire structure might come crumbling down!
-
Jointer: A jointer helps you create uniform joints between bricks, giving your wall a professional finish.
Cleaning and Finishing Tools
With the bricks in place, you're ready to focus on the finishing touches, and that's where cleaning and finishing tools come into play to remove excess mortar, neaten up joints, and leave your brickwork looking sharp and impressive.
Don't worry, it's not as intimidating as it sounds! With the right tools, you'll be a pro in no time. You'll need a wire brush to remove excess mortar from the surface of the bricks, and a joint rake to tidy up those pesky joints. A pointing trowel will help you fill in any gaps, and a finishing trowel will give your brickwork a smooth, professional finish.
When it comes to cleaning techniques, you'll want to use a gentle touch to avoid damaging the bricks. A soft-bristled brush and some warm water should do the trick. For more stubborn stains, you can use a mild detergent and a stiff-bristled brush.
And remember, the key to achieving those perfect finishing touches is to take your time and be patient. With practice, you'll develop your own techniques and be well on your way to creating stunning brickwork that will make you proud.
Frequently Asked Questions
Can I Use a Drill Bit for Mixing Mortar and Concrete?
Can you use a drill bit for mixing mortar and concrete?
Well, technically you can, but it's not the most effective or efficient way. You'll end up with a subpar mix and a drill bit that's seen better days.
Instead, invest in a dedicated mixing paddle or whisk, and learn proper mixing techniques.
Trust us, your bricks (and your drill bits) will thank you.
How Often Should I Clean My Bricklaying Tools?
You're wondering how often to clean your bricklaying tools? Well, let's get down to business!
You should clean them after every use, or at least daily, to prevent mortar and concrete from hardening on the tools. Trust us, you don't want to be stuck with a clogged trowel or scraper.
Make tool maintenance a habit, and you'll be laying bricks like a pro in no time. Cleaning frequency is key, so don't slack off – your tools (and your project) will thank you!
Are There Any Eco-Friendly Alternatives to Traditional Mortar?
You're wondering if there's a greener way to hold your bricks together, right? Well, you're in luck!
Sustainable mortar options are becoming increasingly popular, and for good reason. Look for mortars made with biodegradable binding agents, like natural lime or hemp-based products.
These eco-friendly alternatives won't sacrifice performance for the planet. You'll be building a stronger, more environmentally-friendly structure - and that's something to brick about!
What Is the Ideal Temperature for Laying Bricks?
You're about to lay some brick like a pro!
Did you know that the ancient Egyptians built the Great Pyramid of Giza using around 2.3 million stone blocks, weighing around 2.5 tons each?
Now, back to your project! When it comes to ideal temperatures for laying bricks, you'll want to aim for 40°F to 90°F (4°C to 32°C).
Anything outside this range can affect brick curing, with temperatures that are too high or too low causing uneven drying and potentially disastrous results.
Can I Reuse Old or Leftover Mortar Mix?
You're wondering if you can reuse old or leftover mortar mix? Well, let's get down to business!
Mortar has a limited lifespan, typically 90 minutes to 2 hours, depending on the mixing techniques and environmental conditions.
If you're unsure, it's best to err on the side of caution and mix a fresh batch. You don't want to risk compromising the structural integrity of your brickwork.
Besides, who wants to deal with a mortar-astrophe?
Conclusion
You've made it this far, congrats!
Now, don't even think about stepping onto that renovation site without these must-have tools for bricklaying.
From measuring and mixing to cutting and cleaning, you're officially equipped to tackle that DIY project like a pro.
Remember, a well-stocked toolbox is the difference between a stunning brick facade and a hot mess.
So, get to work and build something that'll make the neighbors jealous!
Related Posts
-

5 Best Home Renovation Project Timeline Checklists
You're looking for a clear understanding of the timeline for your home renovation project. A good place to start is w...
-

Why Inspect Stucco Repair Equipment Before Renovation
When starting a stucco repair renovation, you need to inspect your equipment to prevent accidents, save time and mone...
-

Budget-Friendly Materials for Your Home Renovation Needs
As you initiate your home renovation, you're enthusiastic to find budget-friendly materials that fit your vision with...


