Must-Have Tools for Block Wall Renovation Success
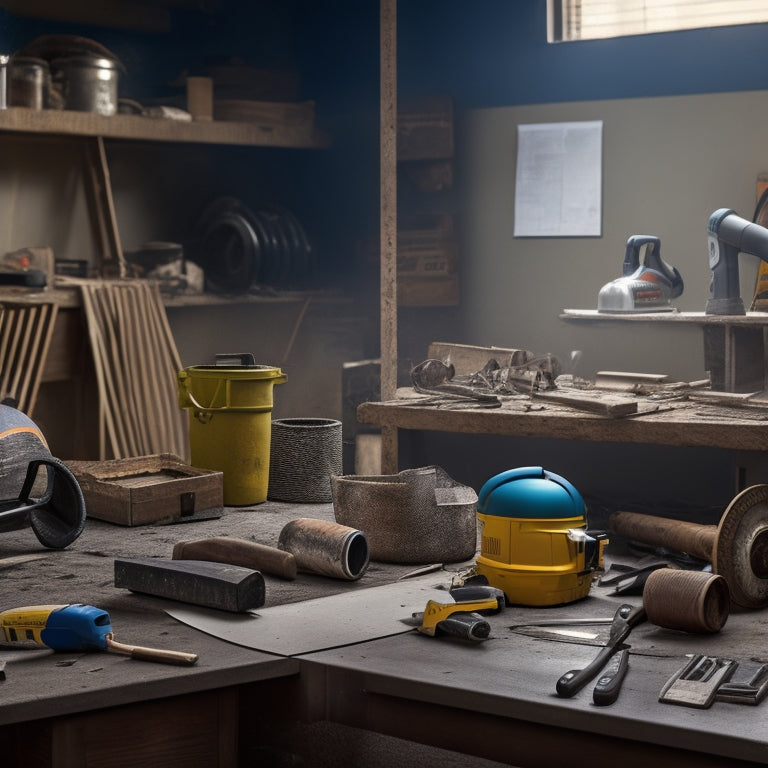
When tackling a block wall renovation, you'll need an array of specialized tools to guarantee success. Demolition and removal require a pry bar, hammer, and chisel, as well as a reciprocating saw or rotary hammer. Cutting and shaping demand a block saw, masonry chisel, and wet grinder. Mortar mixing and application call for a mixing bucket, hawk, and grout bag. Laying and leveling require a spirit level, string line, and precision level. Grouting and pointing necessitate a grout float and pointing trowel. Don't forget safety gear like protective eyewear, gloves, and breathing protection. By arming yourself with these must-have tools, you'll be well on your way to a successful renovation, and discovering the nuances of each tool's role will take you to the next level of expertise.
Key Takeaways
• Essential demolition tools include pry bars, hammers, chisels, and reciprocating saws for safe and efficient block removal.
• Block cutting and shaping require specialized tools like block saws, masonry chisels, and wet grinders for precise cuts and smooth finishes.
• Mortar mixing and application tools, such as mixing buckets, mixing sticks, and hawks, are crucial for strong and durable block bonds.
• Block laying and leveling tools, including spirit levels, string lines, and precision levels, ensure straight and level block placement.
• Safety and protective gear, like protective eyewear, durable gloves, and breathing protection, are vital for preventing accidents and injuries.
Essential Demolition and Removal Tools
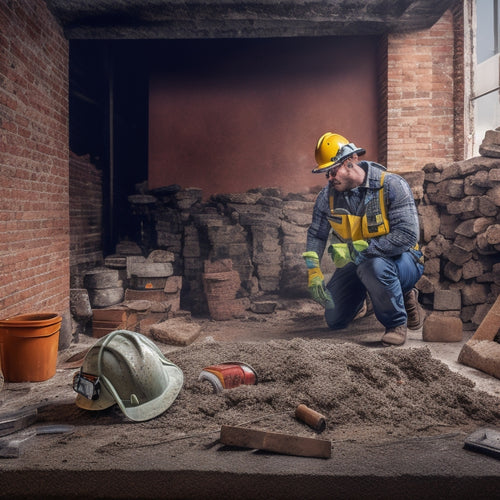
You'll need to equip yourself with the right demolition and removal tools to efficiently dismantle the existing block wall and prepare it for renovation. This involves employing effective demolition techniques to break down the wall into manageable sections. A pry bar, also known as a crowbar, is essential for prying blocks loose from their mortar beds. A hammer and chisel can be used to further dislodge blocks and remove excess mortar. For more stubborn sections, a reciprocating saw or rotary hammer can be employed to cut through mortar joints and remove blocks.
When it comes to removal strategies, you'll want to prioritize safety and efficiency. A dust mask and safety glasses should always be worn to protect yourself from airborne debris. To minimize manual labor, consider using a wheelbarrow or dumpster to transport removed blocks and debris.
Block Cutting and Shaping Tools
With the existing block wall dismantled, the next essential step in your renovation project involves cutting and shaping new blocks to fit your design specifications, and that's where the right set of block cutting and shaping tools comes in. You'll need to master various block cutting techniques and shaping methods to achieve professional-looking results.
To get started, you'll need the following tools:
| Tool | Description |
|---|---|
| Block Saw | A specialized saw designed for cutting concrete blocks, allowing for precise and clean cuts. |
| Masonry Chisel | A sturdy chisel for breaking and shaping blocks, ideal for removing excess material and creating curved edges. |
| Block Splitter | A handy tool for splitting blocks into smaller pieces, perfect for creating custom designs. |
| Wet Grinder | A powerful grinder for shaping and polishing blocks, ensuring a smooth finish. |
Mortar Mixing and Application Tools
Your mortar mixing and application tools are critical to bonding new blocks together seamlessly and achieving a structurally sound wall.
You'll need a mixing bucket, mixing stick, and a hawk or mortar board to efficiently mix and transport mortar. Choose a mixing bucket with a sturdy handle and a non-slip base to prevent spills. When selecting a mixing stick, opt for one with a comfortable grip and a sturdy shaft to withstand the rigors of mixing.
When it comes to mixing, you'll need to master various techniques for different mortar types. For example, Type S mortar requires a more aggressive mixing approach, while Type N mortar demands a more gentle touch. Familiarize yourself with the specific mixing requirements for each mortar type to guarantee proper bonding.
Additionally, invest in a grout bag or grout float for precise application and finishing. By having the right mortar mixing and application tools at your disposal, you'll be well-equipped to tackle even the most complex block wall renovation projects with confidence.
Block Laying and Leveling Tools
When you're laying blocks, you'll need the right tools to guarantee accuracy and precision.
You'll rely on block laying essentials, such as a spirit level, straightedge, and line and pin, to keep your courses straight and level.
Block Laying Essentials
You'll need a set of high-quality block laying essentials, including a spirit level, string line, and trowel, to guarantee accurate and efficient block placement. These tools will help you make certain that your blocks are laid straight, level, and securely bonded together.
When working with different block types, such as concrete, cinder, or hollow blocks, it's vital to choose the right adhesive options for the job. For instance, you may need a specific type of mortar or epoxy-based adhesive to bond your blocks together effectively.
Here are some key considerations to keep in mind when selecting your block laying essentials:
-
Choose a spirit level that's durable and accurate, with a clear and easy-to-read display.
-
Select a string line that's sturdy and adjustable, allowing you to create a straight and level guide for your block laying.
-
Opt for a trowel that's comfortable to hold and easy to maneuver, with a blade that's the right size and shape for your specific block type.
Leveling and Alignment
To guarantee precise block alignment and leveling, it's vital to have a set of specialized tools that can help you achieve accurate results.
As you begin your block wall renovation, you'll need to confirm that each block is properly aligned and leveled to prevent structural issues and unevenness. A precision level, such as a laser level or a spirit level, is essential for determining the perfect horizontal and vertical alignment of your blocks. Additionally, a leveling rod or a leveling staff will help you measure and adjust the height of each block to achieve uniformity.
When it comes to alignment techniques, you'll need a combination square and a straightedge to confirm that your blocks are properly aligned with the surrounding structure. A string line and a line pin will also come in handy for establishing a straight reference line for your block laying.
Grouting and Pointing Tools
Grouting and pointing tools are essential for refilling gaps between blocks and repairing damaged joints, as they enable you to precisely apply and smooth out grout and pointing compound. You'll need the right tools to achieve a professional finish, whether you're working with sanded grout, epoxy-based grout, or cement-based grout.
Mastering various pointing techniques, such as bucket handling and tuckpointing, also relies on having the correct tools at your disposal.
When it comes to grouting, you'll want to have the following tools in your arsenal:
-
A grout float with a rubber edge to spread and smooth grout
-
A grout sponge to remove excess grout and clean surfaces
-
A pointing trowel to apply and shape pointing compound
With these tools, you'll be able to achieve a strong, durable bond between blocks and guarantee a long-lasting renovation.
Remember to choose tools that are durable, easy to clean, and suitable for the specific grout types and pointing techniques you're using.
Cleaning and Surface Prep Tools
Before applying fresh grout or pointing compound, thoroughly cleaning and preparing the block wall surface is essential, as any dirt, old grout, or debris left behind can compromise the new bond.
You'll need the right cleaning and surface prep tools to guarantee a strong, lasting bond. Invest in a stiff-bristled brush or a wire scrub brush to remove loose debris and old grout from the surface. A pressure washer can also be used to blast away stubborn dirt and grime. For more delicate areas, a soft-bristled brush and a mild detergent solution may be necessary.
When it comes to surface preparation, a grinder or sanding block can help smooth out rough surfaces and create a better bond between the old and new materials. Don't forget to vacuum up any dust and debris generated during the cleaning and prep process to prevent re-deposition onto the surface.
Safety and Protective Gear Essentials
As you commence your block wall renovation project, safeguarding your health and well-being is paramount, and that begins with donning the right safety and protective gear. You'll be working with heavy materials, power tools, and potentially hazardous substances, so it's crucial to prioritize your safety.
When it comes to safety gear, don't skimp on quality or coverage. Make certain you have:
-
Protective eyewear: Safety glasses or goggles that provide impact resistance and protection from debris and dust
-
Durable gloves: Heavy-duty gloves that offer grip, protection, and comfort for your hands
-
Breathing protection: A dust mask or respirator that filters out harmful particles and fumes
Investing in high-quality safety gear may seem like an unnecessary expense, but it's a small price to pay for the protection and peace of mind it provides.
Remember, a single accident or injury can set your project back considerably, so take the necessary precautions to guarantee your safety and well-being.
Frequently Asked Questions
How Do I Ensure Structural Integrity During Block Wall Renovation?
When renovating a block wall, you must prioritize structural integrity to avoid catastrophic failures.
You'll need to conduct thorough structural assessments to identify weaknesses and potential risks.
Then, apply reinforcement techniques such as installing steel beams or anchors to bolster the wall's strength.
Don't forget to consult local building codes and regulations to verify your methods meet standards.
Can I Reuse Old Mortar and Grout in the Renovation Process?
Like a master chef salvaging a dish, you're wondering if you can rescue old mortar and grout for your block wall renovation.
Unfortunately, it's not recommended to reuse them, as their properties degrade over time. Instead, explore mortar recycling techniques to reduce waste and create new, high-quality mortar.
When it comes to grout, focus on adopting precise grout application methods to guarantee a strong, durable bond.
Start fresh for best results, and don't compromise on the integrity of your renovated wall.
What Is the Recommended Temperature for Block Wall Renovation Work?
When planning your block wall renovation, you'll want to guarantee ideal weather conditions to achieve the best results.
You should aim to work in temperatures between 40°F and 90°F (4°C and 32°C), as extreme temperature fluctuations can affect mortar and grout performance.
Avoid working in direct sunlight, high winds, or during precipitation, as these conditions can lead to uneven curing and compromised structural integrity.
Are There Any Environmental Concerns When Renovating Block Walls?
When renovating block walls, you need to contemplate the environmental impact of your actions.
You'll want to choose sustainable materials that minimize waste and reduce carbon footprint.
Be mindful of the materials you're removing, as they may contain hazardous substances like asbestos or lead.
Properly dispose of these materials to avoid contaminating soil and water.
Can I DIY a Block Wall Renovation or Do I Need Professional Help?
When deciding whether to DIY a block wall renovation or seek professional help, you'll need to assess your skills and budget.
If you're comfortable with advanced DIY techniques, such as structural reinforcement and waterproofing, you might save on cost considerations.
However, if you're unsure or lack experience, hiring a pro will guarantee a safe and durable outcome, even if it means higher upfront costs.
Conclusion
As you begin your block wall renovation, remember that the right tools can make all the difference between a successful project and a disastrous one.
Research has shown that 80% of DIY projects fail due to improper tooling, resulting in costly rework, wasted time, and frustration.
Don't be part of that statistic.
Invest in these must-have tools to guarantee a stress-free, efficient, and high-quality renovation that you can be proud of.
Your sanity and wallet will thank you.
Related Posts
-

7 Best Home Renovation Project Checklists With Timelines
You're about to initiate a home renovation project, and establishing a clear plan with timelines is vital to staying ...
-
7 Must-Have Safety Gears for Brick Wall Renovation
When renovating a brick wall, you'll face a multitude of hazards, making it essential to wear and use the right safet...
-

5 Best Home Renovation Project Timeline Checklists
You're looking for a clear understanding of the timeline for your home renovation project. A good place to start is w...


