Create Your Own DIY Plastering Kit for Renovations
Share
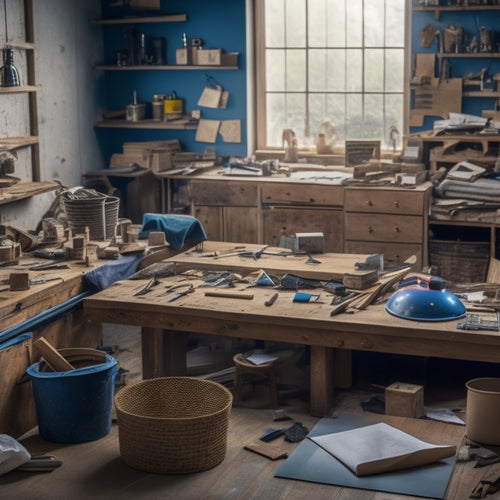
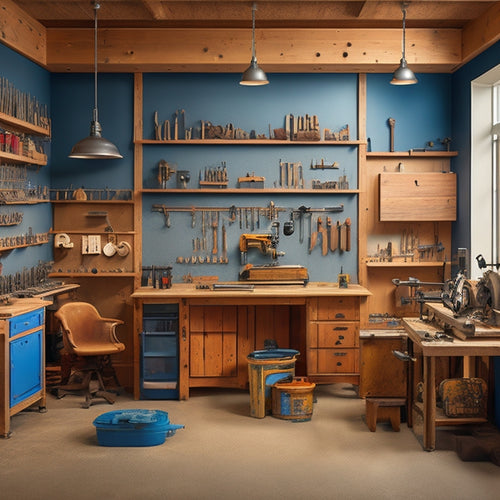
You're about to save hundreds of dollars and avoid the hassle of renting or buying separate tools by creating your own DIY plastering kit tailored to your renovation needs. Start by gathering essential tools like a putty knife, trowel, hawk, joint knife/scraper, level, and straightedge. Then, familiarize yourself with mixing and applying materials, including following manufacturer's instructions and achieving smooth finishes. Proper surface preparation, including identifying surface types and applying bonding agents, is also vital. By equipping yourself with the right tools and knowledge, you'll be well on your way to a successful renovation - and there's more to discover to guarantee your project turns out perfectly.
Key Takeaways
- Assemble essential tools like putty knife, trowel, hawk, joint knife/scraper, level, and straightedge for a comprehensive DIY plastering kit.
- Invest in a mixing bucket, clean equipment, and a measuring cup to ensure proper mixing and application of plaster.
- Include surface preparation materials like bonding agents, patching compound, and primer to ensure a strong bond between the surface and plaster.
- Add safety essentials like dust mask, safety goggles, gloves, and long-sleeved clothing to protect yourself from dust, debris, and skin irritation.
- Consider budget-friendly options like buying in bulk, using eco-friendly materials, and optimizing plastering techniques to minimize waste and reduce costs.
Essential Plastering Tools List
Your DIY plastering kit isn't complete without the right tools for the job. Having the correct tools guarantees you can execute various plastering techniques efficiently.
You'll need a putty knife for applying and smoothing out plaster, a trowel for scooping and spreading, and a hawk for holding and carrying plaster. A joint knife and scraper will come in handy for filling gaps and removing excess plaster.
Don't forget a level, straightedge, and pencil for guaranteeing straight lines and precise measurements.
Regular tool maintenance is essential to extend the lifespan of your equipment. Clean your tools thoroughly after each use and store them in a dry place.
Lubricate moving parts, such as the hinges on your hawk, to keep them functioning smoothly. Inspect your tools regularly for signs of wear and tear, replacing them as needed.
With the right tools and proper maintenance, you'll be well-equipped to tackle any plastering project that comes your way.
Mixing and Applying Materials
With your DIY plastering kit and essential tools in place, it's time to focus on the crucial step of mixing and applying materials. You'll need to master various mixing techniques to achieve the right consistency and texture.
Start by following the manufacturer's instructions for mixing ratios, then adjust as needed to suit your specific project requirements. When mixing, use a clean bucket and a mixing stick or drill with a mixing paddle attachment to avoid contaminating the mixture.
Once you've achieved the desired consistency, it's time to apply the material. Familiarize yourself with different application methods, such as hand-applied, troweled, or sprayed finishes. Each method requires specific techniques and tools, so practice beforehand to avoid mistakes.
For smooth finishes, use a trowel or finishing knife to spread and smooth the material. For textured finishes, use a specialized tool or technique to achieve the desired effect.
Remember to work in small sections, keeping the material damp and workable to guarantee a strong bond and professional-looking finish.
Plastering Surface Preparation
Most renovation projects involve working with surfaces that are less than ideal, and it's crucial to prepare them properly before applying plaster.
You'll encounter various surface types, including wood, drywall, concrete, and brick, each requiring specific prep techniques. For wood surfaces, you'll need to sand and prime them to guarantee a strong bond between the wood and plaster.
Drywall requires a coat of joint compound and sanding to create a smooth surface. Concrete surfaces need to be cleaned and etched to create a rough surface for the plaster to adhere to. Brick surfaces require wire meshing and a bonding agent to guarantee a strong hold.
Regardless of the surface type, you'll need to clean it thoroughly to remove dirt, oil, and other contaminants. Then, apply a bonding agent to the surface to guarantee a strong bond between the surface and plaster.
You may also need to fill in gaps and holes with a patching compound and sand it smooth. Proper surface preparation is critical to achieving a successful plastering job.
Common Plastering Mistakes
You're likely to encounter issues with your DIY plastering project if you don't maintain consistent mix ratios or skip proper surface preparation.
Inconsistent mix ratios can lead to uneven finishes, while poor surface prep can cause the plaster to crack or fall off.
Inconsistent Mix Ratios
In the pursuit of a flawless plastering job, inconsistent mix ratios are a common pitfall that can lead to disastrous consequences. You may think you're saving time or cutting corners, but neglecting to follow the recommended mixing techniques and ratio adjustments can result in a subpar finish, weakened structure, or even complete failure.
Here are some common mistakes to avoid:
-
Incorrect water-to-plaster ratio: Too much water can lead to a weak, porous finish, while too little water can cause the plaster to set too quickly.
-
Inadequate mixing time: Rushing the mixing process can result in an uneven consistency, leading to a poor finish.
-
Inconsistent batch mixing: Failing to mix each batch to the same consistency can cause visible variations in the final product.
-
Ignoring temperature and humidity: Failing to account for environmental factors can affect the setting time and final strength of the plaster.
-
Not following manufacturer instructions: Neglecting to follow the manufacturer's recommended mixing ratios and techniques can void warranties and compromise the integrity of the finish.
Poor Surface Prep
After investing time and effort into mixing the perfect plaster, it's easy to overlook a vital step: preparing the surface. However, neglecting surface prep can lead to a subpar finish, uneven application, and even structural issues down the line.
You must identify and address surface imperfections, such as cracks, holes, or unevenness, before applying plaster. Failing to do so will only result in a weak bond between the old surface and the new plaster.
Additionally, surface cleaning is essential, as dirt, grime, and old adhesive can prevent the plaster from adhering properly. You'll need to scrub the surface clean, removing any debris, oils, or waxes that might interfere with the plaster's adhesion.
DIY Plastering Safety Essentials
Wearing protective gear is an essential step in DIY plastering, as it shields you from the health risks associated with plaster dust and debris.
You'll be working with materials that can cause respiratory problems, skin irritation, and eye damage if not handled properly.
To guarantee your safety, make sure you have the following essentials:
- Dust mask or respirator to prevent inhaling plaster dust and particles
- Safety goggles to protect your eyes from debris and dust
- Gloves to prevent skin irritation and cuts
- Long-sleeved clothing and pants to cover your skin from dust and debris
- Ventilation measures, such as opening windows or using fans, to remove dust and particles from the air
Budget-Friendly Plastering Tips
You've got your safety gear in place, now it's time to focus on the project itself. To keep costs down, start by optimizing your plastering technique. As a beginner, it's essential to master the basics to avoid wastage and reduce the need for costly corrections.
Practice your troweling skills on a small area before moving on to larger sections. This will help you achieve a smooth finish and minimize the amount of plaster needed.
When it comes to materials, explore eco-friendly options like natural lime-based plasters or recycled gypsum. These alternatives aren't only budget-friendly but also more environmentally sustainable.
Additionally, consider buying plaster in bulk to reduce packaging waste and lower your overall expenditure.
Beginner techniques like using a "scratch and brown" method can also help you save time and resources. This involves applying a thin layer of plaster, scratching it to create a key, and then applying a second layer.
This approach reduces the amount of plaster needed and results in a stronger bond. By adopting these budget-friendly tips, you'll be able to complete your DIY plastering project without breaking the bank.
Frequently Asked Questions
Can I Reuse Leftover Plaster for Future Projects?
You can reuse leftover plaster, but only if you've stored it properly in airtight containers, kept it dry, and mixed it correctly initially. Don't risk compromising its integrity; if in doubt, it's better to mix fresh plaster for future projects.
How Do I Clean Dried Plaster From My Tools?
You'll want to act fast to remove dried plaster from your tools; use a putty knife or wire brush to scrape off excess, then soak in warm water with a degreaser - the best cleaning methods for effective tools maintenance.
Are Plastering Kits Suitable for Beginners?
You can master plastering with the right techniques and tips, even as a beginner! Start with basic plastering techniques, practice, and follow beginner tips to build confidence and achieve professional-looking results.
Can I Plaster Over Existing Ceramic Tiles?
You're about to commence on a construction crusade, but first, can you conquer the ceramic tile terrain? Yes, you can plaster over existing tiles, but only after rigorous tile preparation, ensuring a strong foundation for ideal plaster adhesion and a victorious renovation.
Do I Need a License to Do DIY Plastering?
You don't typically need a license for DIY plastering, but you'll still want to choose the right plaster type for your project and take necessary safety precautions, like wearing protective gear and ventilating the area, to guarantee a successful and safe renovation.
Conclusion
You've got this! With your DIY plastering kit in hand, you're ready to tackle that renovation project. Remember, preparation is key, so don't skip those essential surface prep steps. Mix, apply, and smooth with confidence, and don't be afraid to get a little messy. As you work, repeat this mantra: "smooth, strong, and seamless" - and you'll be well on your way to a professional-looking finish that will make you proud.
Related Posts
-

7 Best Home Renovation Project Checklists With Timelines
You're about to initiate a home renovation project, and establishing a clear plan with timelines is vital to staying ...
-

What to Inspect When Buying Used Renovation Tools
When buying used renovation tools, you need to scrutinize every detail to avoid costly mistakes. Inspect for rust and...
-

Renovation Tool Checklist for Smooth Finishes
When tackling a renovation project that requires a smooth finish, you'll need a thorough tool checklist to guarantee ...


