Cost-Effective Tools for Wall Repair and Renovation
Share
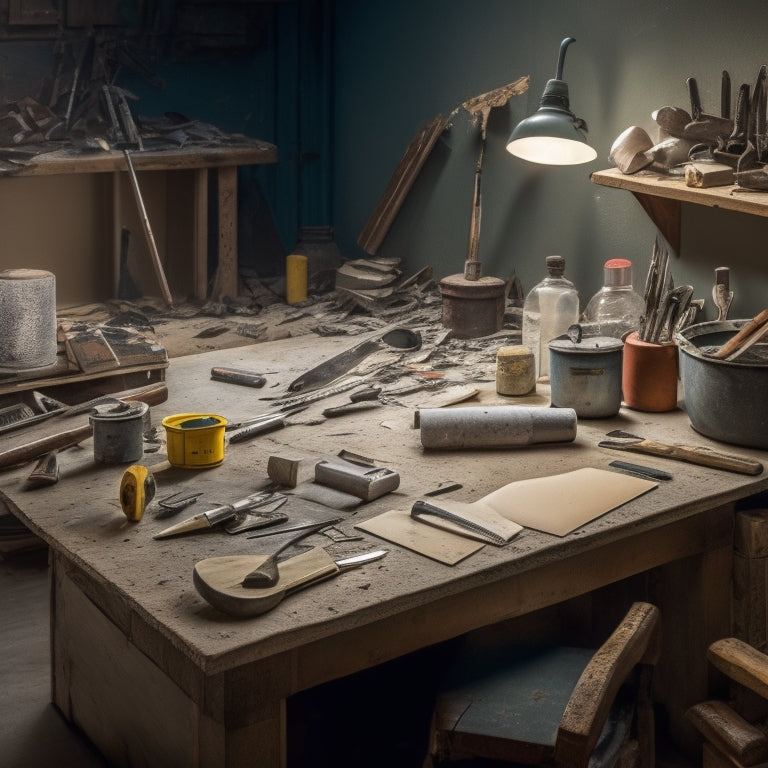
You'll need a sturdy hammer and chisel set, concrete patching tools like trowels or putty knives, a mixing bucket and stick, a level and straightedge, and a wire brush or scrub brush to tackle your wall repair and renovation project. The total cost of tools and materials will vary based on size, complexity, and quality, but you can expect to pay between $20 and $50 for a good quality trowel and $10 to $30 for a mixing bucket. As you prepare to start, it's important to understand the techniques and materials required for a strong, durable repair - and that's just the beginning of your journey to a successful, cost-effective renovation.
Key Takeaways
• Invest in multi-purpose tools like trowels and putty knives that can be used for various wall repair tasks to minimize tool costs.
• Opt for affordable and durable tools like sturdy hammers and chisel sets, which can be used for multiple projects.
• Select cost-effective repair materials like cement and sand, which are essential for concrete block repair and can be purchased in bulk.
• Consider repurposing materials from the demolition phase, such as reusable blocks or materials, to reduce waste and save money.
• Prioritize DIY wall repair tasks that require minimal materials, such as painting or refinishing, to save on labor and material costs.
Concrete Block Repair Tool Essentials
When tackling a concrete block repair project, you'll need to stock up on the right tools to guarantee a strong and durable fix, starting with a sturdy hammer and chisel set for breaking away damaged or crumbling concrete.
Next, you'll need concrete patching tools, such as a trowel or putty knife, to apply and smooth out the repair material. A mixing bucket and mixing stick are also essential for preparing the patching compound according to the manufacturer's instructions.
Don't forget to invest in a level and straightedge to ascertain your repairs are even and plumb. For added strength and stability, consider using a block wall adhesive to bond new blocks to the existing structure.
Additionally, a wire brush or scrub brush can help clean and prepare the surface for repair.
Block Wall Repair Tool and Material Cost
Estimating the total cost of your block wall repair project involves calculating the expenses of the necessary tools and materials, which can vary depending on the size and complexity of the job, as well as the quality of the products you choose.
You'll need to take into account the cost of repair tools, such as trowels, floats, and mixing buckets, as well as materials like cement, sand, and aggregate. The block wall pricing will also depend on the type and quantity of blocks you need to replace.
When it comes to repair tool selection, you'll want to choose high-quality tools that will last throughout the project and provide professional-looking results. A good quality trowel, for example, can cost between $20 and $50, while a mixing bucket can range from $10 to $30.
Materials like cement and sand can vary in cost depending on the supplier and location, but you can expect to pay around $5 to $10 per bag of cement and $3 to $5 per bag of sand.
Effective Wall Repair Techniques
To guarantee a strong and durable repair, you'll need to master several effective wall repair techniques, including surface preparation, crack filling, and block replacement.
Surface preparation is essential, as it sets the stage for a successful repair. You'll need to clean the area thoroughly, removing any dirt, dust, or old adhesive. Next, scrape off any loose material and sand the surface to create a rough texture for better bonding.
For crack filling, you'll need to choose the right type of filler for the job. Epoxy-based fillers are ideal for larger cracks, while acrylic-based fillers work well for smaller ones. Apply the filler according to the manufacturer's instructions, making sure to fill the crack completely. Use a putty knife or trowel to smooth out the surface, feathering it out towards the edges.
When it comes to block replacement, you'll need to carefully remove the damaged block, taking care not to damage the surrounding area. Clean and prepare the area as you'd for surface preparation, then install the new block, ensuring it's level and securely fastened.
With these techniques mastered, you'll be well on your way to making strong, durable repairs that will last for years to come.
Choosing the Right Repair Materials
You'll need to select the right repair materials to guarantee a strong, long-lasting bond between the old and new surfaces. When it comes to repair material types, you'll have to take into account factors like the type of damage, surface material, and environmental conditions.
For instance, epoxy-based adhesives are ideal for concrete and masonry repairs, while acrylic adhesives work well for drywall and plaster. You may also need to choose from a range of filler materials, such as spackling compound, joint compound, or patching plaster.
Selecting adhesives requires careful thought about their bonding strength, flexibility, and durability. Look for products with high tensile strength and resistance to water, temperature fluctuations, and UV exposure.
Additionally, take into account the working time, pot life, and curing time of the adhesive to guarantee it suits your project's requirements. By choosing the right repair materials, you'll guarantee a professional-looking finish and prevent future damage.
Remember to always follow the manufacturer's instructions and take necessary safety precautions when working with adhesives and fillers.
Budget-Friendly Renovation Strategies
Effective budgeting is essential when undertaking a renovation project, and adopting budget-friendly strategies can help minimize costs without compromising on quality.
As you plan your renovation, you'll want to prioritize DIY renovation tips that won't break the bank. Start by creating a budget materials guide to help you identify areas where you can cut costs without sacrificing quality.
One strategy is to repurpose materials you already have on hand. Consider salvaging materials from the demolition phase to reuse in your renovation. You can also shop for second-hand materials or look for discounted prices on surplus materials. Additionally, consider DIY projects that require minimal materials, such as painting or refinishing existing surfaces.
Another key strategy is to phase your renovation. Instead of tackling the entire project at once, break it down into smaller, more manageable tasks. This will allow you to spread out the cost over time and avoid taking on too much debt.
Frequently Asked Questions
Can I Reuse Old Blocks for Wall Repair or Must I Purchase New Ones?
When deciding whether to reuse old blocks for wall repair, you'll need to assess their condition.
Inspect each block for cracks, damage, or signs of wear.
If they're still in good shape, reusing them can be a cost-effective and eco-friendly option, reducing waste and promoting recycling benefits.
However, if they're damaged, it's better to purchase new ones to guarantee a sturdy and long-lasting repair.
How Do I Handle Rusted Rebar During Wall Repair and Renovation?
When tackling wall repair and renovation, you'll inevitably encounter rusted rebar.
You'll need to remove rust, treat the rebar, and assess its integrity.
Start by wire-brushing the affected area to remove loose rust, then apply a rust converter or inhibitor.
Next, treat the rebar with a rust-resistant coating.
Finally, inspect the rebar for signs of damage or weakness, and replace it if necessary.
What Safety Gear Is Necessary for Wall Repair and Renovation Projects?
When tackling wall repair and renovation projects, you're exposing yourself to hazardous materials and conditions.
You must prioritize safety by wearing the right protective equipment. Ascertain you meet stringent safety standards by donning hard hats, safety glasses, gloves, and dust masks.
Additionally, consider steel-toed boots and respirators for intense projects. Remember, your safety is paramount, so never compromise on gear to avoid injuries and ascertain a successful project.
Can I Perform Wall Repairs During Extreme Weather Conditions?
Are you crazy? Trying to perform wall repairs in extreme weather conditions is like trying to hold a steady hand in a hurricane!
But, if you're determined to brave the elements, you'll need to contemplate weather-specific repair techniques.
For instance, in heavy rain, you'll want to use water-resistant materials and prioritize drainage.
In freezing temps, you'll need to adapt your adhesive applications.
Don't risk your safety or the integrity of the repair - carefully weigh the weather considerations before starting the job.
How Often Should I Inspect My Walls for Signs of Damage or Wear?
You should inspect your walls regularly to catch signs of wear before they become major issues.
The ideal wall inspection frequency depends on factors like climate, usage, and material type. As a general rule, inspect your walls every 6-12 months, looking for cracks, water stains, or bulges.
Be more frequent in areas prone to moisture or high traffic.
Catching damage early will save you time, money, and headaches down the line.
Conclusion
As you step back to admire your handiwork, the once-cracked wall now stands strong, a symbol of your DIY prowess.
The rough texture of the concrete block repair tool still lingers in your hand, a reminder of the sweat and toil invested in revitalizing your home's façade.
With every stroke of the trowel, you've not only repaired the wall but also rebuilt a sense of pride and accomplishment, one cost-effective solution at a time.
Related Posts
-

Smart Guide to Buying Second-Hand Renovation Tools
When buying second-hand renovation tools, you'll want to set clear renovation goals and a realistic budget to priorit...
-

7 Best Home Renovation Project Checklists With Timelines
You're about to initiate a home renovation project, and establishing a clear plan with timelines is vital to staying ...
-

What to Look for in Pneumatic Renovation Tools
When selecting pneumatic renovation tools, you'll want to take into account several key factors to guarantee optimal ...


