Choose the Right Tools for Your Home Renovation
Share
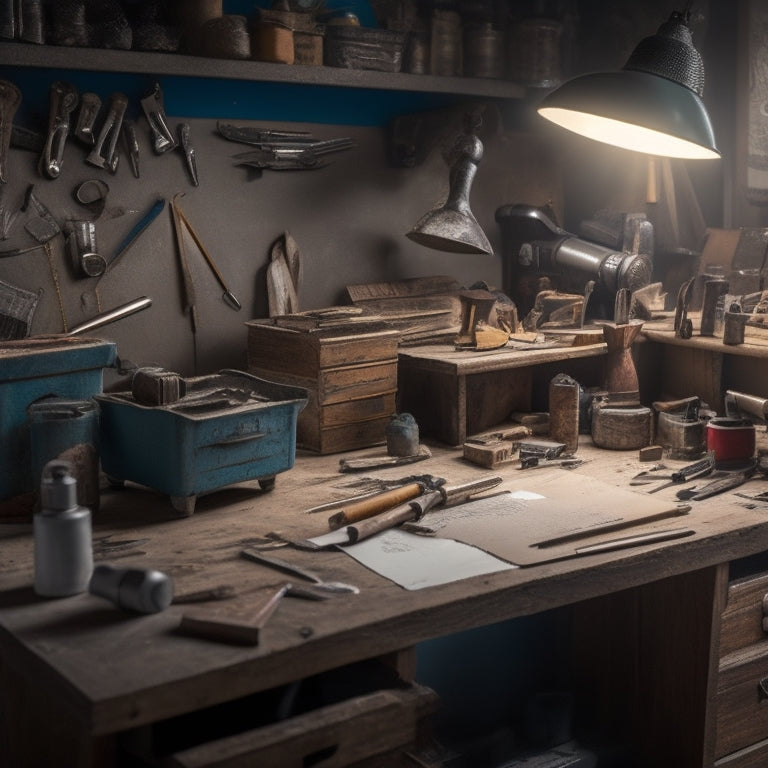
When choosing the right tools for your home renovation, it's essential to prioritize the essentials. For plastering, you'll need a hawk for transporting plaster, a trowel for spreading and smoothing, and a joint knife for removing excess plaster. Additionally, invest in a mixing bucket, plastering float, and adjustable trowel for a professional finish. Avoid common DIY mistakes like applying plaster too thickly and ignoring drying times. By selecting the right tools and understanding the basics of plastering, you'll set yourself up for success and be able to overcome common obstacles, and as you move forward, you'll uncover more secrets to achieving a flawless finish.
Key Takeaways
• Invest in essential tools, such as a hawk, trowel, and joint knife, to ensure professional-looking results in your DIY plastering project.
• Consider the specific requirements of your project, including environmental factors and substrate type, when choosing the right plaster mix.
• Select high-quality materials and avoid low-cost alternatives to prevent weak finishes and increased issues in your home renovation.
• Use the right equipment, such as an adjustable plastering trowel and mixing paddle, to achieve a smooth and even finish.
• Don't forget to prioritize safety gear, including a dust mask, goggles, and gloves, to protect yourself during the plastering process.
Essential Plastering Tools for DIY
You'll need a set of specialized tools to tackle plastering tasks efficiently and effectively, including a hawk, trowel, and joint knife. These tools will help you master various plastering techniques, from applying the initial coat to finishing touches.
A hawk, a flat, rectangular tool, is used to hold and transport plaster to the wall, allowing you to work efficiently. A trowel, with its curved blade, is perfect for spreading and smoothing out the plaster. A joint knife, with its angled blade, helps to remove excess plaster from corners and joints.
Proper surface preparation is essential for a successful plastering job. You'll need to clean the surface of any debris, dust, or old adhesive. Use a wire brush or sandpaper to roughen the surface, ensuring a strong bond between the old surface and the new plaster.
With your tools and surface prepared, you're ready to begin applying the plaster, using techniques such as scratching, floating, and finishing to achieve a smooth, even finish. By investing in the right tools and following proper surface preparation techniques, you'll be well on your way to achieving professional-looking results.
Common DIY Plastering Mistakes
Even with the right tools and proper surface preparation, DIY plastering projects can quickly go awry if you're not aware of common mistakes that can sabotage your results.
One of the most critical errors is applying plaster too thickly, which can lead to uneven finishes and cracks. You should aim for thin, even layers, using a hawk and trowel to spread and smooth the mixture.
Another mistake is failing to maintain a consistent temperature and humidity level in the room, which can affect the plaster's drying time and overall quality. Make certain you're working in a well-ventilated area with a stable environment.
Additionally, poor surface preparation can also doom your project from the start. You must make sure the surface is clean, dry, and free of old adhesive or paint residue. Use a wire brush or grinder to roughen the surface, creating a better bond between the old surface and the new plaster.
By avoiding these common mistakes and mastering proper plastering techniques, you'll be able to achieve professional-looking results that will last for years to come.
Choosing the Right Plaster Mix
Selecting the right plaster mix is essential for achieving a strong, durable, and visually appealing finish, as different mixes cater to specific project requirements and environmental conditions.
You'll need to take into account factors like humidity, temperature, and substrate type when choosing the perfect mix for your project. There are several plaster types to choose from, including lime-based, gypsum-based, and cement-based plasters, each with its own strengths and weaknesses.
Lime-based plasters, for instance, are ideal for historic buildings or areas with high humidity, while gypsum-based plasters are better suited for dry, interior applications.
To guarantee a successful plastering job, you'll also need to master various mixing techniques. This includes understanding the ideal water-to-plaster ratio, mixing times, and application methods.
Overmixing, for example, can lead to a weakened plaster, while undermixing can result in a finish that's prone to cracking.
DIY Plastering Equipment Buying Guide
With your plaster mix chosen, it's time to assemble the necessary tools to guarantee a smooth, efficient, and professional-looking application. As a DIY enthusiast, you'll need the right equipment to master various plastering techniques.
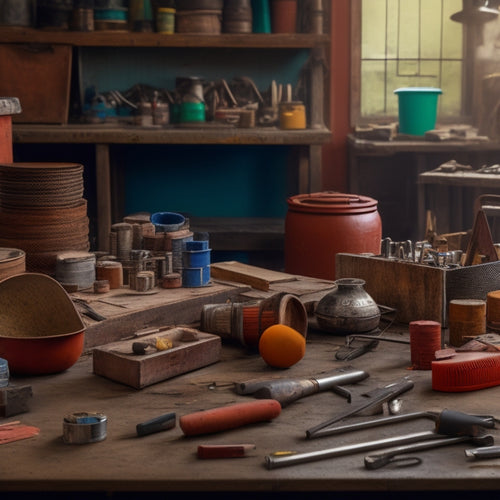
Start by investing in a sturdy, adjustable plastering trowel, ideal for applying and smoothing out the plaster. A putty knife or hawk will help you scoop and hold the plaster mix. Don't forget a mixing bucket, drill, and mixing paddle for efficient mixing.
For a flawless finish, you'll need a plastering float, which helps to smooth and flatten the surface. A rubber float is ideal for creating a smooth, even finish. Additionally, consider a plastering edger for creating clean, sharp edges.
When it comes to plastering safety, don't compromise – invest in a dust mask, safety goggles, and gloves to protect yourself from plaster dust and debris.
With these essential tools, you'll be well-equipped to tackle your DIY plastering project with confidence and precision.
Troubleshooting DIY Plastering Issues
As you dip your trowel into the mix, imperfections can arise, and it's crucial to recognize the warning signs of common DIY plastering issues, such as uneven application, cracks, and delamination, to take corrective action promptly. These problems often stem from poor surface preparation, inadequate plastering techniques, or using low-quality materials.
To troubleshoot, inspect the surface closely. Check for unevenness by holding a level or straightedge against the wall. Cracks can be a sign of excessive shrinkage or movement in the substrate, while delamination may indicate inadequate bonding between coats. Address these issues by resurfacing the area, applying a bonding agent, or adjusting your plastering techniques.
Verify you're using the right materials for the job, and consider consulting online resources or seeking expert advice if you're unsure. Remember, correcting mistakes early on can save you time, money, and stress in the long run.
Frequently Asked Questions
How Do I Prevent Dust From Spreading During Renovation?
When tackling a renovation, you'll want to contain the chaos, literally. Dust containment strategies are key to preventing it from spreading.
Seal off rooms with plastic sheets, and use tape to secure them. Next, deploy air filtration solutions like HEPA-filtered vacuums and air scrubbers to capture 99.97% of particles.
Visualize a dust-free zone, and you'll be on your way to a cleaner, healthier renovation site. With these tactics, you'll breathe easier and protect your space from the onslaught of dust.
Can I Reuse Leftover Plaster Mix From Previous Projects?
'Oh, you're a master of thriftiness, aren't you?
Trying to reuse leftover plaster mix from previous projects like a ninja warrior of waste management. But let's get real, that mix has been sitting in storage for who-knows-how-long, collecting dust and doubts.
Don't risk compromising your project's integrity. Fresh plaster mix is cheap; your reputation isn't.
Start anew, and focus on proper storage and project waste management to avoid contamination and guarantee a flawless finish.'
What Safety Gear Is Necessary for DIY Plastering Work?
When you're tackling DIY plastering work, you're not just mixing and applying - you're handling a messy, heavy material that demands respect.
You're going to need the right safety equipment to protect yourself from the hazards of plastering techniques.
That means wearing a dust mask to prevent inhalation of fine particles, safety goggles to shield your eyes from stray splatters, and sturdy gloves to grip your tools without slipping.
How Long Does It Take for Plaster to Fully Cure?
As you wait for the plaster to set, you're probably wondering how long it'll take to fully cure.
The curing time depends on factors like temperature, humidity, and the type of plaster you're using.
Generally, it takes around 24 to 48 hours for the initial plaster drying phase, but it can take up to 28 days for the plaster to reach its full strength.
Be patient, and don't rush the process – proper curing is essential for a durable, long-lasting finish.
Can I DIY Plaster Over Existing Wallpaper or Paint?
You're wondering if you can DIY plaster over existing wallpaper or paint, but let's get real - it's a recipe for disaster.
The theory that a strong bond will form between the plaster and the old surface is just that, a theory. In reality, the plaster adhesion will be weak, and you'll be left with a cracked, uneven mess.
Remove that wallpaper and prep the surface properly to guarantee a strong bond.
Anything less, and you'll be dealing with costly repairs down the line.
Conclusion
As you wrap up your DIY plastering project, remember that a masterpiece isn't just about the final product - it's about the brushstrokes that get you there.
Think of your tools as the brushes, each one carefully selected to create a smooth, even finish.
Just as a painter can't create a masterpiece with a worn-out brush, you can't achieve professional results with the wrong tools.
Invest in the right equipment, and you'll be well on your way to a stunning renovation that's truly a work of art.
Related Posts
-

Why Use Concrete Blocks in Home Renovation
You're considering using concrete blocks in your home renovation, and for good reason: they offer a unique combinatio...
-

Why Delay Your Renovation With Poor Tool Management
You're likely unaware that poor tool management is a leading cause of renovation delays, and it's not just about havi...
-

Budget-Friendly Materials for Your Home Renovation Needs
As you initiate your home renovation, you're enthusiastic to find budget-friendly materials that fit your vision with...


