Best Tools for Outdoor DIY Renovation Success
Share
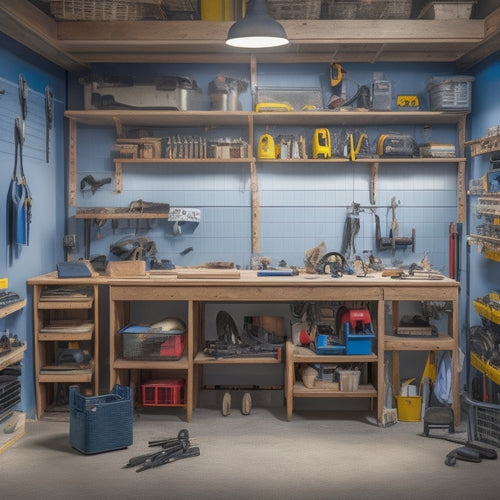
You'll need a solid mix of power tools, hand tools, measuring and marking tools, safety gear, and specialized tools to crush your outdoor DIY renovation project. Your power tool arsenal should include a cordless drill, circular saw, and rotary hammer, while hand tools like hand saws, chisels, and a coping saw will help with precision work. Measuring and marking tools like tape measures, chalk lines, and sturdy reels will guarantee accuracy, and safety equipment like hard hats, safety glasses, and steel-toed boots will keep you protected. With the right tools, you'll be well on your way to a successful renovation - and there's still more to explore to guarantee your project is a complete success.
Key Takeaways
• Invest in essential power tools like cordless drills, circular saws, and rotary hammers for efficient renovation.
• Hand tools like hand saws, chisels, and coping saws are necessary for precision work and specific tasks.
• Accurate measurements and markings are crucial, so use reliable tape measures, chalk lines, and built-in levels.
• Prioritize safety with protective gear, steel-toed boots, first aid kits, and signaling devices to avoid hazards.
• Specialized tools like plate compactors, screed boards, and tamping tools are required for paving and masonry work.
Essential Power Tools for Renovation
When tackling an outdoor DIY renovation project, you'll need a solid arsenal of essential power tools to get the job done efficiently and effectively. The right power tool types can make all the difference in completing tasks quickly and accurately.
For instance, a cordless drill is a must-have for drilling holes and driving screws, while a circular saw is ideal for making precise cuts in wood. A rotary hammer, on the other hand, is perfect for heavy-duty tasks like demolition and chiseling.
To guarantee your power tools remain in top condition, regular tool maintenance is vital. This includes cleaning and lubricating moving parts, checking and replacing worn-out batteries, and storing tools in a dry, secure location.
Hand Tools for Precision Work
As you shift your focus from the heavy-duty tasks tackled with power tools, you'll find that hand tools are perfect for precision work that requires a more delicate touch, such as intricate cuts, detailed sanding, and precise measurements.
When it comes to making precise cuts, hand saws are an essential addition to your toolkit. With various types like rip saws, crosscut saws, and coping saws, you'll be able to tackle specific tasks with ease. For instance, a coping saw is ideal for curved cuts, while a rip saw excels at making straight cuts.
To achieve precise chisel techniques, invest in a set of high-carbon steel chisels that can withstand heavy use. Practice proper grip and striking techniques to guarantee clean, accurate cuts. Additionally, consider a chisel set with varying widths to tackle different tasks.
Measuring and Marking Tools
With a keen focus on precision, you'll need to stock your toolkit with measuring and marking tools that can help you accurately transfer dimensions and layouts onto your outdoor DIY project.
Tape measures are a must-have for any DIY enthusiast. Look for a durable, fiberglass-reinforced tape that can withstand harsh outdoor conditions. Verify it has clear, easy-to-read markings and a sturdy hook that can grasp onto rough surfaces. For larger projects, consider a 30-foot or 50-foot tape measure to provide ample length for measuring expansive areas.
When it comes to marking straight lines, chalk lines are an essential tool. These handy devices allow you to snap a precise line across a surface, providing a visual guide for cutting, drilling, or installing materials. Choose a chalk line with a sturdy reel and a reliable braking system to prevent the line from tangling or snapping. Additionally, consider a chalk line with a built-in level to verify your lines are perfectly horizontal or vertical.
With these measuring and marking tools in your arsenal, you'll be well-equipped to tackle even the most complex outdoor DIY projects with confidence and precision.
Safety Equipment for Outdoor Work
You'll need to safeguard yourself from potential hazards by investing in safety equipment tailored to outdoor work, where unpredictable weather conditions and rugged terrain can increase the risk of accidents.
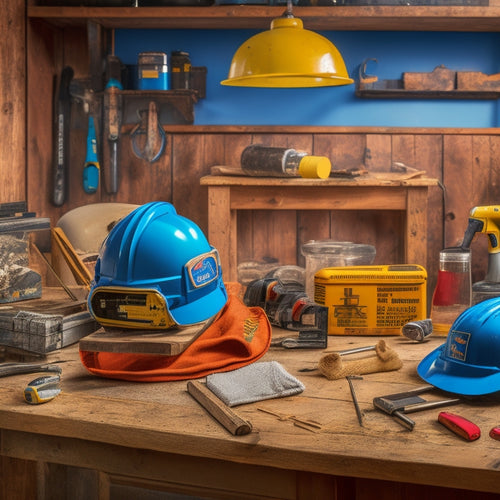
As you begin your outdoor DIY project, it's vital to prioritize your well-being by wearing protective gear. A hard hat, safety glasses, and earplugs will shield you from falling objects, debris, and loud machinery. Don't forget a dust mask to prevent inhaling hazardous particles. Steel-toed boots with good traction will keep your feet secure on uneven ground.
In addition to personal protective gear, it's important to have a first aid kit on hand. This should include supplies like bandages, antiseptic wipes, and pain relievers to treat minor injuries. A whistle or other signaling device can also be useful in case of an emergency.
Specialized Tools for Paving
Paving projects demand precision, and that's where specialized tools come in, allowing you to achieve professional-looking results by compacting, leveling, and finishing surfaces with ease.
As you begin your outdoor DIY renovation, having the right tools for the job will make all the difference. You'll need a plate compactor to guarantee a stable base, a screed board to achieve a smooth, even surface, and a tamping tool to finish off the edges.
When it comes to material selection, you'll want to take into account the specific paving techniques you'll be using. For example, if you're working with concrete pavers, you'll need a paver edger to create clean lines and a paver cutter for precise cuts.
For natural stone or brick pavers, a masonry chisel and hammer will come in handy for fitting pieces together. Don't forget a level and a string line to guarantee your pavers are straight and level.
With these specialized tools in your arsenal, you'll be well on your way to creating a beautiful, professionally finished outdoor space that you'll be proud to show off.
Frequently Asked Questions
How Do I Prevent Rust on My Tools When Working Outdoors?
When you're working outdoors, you're constantly battling the elements, and rust can be a major enemy.
To prevent rust from forming on your tools, you're going to want to prioritize tool maintenance.
Start by wiping down your tools with a dry cloth after each use, and apply a rust-inhibiting coating.
Regularly cleaning and lubricating moving parts will also help.
Can I Use a Cordless Drill for Heavy-Duty Renovation Tasks?
You're wondering if your trusty cordless drill can handle the heavy-duty tasks ahead.
The answer is, it depends on the drill's power output. If it's rated for high-torque applications, you can confidently tackle demanding tasks like drilling through thick metal or driving large screws.
Look for a drill with a high Ah battery and a robust motor that can deliver consistent power.
With the right cordless drill, you'll be equipped to tackle even the toughest renovation projects.
What's the Best Way to Organize My Tools on a Job Site?
You're wondering how to keep your tools in check on the job site. Investigate the 'toolbox triangle' theory, which claims that placing your most-used tools within a triangular zone around you boosts efficiency.
Try it out! For ideal job site organization, designate a central tool storage area and categorize tools by task or frequency of use.
Visualize your workflow and arrange tools accordingly. This setup will help you stay focused and cut down on wasted time searching for misplaced tools.
How Often Should I Replace My Work Gloves During a Renovation?
You're probably wondering how often to replace your work gloves during a renovation. It all depends on the glove materials and how well they hold up to durability testing.
Inspect your gloves regularly for signs of wear, such as cracks, tears, or worn-out palms. If you notice any damage, it's time to swap them out.
On average, you should replace your gloves every 3-6 months, depending on usage and quality.
Can I Rent Tools Instead of Buying Them for a One-Time Project?
Remember that time you borrowed a friend's fancy camera for a one-time photo shoot? You got the job done without breaking the bank.
Similarly, renting tools for a one-time DIY project makes sense. You'll avoid storage hassles and save money. Plus, tool rental benefits include access to specialized equipment you mightn't need again.
Follow these DIY project tips: research local rental options, choose the right tools for the job, and plan your timeline carefully to maximize rental efficiency.
It's a smart way to get the job done without overspending.
Conclusion
You've got the blueprints, the vision, and the determination to transform your outdoor space.
Now, with the right tools, you're ready to bring it to life.
Remember, a well-equipped DIYer is a successful one.
Take, for instance, the Smiths, who used a combination of a circular saw, level, and safety goggles to turn their backyard into a stunning patio oasis, complete with a fire pit and outdoor kitchen.
With the right tools, you can achieve similar outdoor DIY renovation success.
Related Posts
-

Why Home Renovators Need Smart Tool Storage Now
You need a smart tool storage system that streamlines your workflow, reduces clutter, and protects your investments b...
-

Top 3 Safety Essentials for DIY Renovations
When tackling a DIY renovation, you'll want to prioritize three essential safety items to protect yourself from poten...
-

Budget-Friendly Materials for Your Home Renovation Needs
As you initiate your home renovation, you're enthusiastic to find budget-friendly materials that fit your vision with...


