Best DIY Concrete Engraving Tools for Home Renovation
Share
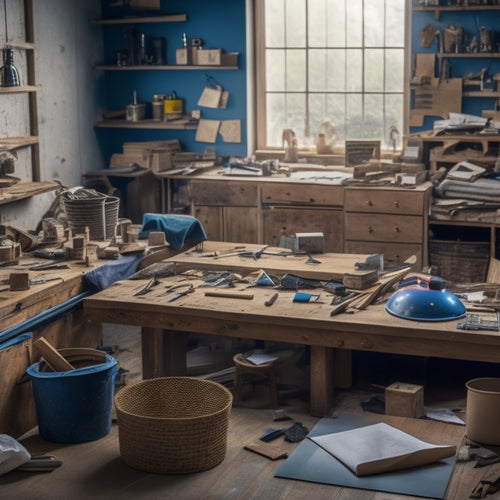
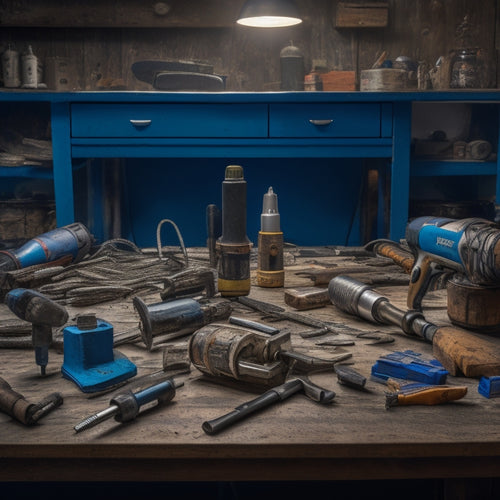
When it comes to DIY concrete engraving for your home renovation, having the right tools is essential. You'll need a range of tools, including rotary hammers, engraving routers, and accessories like engraving bits, stencils, and sandblasting equipment. Top-rated tools from brands like Bosch, DeWalt, and Makita offer the power and precision you need for professional-looking results. From tungsten carbide to diamond-coated bits, and from steel to boron carbide nozzles, understanding the features and benefits of each tool is key to achieving your design vision. As you explore the world of concrete engraving, you'll discover the importance of each tool in bringing your unique design to life.
Key Takeaways
• Choose the right engraving bits, such as tungsten carbide, diamond-coated, or steel, depending on your project's requirements and budget.
• Invest in a high-quality rotary hammer drill, like Bosch, DeWalt, or Makita, with suitable power output, speed, and ergonomic design.
• Select durable stencils made from high-grade materials like mylar or vinyl, and consider custom designs for unique patterns.
• Use efficient sandblasting equipment with portable blasting units, compatible nozzles, and ideal air pressure settings for optimal results.
• Consider concrete stamp options, such as textured, pattern, seamless, flexible, or border stamps, to add decorative elements to your design.
Top Rated Concrete Engraving Tools
Select the right concrete engraving tool for your project, and you'll be able to achieve professional-looking results with ease. This is why we've compiled a list of top-rated tools that will get the job done.
When it comes to choosing the best tool for your project, consider the engraving techniques you want to use. Are you looking to create intricate designs or simple textures? Different tools are better suited for specific techniques, so it's crucial to choose the right one.
For inspiration, browse through project galleries and social media platforms to get an idea of what's possible with concrete engraving. You'll find stunning examples of decorative borders, patterns, and even 3D designs.
With the right tool, you can recreate these looks or experiment with new techniques to create unique designs. From rotary hammers to engraving routers, our list of top-rated tools covers a range of options to suit your needs and skill level.
Whether you're a DIY enthusiast or a seasoned professional, the right tool will help you release your project's full potential and achieve the results you envision.
Essential Engraving Bits and Accessories
When it comes to concrete engraving, you're only as good as your tools.
You'll need to choose the right engraving bits, made from materials like tungsten carbide, diamond-coated, or ceramic, to achieve the desired results.
As you prepare your accessory kit, make certain to include essentials like collets, adapters, and safety gear to guarantee a successful engraving process.
Engraving Bit Materials
You'll find that engraving bits are typically made from three primary materials: tungsten carbide, diamond-coated, and steel, each with its own strengths and weaknesses.
Tungsten carbide bits are ideal for general-purpose engraving and offer a good balance between durability and affordability.
Diamond-coated bits, on the other hand, are perfect for more aggressive engraving techniques and can withstand the rigors of heavy use.
Steel bits are the most budget-friendly option but may require more frequent maintenance and replacement.
When choosing an engraving bit material, consider the type of concrete you're working with, the desired level of detail, and the frequency of use.
Proper bit maintenance is also essential to extend the lifespan of your bits. Regularly cleaning and storing your bits can help prevent damage and guarantee peak performance.
Additionally, developing a range of engraving techniques can help you get the most out of your bits and achieve professional-looking results.
Accessory Kit Essentials
A well-stocked accessory kit is vital to accessing the full potential of your DIY concrete engraving project, and it starts with important engraving bits and accessories that can help you achieve professional-looking results.
You'll want to include a variety of engraving bits, such as diamond-coated bits, carbide-tipped bits, and steel bits, to tackle different types of concrete and designs. Additionally, consider adding accessories like dust masks, safety goggles, and gloves to guarantee you're taking necessary safety precautions.
Regular maintenance is also essential to extending the life of your engraving tools. Make sure to clean and store your bits properly after each use, and sharpen or replace them as needed.
You should also perform routine checks on your engraver's motor and bearings to prevent overheating and damage. By following these maintenance tips, you'll be able to achieve consistent results and avoid costly repairs.
With a well-stocked accessory kit and proper maintenance, you'll be well on your way to creating stunning concrete engravings that will elevate your home renovation project.
Best Rotary Hammer Drills
Selecting the right rotary hammer drill is essential, as it directly impacts the quality and efficiency of your concrete engraving projects. You'll want to take into account key hammer drill features, such as power output, speed, and ergonomic design, to guarantee you're getting the best tool for the job. When it comes to rotary drill brands, you can't go wrong with industry leaders like Bosch, DeWalt, and Makita.
Here's a breakdown of some top rotary hammer drill options:
| Brand | Model | Power Output | Speed |
|---|---|---|---|
| Bosch | 11264EVS | 13 amps | 0-1,200 rpm |
| DeWalt | DCH273B | 18 volts | 0-1,100 rpm |
| Makita | HR2475 | 11 amps | 0-1,100 rpm |
These drills offer a range of features, from high-torque motors to advanced vibration control, that will help you tackle even the toughest concrete engraving projects. By choosing the right rotary hammer drill for your needs, you'll be able to achieve professional-grade results with ease.
High-Quality Stencils for Designs
With your rotary hammer drill in hand, it's time to focus on the visual aspect of your concrete engraving project, where high-quality stencils for designs play an essential role in bringing your creative vision to life. You'll want to invest in stencils that can withstand the rigors of engraving and provide crisp, clean designs.
When selecting stencils, consider stencil durability factors such as material thickness, adhesive strength, and resistance to wear and tear. Look for stencils made from high-grade materials like mylar or vinyl, which offer superior durability and flexibility.
Custom stencil designs can also help you achieve unique and personalized patterns. You can create your own designs or work with a manufacturer to develop custom stencils that meet your specific needs.
Be sure to choose stencils that are compatible with your rotary hammer drill and engraving bits to guarantee seamless integration. By combining high-quality stencils with your rotary hammer drill, you'll be able to achieve professional-grade results that elevate your concrete engraving project.
Efficient Sandblasting Equipment
When it comes to efficient sandblasting equipment, you'll want to evaluate three key factors to get the best results.
First, you'll need a portable blasting unit that can handle the demands of your project.
Portable Blasting Units
You'll want to contemplate investing in a portable blasting unit, a versatile and efficient piece of sandblasting equipment that allows you to tackle various DIY concrete engraving projects with ease. A portable unit offers several benefits, including increased mobility, flexibility, and reduced setup time. This means you can easily move the unit around your workspace, adjust to different project requirements, and get started on your project quickly.
Additionally, portable blasting units are often lighter and more compact, making them ideal for small to medium-sized projects.
However, it's crucial to prioritize safety precautions when using a portable blasting unit. Always wear appropriate personal protective equipment (PPE), including goggles, gloves, and a dust mask, to protect yourself from abrasive particles and dust.
Ascertain the unit is properly grounded and kept away from flammable materials. Regularly inspect the unit and its components to prevent wear and tear, and follow the manufacturer's instructions for maintenance and operation.
Nozzle Types and Sizes
Selecting the right nozzle type and size for your portable blasting unit is essential to achieving the best results in your DIY concrete engraving projects. You'll want to evaluate the specific nozzle shapes and materials that will work best for your specific project needs.
Here's a breakdown of some common nozzle types and their uses:
| Nozzle Type | Description |
|---|---|
| Ceramic Nozzle | Ideal for fine detail work and precision engraving |
| Steel Nozzle | Suitable for heavier, more aggressive blasting tasks |
| Boron Carbide Nozzle | Offers exceptional wear resistance and durability |
When choosing a nozzle size, evaluate the orifice diameter and the air flow rate. A larger nozzle size will provide more aggressive blasting, while a smaller size will offer more precise control. Be sure to select a nozzle that's compatible with your portable blasting unit's air pressure output. By selecting the right nozzle type and size, you'll be able to achieve professional-looking results in your DIY concrete engraving projects.
Air Pressure Requirements
Operating your portable blasting unit within the ideal air pressure range is vital for efficient sandblasting and achieving the desired results in your DIY concrete engraving projects.
You'll need to make sure your air compressor can deliver the required pressure settings for peak performance. Typically, a minimum of 80-100 PSI is recommended, but this can vary depending on the specific air compressor type and nozzle size you're using.
When selecting an air compressor, consider the CFM (cubic feet per minute) rating, as it directly affects the air pressure output. A higher CFM rating usually translates to higher pressure settings. For example, a rotary screw air compressor can deliver higher CFM ratings than a reciprocating piston compressor, making it more suitable for demanding sandblasting tasks.
It's important to monitor the air pressure gauge and adjust the settings accordingly to avoid overheating or underperforming. You may need to experiment with different pressure settings to find the sweet spot for your specific project.
Versatile Concrete Stamps Options
Concrete stamps offer a wide range of design possibilities, allowing you to achieve unique textures and patterns on your engraved concrete surfaces. With creative stamp designs, you can transform your outdoor surface applications into stunning works of art. From rustic stone patterns to modern geometric designs, concrete stamps provide endless options for personalizing your DIY projects.
Here are some popular concrete stamp options to evaluate:
| Stamp Type | Description |
|---|---|
| Textured Stamps | Create realistic stone, brick, or wood patterns |
| Pattern Stamps | Achieve geometric, floral, or abstract designs |
| Seamless Stamps | Design continuous patterns without seams or joints |
| Flexible Stamps | Ideal for curved or irregular surfaces |
| Border Stamps | Add decorative edges to your concrete designs |
When choosing a concrete stamp, reflect on the type of design you want to achieve, the size of your project, and the level of detail required. With the right stamp, you can access endless creative possibilities and take your DIY concrete engraving projects to the next level.
Frequently Asked Questions
Can I Engrave Concrete With a Regular Drill Bit?
You're wondering if you can engrave concrete with a regular drill bit. The answer is, it's possible, but not ideal.
Regular drill bits aren't designed for engraving concrete, and you'll struggle to achieve the desired results.
You'll need specialized drill bit types, such as diamond-coated or carbide-tipped bits, which are designed for concrete engraving techniques like carving, scoring, or routing.
With the right tools, you'll be able to achieve professional-looking results.
How Do I Remove Engraving Mistakes From Concrete?
Imagine the frustration of ruining a perfectly good concrete design with a careless slip of the engraving tool.
Don't worry, you can correct those mistakes! To remove engraving errors from concrete, you'll need to employ some clever mistake correction techniques.
Start by evaluating the mistake's depth and location.
Then, use a diamond-grit sanding block or a carbide-tipped scraper to carefully remove the flawed area.
Once smoothed, re-engage your engraving techniques to recreate the design.
Can Concrete Engraving Be Done on Freshly Poured Concrete?
When working with fresh concrete, you'll need to wait until it's fully cured before attempting any engraving.
Fresh concrete techniques require patience, as the concrete needs time to set and harden.
Trying to engrave too soon can damage the surface or ruin the engraving process.
Typically, it's recommended to wait at least 28 days for the concrete to fully cure before starting the engraving process.
Do I Need to Seal My Concrete After Engraving?
After engraving your concrete, you'll want to contemplate sealing it to protect the design and enhance its appearance.
You have various sealing options, including topical sealers, penetrating sealers, and epoxy coatings.
Sealing your engraved concrete will help maintain its beauty and extend its lifespan. Plus, it'll make cleaning easier and prevent staining.
Is Concrete Engraving Suitable for Outdoor Use?
When considering outdoor concrete engraving, you'll want to guarantee it can withstand the elements.
The good news is that engraved concrete can be suitable for outdoor use if you prioritize weather durability.
Proper surface preparation is key, including cleaning and degreasing the area before engraving.
Additionally, applying a sealant after engraving will help protect the design from weathering and erosion.
Conclusion
As you've navigated the world of concrete engraving, you've uncovered the hidden treasures of top-rated tools, essential bits, and high-quality stencils.
Your rotary hammer drill is now a mighty sword, slicing through concrete with ease.
Your sandblasting equipment is a trusty steed, carrying you through the toughest projects.
And your concrete stamps are the master keys, revealing the secrets of unique designs.
With these tools in hand, you're now a master artisan, ready to etch your mark on the world of home renovation.
Related Posts
-

7 Best Home Renovation Project Checklists With Timelines
You're about to initiate a home renovation project, and establishing a clear plan with timelines is vital to staying ...
-

Trowel Tool Cost for DIY Home Renovation Projects
When it comes to your DIY home renovation project, you'll need to budget for a variety of trowel tools, including stu...
-

What to Look for in Pneumatic Renovation Tools
When selecting pneumatic renovation tools, you'll want to take into account several key factors to guarantee optimal ...


