7 Tips for Removing Old Renovation Sealants Safely
Share
When removing old renovation sealants, prioritize safety and effectiveness by following seven essential steps. First, prepare for the task by gathering necessary tools, setting up a well-ventilated workspace, and donning protective gear. Next, identify the sealant type and select compatible tools. Apply solvent carefully, then use a scraper to gently pry away the old sealant, working in small sections to maintain control. Remove remaining residue with cleaning agents, and neutralize the surface before applying new sealant. Finally, dispose of hazardous waste properly to prevent environmental damage. By following these steps, you'll be well on your way to a successful sealant removal – and now, take the next step towards a safe and successful renovation.
Key Takeaways
• Prepare a well-ventilated workspace with essential tools, protective gear, and a first-aid kit to minimize exposure to fumes and potential hazards.
• Identify the sealant type and select compatible tools to avoid damaging surrounding surfaces and ensure precision control during removal.
• Apply solvents in a controlled manner, using appropriate cleaning agents and techniques to dissolve and remove residue without damaging surfaces.
• Work in small sections, scraping away old sealant at a 20-30 degree angle, and clean the surface with mild detergent and warm water after removal.
• Ensure the surface is completely clean, dry, and neutralized before applying new sealant, inspecting for missed areas or imperfections.
Prepare for Sealant Removal
Before you begin removing old renovation sealants, gather essential tools and materials to guarantee a safe and efficient process. You'll need a well-ventilated workspace, protective gear like gloves, safety glasses, and a face mask, and a disposal bin for the old sealant.
Confirm your workspace organization is ideal by clearing the area of any obstructions and laying down drop cloths or old sheets to contain the mess.
Take necessary safety precautions to avoid exposure to harsh chemicals and sealant residue. Wear long-sleeved clothes, and tie back long hair to prevent it from getting in the way.
Remove any valuable items from the vicinity to prevent damage. It's also vital to have a first-aid kit nearby in case of accidents.
Make sure you have a reliable source of light, as good visibility is important for the removal process.
Choose the Right Tool
When it comes to removing old renovation sealants, you'll need to choose the right tool for the job.
You'll want to take into account factors like the type of sealant, the surface it's bonded to, and the level of force required to break the bond.
Tool Selection Criteria
Selecting the right tool for removing old renovation sealants requires careful consideration of several key factors, including the type of sealant, the substrate material, and the level of adhesion.
You'll want to choose a tool that's specifically designed for the job to guarantee safe and effective removal.
When evaluating tool types, consider the following key criteria:
-
Material compatibility: Will the tool damage the surrounding substrate or other materials in the area?
-
Adhesion level: Do you need a tool that can handle strong adhesion or one that's better suited for weaker bonds?
-
Precision control: Do you need a tool that allows for precise control over the removal process or one that can handle larger areas quickly?
Sealant Type Matters
You'll need to identify the specific type of old renovation sealant you're dealing with, as different tools are required to safely remove silicone, polyurethane, or acrylic-based sealants. Each type of sealant has its unique characteristics, such as sealant longevity, which affects the removal process.
For instance, silicone-based sealants are generally more durable and long-lasting, making them more challenging to remove. On the other hand, polyurethane-based sealants are more prone to degradation over time, making them easier to remove.
Understanding the type of sealant you're dealing with is essential to choosing the right tool for the job. Using the wrong tool can lead to damage to the surrounding surface or even environmental harm.
For example, using a solvent-based remover on a polyurethane-based sealant can release harmful chemicals into the environment. By identifying the sealant type, you can select a tool that's specifically designed for safe and effective removal, minimizing the environmental impact of the process.
Gentle Vs. Aggressive Tools
Most old renovation sealant removal projects require a strategic approach, and that starts with choosing the right tool: a gentle or aggressive one, depending on the sealant type and surface sensitivity. You need to assess the situation and decide which method is best for your specific project.
Here are some scenarios to evaluate:
-
Delicate surfaces: When working with sensitive surfaces like glass, wood, or painted walls, opt for gentle methods like soft-bristled brushes, microfiber cloths, or plastic scrapers. These tools will help you avoid scratching or damaging the surface.
-
Tough sealants: For more stubborn sealants, you may need to employ aggressive techniques like chemical solvents, heat guns, or heavy-duty scrapers. However, be cautious not to apply too much force, which can damage the underlying material.
Safely Apply Solvent
Before applying solvent, guarantee the area is well-ventilated and you're wearing protective gear, including gloves, safety glasses, and a respirator or mask. This is essential to prevent inhaling harmful fumes and skin irritation.
Next, select the appropriate solvent type for your specific sealant removal project. There are various solvent types, such as mineral spirits, acetone, or specialized sealant removers, each with its own strengths and weaknesses. Always follow the manufacturer's safety guidelines and instructions for use.
When applying the solvent, use a clean, lint-free cloth or applicator to avoid introducing contaminants into the area. Apply the solvent in a controlled manner, working from one edge of the sealant towards the other. Avoid soaking the surrounding surfaces, as this can cause damage or discoloration.
Scrape Away Old Sealant
As you move on to scraping away the old sealant, you'll need to remove old layers of sealant, taking care not to gouge the surface.
Next, you'll want to prepare the surface to be clean and free of residue, ensuring a strong bond with the new sealant.
Remove Old Layers
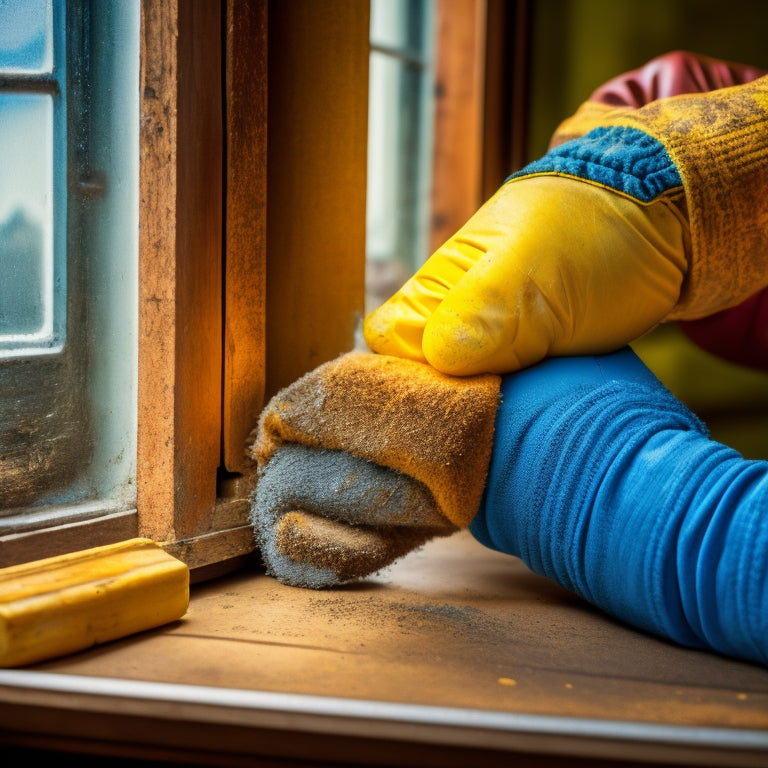
Scrape away the old sealant by holding the scraper or putty knife at a 20- to 30-degree angle, then gently pry the sealant from the surface, working in small sections to maintain control. This technique allows you to remove the old sealant without damaging the surrounding surface.
As you remove the old sealant, you'll notice the following:
-
Flakes and fragments: The old sealant will break away in small pieces, revealing the original surface beneath.
-
Sticky residue: You may encounter sticky patches where the old sealant has bonded strongly to the surface.
-
Discoloration: The old sealant may leave behind a discolored or stained area, which will need to be addressed before reapplication.
Prepare Surface Clean
With the old sealant removed, you're left with a surface that requires attention to guarantee a clean slate for reapplication. Start by wiping away any remaining flakes and fragments with a lint-free rag or cloth. This initial cleaning step is essential for effective surface preparation, as it sets the stage for a strong bond between the new sealant and the substrate.
Next, use a gentle cleaning technique to remove any dirt, grime, or residue that may have accumulated on the surface. A mixture of mild detergent and warm water should suffice for most surfaces. Avoid using harsh chemicals or abrasive materials that can damage the substrate or leave behind residues that can interfere with the new sealant.
Once you've cleaned the surface, use a clean, dry cloth to wipe away any excess moisture. This step is vital to ensuring a dry, contaminant-free surface that's ready for reapplication.
Scrape With Care
You'll need to employ a more aggressive approach to remove the bulk of the old sealant, using a scraping tool specifically designed for this purpose. This is where your scraping techniques come into play.
Choose a tool with a sturdy blade, such as a putty knife or a scraper, and hold it at a 20-30 degree angle to the surface. Apply gentle to moderate pressure, depending on the type of sealant, and start scraping away.
As you scrape, imagine:
-
The old sealant crumbling away, revealing a clean surface beneath.
-
The scraping tool gliding smoothly, removing the sealant with ease.
-
The satisfaction of seeing the old sealant disappear, making way for the new.
Remember to work in small sections, scraping in one direction to avoid spreading the old sealant around. Be patient and take your time, as this process may take some elbow grease.
Don't worry if some residue remains – we'll tackle that in the next step. For now, focus on removing the bulk of the old sealant, and you'll be one step closer to a successful renovation.
Remove Remaining Residue
After mechanically breaking down the old sealant, a solvent-based cleaning solution is applied to dissolve and lift remaining residue from the surface. This step is essential for effective residue removal, as it helps to break down the adhesive properties that are still holding on to the surface.
You'll need to choose a solvent that's specifically designed for the type of sealant you're dealing with and apply it according to the manufacturer's instructions.
Once you've applied the solvent, give it some time to penetrate the residue. This will help to loosen its grip on the surface, making it easier to remove.
Use a clean, lint-free cloth or scrubber to gently wipe away the residue, working from one end of the surface to the other. Be patient and persistent, as this process may take some time and elbow grease.
Remember to work in a well-ventilated area, and avoid using excessive force, which can damage the surface. By following these steps, you'll be able to remove the remaining residue and prepare the surface for the next stage of the process.
Neutralize the Surface
Frequently, a thorough neutralization of the surface is necessary to remove any remaining solvent residue or alkalinity that could interfere with the new sealant's adhesion.
You'll want to verify the surface is properly treated to achieve ideal sealant compatibility. This step is essential, as any remaining impurities can compromise the bond between the new sealant and the substrate.
To effectively neutralize the surface, you'll need to:
-
Rinse the surface with a mild detergent and water to remove any remaining residue.
-
Apply a neutralizing solution, such as a mixture of water and white vinegar, to counteract any alkalinity.
-
Use a clean, lint-free cloth to wipe down the surface, removing any excess moisture and verifying a clean slate for the new sealant.
Dispose of Waste Properly
Proper disposal of hazardous waste, including old sealants and cleaning solvents, is essential to prevent environmental harm and guarantee a safe working environment.
You'll need to segregate the waste into different categories, such as recyclables, non-recyclables, and hazardous materials. Make certain you check with local authorities to determine the specific regulations and guidelines for waste disposal in your area.
Once you've categorized the waste, you can start the disposal process. You'll need to use specialized containers and bags to handle hazardous materials, and make sure that they're sealed properly to prevent leakage. For non-hazardous materials, you can use regular trash bags or bins. Remember to label each container or bag clearly, so you can easily identify what's inside.
Effective waste management is critical to maintaining a safe and healthy work environment. By following these guidelines, you can make sure that you're disposing of waste properly and minimizing the risk of environmental contamination.
Frequently Asked Questions
Can I Use a Hair Dryer to Speed up the Solvent Evaporation Process?
When considering heat application to speed up solvent evaporation, you're on the right track.
However, using a hair dryer mightn't be the best approach. While it may seem convenient, it can actually compromise solvent safety.
Instead, opt for a controlled heat source, like a heat gun, which allows for more precise temperature regulation.
This guarantees the solvent evaporates efficiently without overheating, which can lead to hazardous fumes or residue.
How Do I Protect Surrounding Surfaces From Solvent Damage?
When tackling solvent-based removal, you're walking a tightrope between effectiveness and surface protection - one misstep, and you'll be left with a bigger mess than before.
To avoid this, you'll need to don your protective armor: surface coverings and protective barriers.
Apply them meticulously around the area, ensuring a watertight seal.
This will shield surrounding surfaces from solvent damage, giving you a safety net to work with.
Are There Any Eco-Friendly Alternatives to Chemical Solvents?
Are you looking for eco-friendly alternatives to chemical solvents?
You'll be pleased to know that natural sealant options and biodegradable solvents are gaining popularity.
Consider using plant-based solvents like soy or corn oil, which are gentler on surfaces and the environment.
These alternatives can effectively break down old sealants without compromising your health or the planet's.
You'll have more control over the removal process, ensuring a safer and more sustainable outcome.
Can I Reuse Old Sealant or Is It Better to Replace It?
You're probably thinking, 'Why waste money on new sealant when the old one looks fine?'
But let's get real, old sealant can be a ticking time bomb. You can't rely on its durability, and the cost comparison isn't even close.
Reusing old sealant might save you a few bucks upfront, but it'll likely lead to costly repairs down the line.
It's better to replace it with a new, high-quality sealant that guarantees a secure, long-lasting bond.
How Long Does It Take for the Solvent to Break Down Old Sealant?
When you're dealing with old sealant, you're probably wondering how long it takes for the solvent to break it down.
The answer depends on the type of solvent you're using and the sealant's composition. Typically, a good-quality solvent can start breaking down the sealant within 15-30 minutes, but it may take several hours or even overnight for complete dissolution.
You'll need to choose the right solvent type, such as a citrus-based or petroleum-based option, to effectively facilitate the sealant breakdown.
Conclusion
You've finally broken down the old renovation sealant, and now you're ready to start fresh.
Remember, removing old sealants is like peeling back an onion - it takes patience and the right tools to get to the heart of the matter.
By following these 7 tips, you'll be able to safely and effectively remove old renovation sealants, leaving your surface ready for a brand new look.
Now, get to work and make that surface shine like new!
Related Posts
-

5 Must-Have Plastering Tools for Safe Renovation
You'll need a range of essential tools to tackle your plastering project safely. Invest in a variety of trowels, incl...
-

10 Best Power Tools to Buy for Home Renovation
To tackle your home renovation project efficiently, you'll need the right power tools for the job. A cordless drill f...
-

What to Look for in Pneumatic Renovation Tools
When selecting pneumatic renovation tools, you'll want to take into account several key factors to guarantee optimal ...


