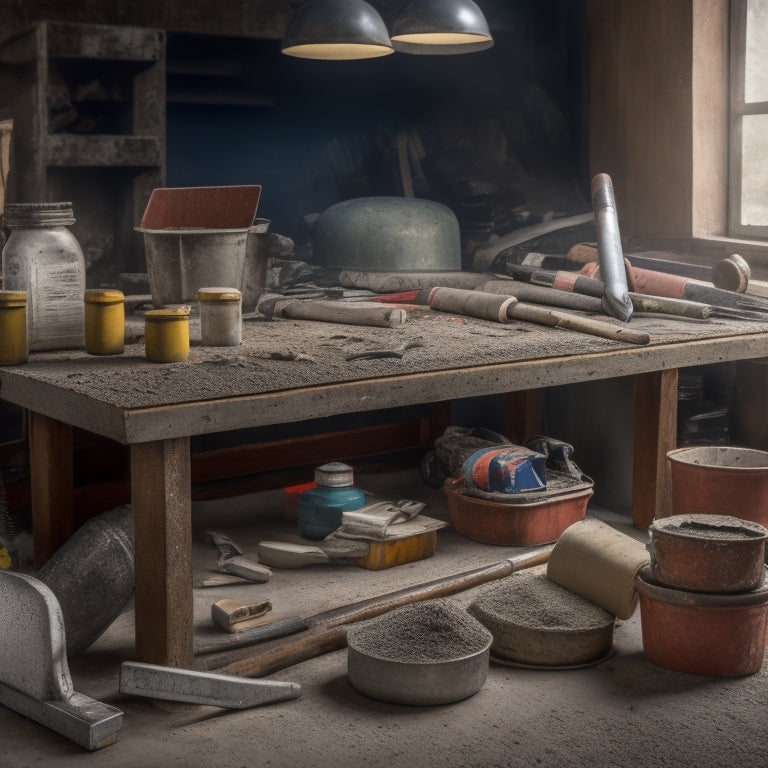
7 Best Concrete Tool Kit Must-Haves for Renovation
When tackling a concrete renovation project, you'll need a well-rounded tool kit to guarantee efficiency and quality. Seven must-haves include a tamping tool for uniform compaction, a high-quality concrete float for a smooth finish, an edger for clean joints, powerful drill bits for anchors, a reliable concrete mixer bucket, a smart chisel set for demolition, and essential safety gear for protection. Each tool plays a critical role in achieving professional-grade results, and understanding their specific uses and maintenance requirements is key. As you assemble your concrete tool kit, you'll be well on your way to executing a successful renovation that meets your vision and exceeds expectations.
Key Takeaways
• A tamping tool is essential for uniform compaction, preventing structural weaknesses in walls and ensuring a clean, level surface.
• A high-quality concrete float with durable blades (magnesium, resin, high-carbon steel, or stainless steel) is necessary for achieving professional-grade surface finishes.
• A reliable edger is vital for creating clean, well-defined joints in concrete, with regular maintenance and proper storage extending its lifespan.
• A powerful drill bit (carbide-tipped, diamond-coated, or high-torque) is necessary for efficient anchor installations, following manufacturer's instructions and safety precautions.
• A smart chisel set (high-carbon steel, stainless steel, titanium, or tungsten carbide-tipped) with hard-wear resistant tips is crucial for effective demolition tasks, with proper maintenance and safety gear ensuring optimal performance.
Essential Tamping Tool for Walls
When constructing or renovating walls, a reliable tamping tool is essential to guarantee uniform compaction and prevent uneven settlement, which can lead to structural weaknesses and costly repairs down the line.
You'll want to select a tamping tool that suits your specific project needs, considering factors like the type of concrete, wall thickness, and desired finish. Proper wall preparation is critical, so make certain to clean and level the surface before applying concrete.
Next, you'll need to master effective tamping techniques to achieve ideal compaction. Hold the tamping tool vertically and apply gentle to moderate pressure, working in sections to avoid air pockets.
Use a consistent, overlapping pattern to ensure thorough coverage. Be careful not to over-tamp, as this can cause segregation and weaken the concrete.
High-Quality Concrete Float Selection
When selecting a high-quality concrete float, you'll want to contemplate the blade material's impact on the finished surface.
Will you opt for a magnesium float for a smooth, even finish or a resin float for a more aggressive, textured look?
Float Blade Materials
You'll want to choose a high-carbon steel or stainless steel float blade, as these premium materials guarantee a smooth, even finish and minimize the risk of rust or corrosion on your freshly poured concrete. High-carbon steel float blades are a popular choice among professionals due to their durability and resistance to wear.
Stainless steel float blades, on the other hand, offer superior corrosion resistance and are ideal for use in harsh environments or with specialized concrete mixes.
When selecting a float blade, consider the type of concrete you're working with and the desired finish. There are two primary float blade types: flat and curved. Flat float blades are best suited for flatwork and provide a smooth, even finish. Curved float blades are ideal for curved or irregular surfaces and help to achieve a consistent finish.
Regular float blade maintenance is essential to guarantee peak performance and extend the lifespan of your tool. Clean your float blade regularly to prevent concrete buildup and store it in a dry location to prevent rust or corrosion.
Concrete Surface Finishing
With a high-quality float blade in hand, you're now ready to focus on selecting the perfect concrete float to achieve a flawless surface finish that meets your renovation project's exacting standards.
Choosing the right float is essential in concrete finishing techniques, as it directly impacts the final appearance and durability of the surface. When selecting a float, consider the type of concrete you're working with, as well as the desired finish. For example, a magnesium float is ideal for general-purpose floating, while a resin float is better suited for high-gloss finishes.
In surface preparation methods, the float plays a critical role in removing imperfections and achieving a smooth surface. Look for a float with a comfortable, ergonomic handle that reduces fatigue and allows for precise control.
Additionally, consider the float's weight, as a heavier float can be more effective at removing imperfections, but may be more difficult to maneuver. By selecting the right concrete float for your project, you'll be able to achieve a professional-grade finish that meets your renovation goals.
Must-Have Edger for Clean Joints
A quality edger is vital for creating clean, well-defined joints in your concrete renovation project, as it allows you to remove excess concrete and achieve a precise, uniform finish.
When selecting an edger, you'll come across different types, including walk-behind edgers, handheld edgers, and ride-on edgers. Each type is designed for specific joint maintenance tasks and project scales. For instance, walk-behind edgers are ideal for large-scale projects, while handheld edgers are perfect for smaller, more precise joints.
When operating an edger, make certain to wear protective gear, including safety glasses, gloves, and a dust mask. Always follow the manufacturer's instructions and take regular breaks to avoid fatigue.
Proper edger maintenance is also important to guarantee peak performance and extend its lifespan. Regularly clean and lubricate the edger's moving parts, and store it in a dry, secure location.
Powerful Drill Bits for Anchors
By outfitting your drill with powerful, high-torque drill bits specifically designed for anchors, you can efficiently penetrate dense concrete and achieve secure, long-lasting fastenings. These drill bits are engineered to handle the immense pressure and resistance of concrete, ensuring a safe and reliable anchor installation.
When selecting drill bits for anchor installation, it's crucial to choose the right type for your specific needs. Carbide-tipped drill bits are ideal for drilling through concrete, as they maintain their cutting edge and resist wear. Masonry drill bits, on the other hand, are designed for drilling into brick, block, and other masonry materials. For heavy-duty applications, consider using diamond-coated drill bits, which provide unparalleled durability and performance.
Regardless of the drill bit type, always follow the manufacturer's instructions and take necessary safety precautions to avoid accidents. With the right drill bits, you'll be able to complete anchor installations quickly and confidently, ensuring a successful renovation project.
Reliable Concrete Mixer Bucket
You'll need a reliable concrete mixer bucket that can withstand the rigors of heavy use, as it plays a critical role in efficiently mixing and transporting concrete to your work site.
When selecting a mixer bucket, consider the type that best suits your needs. There are two primary mixer bucket types: electric and manual. Electric mixer buckets offer faster mixing efficiency, but manual buckets provide more control and are ideal for smaller projects.
Regardless of the type, make sure your mixer bucket is constructed with durable materials, such as heavy-duty steel or thick plastic, to withstand the weight and abrasion of concrete. A sturdy mixer bucket will prevent accidents and injuries caused by collapse or breakage.
Look for features like reinforced handles, rust-resistant coatings, and a secure lid to guarantee safe and efficient mixing. A reliable mixer bucket will also reduce mixing time, allowing you to complete projects quickly and efficiently.
Smart Chisel Set for Demolition
When you're selecting a smart chisel set for demolition, you'll want to take into account the materials used in its construction, as they'll directly impact the tool's performance and durability.
You'll also need to reflect on the techniques you'll employ to maximize efficiency and minimize effort during the demolition process.
Chisel Material Matters
Your smart chisel set for demolition relies heavily on the material used to construct the chisels themselves, as it directly impacts their effectiveness in tackling tough concrete jobs. The type of material used can make a significant difference in the performance and longevity of your chisels.
When it comes to chisel types, you'll find that high-carbon steel, stainless steel, and titanium are popular options. Here are some key benefits to take into account:
-
High-carbon steel chisels: Provide exceptional strength, durability, and resistance to corrosion, making them ideal for heavy-duty demolition work.
-
Stainless steel chisels: Offer superior corrosion resistance and are easy to clean, reducing the risk of rust and contamination.
-
Titanium chisels: Are lightweight, yet incredibly strong, making them perfect for precision work and reducing fatigue.
- Tungsten carbide-tipped chisels: Feature a hard, wear-resistant tip that can withstand the toughest concrete, extending the life of your chisel.
Proper chisel maintenance is also essential to guarantee your tools remain in top condition. Regularly clean and store your chisels to prevent rust and damage, and think about applying a rust-inhibiting coating for added protection.
Efficient Demolition Techniques
Mastering efficient demolition techniques is essential to completing concrete projects quickly and safely, and a smart chisel set for demolition is only as effective as the skilled hands wielding it.
As you prepare for demolition, prioritize demolition safety by wearing protective gear, including gloves, safety glasses, and a dust mask. Next, identify the most efficient removal strategy for the specific concrete structure you're working with. This might involve using a combination of chiseling and prying techniques to break up the concrete into manageable pieces.
To maximize efficiency, focus on applying controlled, precise strikes with your chisel, rather than relying on brute force. This will help you maintain control and avoid accidents. Additionally, consider using a chisel with a curved or angled blade, which can help you access tight spaces and corners.
Precise Control Options
With a smart chisel set for demolition in hand, you can capitalize on the techniques learned earlier to exert precise control over the demolition process. This advanced tool kit allows you to fine-tune your demolition strategy, making it ideal for complex renovation projects.
By incorporating control techniques, such as adjusting the chisel angle and force, you can minimize damage to surrounding structures and guarantee a safer working environment.
To maximize the benefits of your smart chisel set, consider the following features:
-
Adjustment tools: Includes Allen wrenches and hex keys for quick adjustments on the fly
-
Variable speed control: Enables you to tailor the chisel's speed to the specific material being demolished
-
Ergonomic grip design: Reduces fatigue and provides a secure hold, even in demanding situations
- LED lighting: Illuminates the work area, improving visibility and reducing the risk of accidents
Vital Safety Gear for Protection
Vital Safety Gear for Protection
Wear personal protective equipment (PPE) like hard hats, safety glasses, and dust masks to shield yourself from hazardous materials and debris. You should also invest in safety goggles, which provide additional protection for your eyes from flying particles and chemical splashes.
Don't forget to wear work gloves, which not only protect your hands from cuts and abrasions but also improve grip and control when handling tools.
When working with power tools, it's important to wear earplugs or earmuffs to prevent hearing damage from loud noises. Additionally, consider wearing steel-toed boots or shoes with slip-resistant soles to prevent falls and injuries.
A first-aid kit should also be on hand in case of accidents. Make sure it's fully stocked with essentials like bandages, antiseptic wipes, and pain relievers.
Frequently Asked Questions
Can I Use a Hammer Instead of a Tamping Tool for Small Walls?
When working on small walls, you might wonder if a hammer can substitute for a tamping tool.
While it's technically possible, it's not the best approach. A hammer can compact the concrete unevenly, leading to structural weaknesses.
Instead, use a hammer with a flat, blunt end to gently tap the concrete, but be cautious not to overdo it.
For ideal results, invest in a dedicated tamping tool, designed for even compaction and a stronger finish.
How Often Should I Clean and Maintain My Concrete Tools?
As you're waist-deep in concrete dust, your tools are silently screaming for attention.
You shouldn't wait until they're clogged and rusted to take action. Clean your concrete tools daily, removing excess cement and debris to prevent damage.
For tools with moving parts, lubricate them weekly to guarantee smooth operation. By doing so, you'll greatly extend their lifespan and assure peak performance.
Are Concrete Tool Kits Available for Specific Renovation Projects?
You're wondering if concrete tool kits cater to specific renovation projects. The answer is yes!
You can find kits tailored to your project's unique needs. For instance, a flooring renovation kit might include a scraper, edger, and grinding discs, while a wall repair kit would have trowels, floats, and jointers.
These specific project kits guarantee you have the renovation tool essentials to get the job done safely and efficiently.
Look for kits that align with your project's requirements to avoid unnecessary tools and potential hazards.
Can I Rent Concrete Tools Instead of Buying a Kit?
You're considering renting concrete tools instead of buying a kit. That's a great option! Renting allows you to access specialized tools without the hefty upfront cost.
Compare renting options based on tool quality, rental duration, and vendor reputation. Make certain the rented tools meet safety standards and are suitable for your project's specific needs.
Weigh the costs and benefits of renting versus buying; you might find it's more cost-effective to rent for one-time or infrequent use.
Do I Need a License to Operate Heavy-Duty Concrete Tools?
When you're working with heavy-duty concrete tools, you'll need to check local regulations regarding licensing requirements.
Depending on the type of equipment and the scope of your project, you might need special certifications or permits.
Don't assume you can operate heavy machinery without proper authorization - it's vital for your safety and the safety of others on site.
Research local laws and comply with heavy-duty regulations to avoid fines and guarantee a successful renovation.
Conclusion
You've got the ultimate concrete tool kit must-haves for a successful renovation.
With these seven essentials, you'll be unstoppable - a concrete-conquering machine!
From tamping walls to chiseling demolition sites, you'll be equipped to tackle any task that comes your way.
Don't even think about starting a project without them - it's like trying to build a skyscraper with LEGO blocks.
Get ready to transform your space with confidence and precision.
Related Posts
-

Create a Home Renovation Project Timeline in Excel
You can create a detailed home renovation project timeline in Excel by setting up a tailored template with separate w...
-
7 Patio Safety Tips for DIY Renovation Projects
As you begin your DIY patio renovation project, prioritize safety by evaluating the worksite for tripping hazards and...
-

3 Best DIY Home Renovation Timelines for Success
As you tackle your DIY home renovation project, create a solid timeline by breaking it down into three phases. First,...
