5 Best Steps to Prepare Walls for DIY Renovation
Share
As you prep for your DIY renovation, you'll want to get your walls in top shape first. Start by scrubbing away dirt and grime with a stiff-bristled broom or wire brush, then tackle any cracks and holes with patching compounds and concrete mixes. Next, sand your way to a silky smooth surface using progressively finer grits. Remove old paint and adhesives with strippers and removers, taking care not to gouge the surface. Finally, prime your walls with a high-quality coat to guarantee a strong bond with your new finish. With these steps complete, you'll be ready to reveal a stunning, professional-looking transformation.
Key Takeaways
• Clean the wall surface thoroughly with a stiff-bristled broom and trisodium phosphate solution to ensure strong bonding with new finishes.
• Fix cracks and holes completely by cleaning, applying patching compound or concrete patching mix, and smoothing out the surface.
• Sand the wall using various grit levels to remove excess filler, smooth out imperfections, and achieve a silky finish.
• Remove old paint and adhesives using paint stripper or adhesive remover, working in small sections to avoid damaging the surface.
• Apply a high-quality primer to enhance adhesion and finish, choosing a stain-blocking or universal primer depending on the wall type.
Clean the Concrete Wall Surface
Take a stiff-bristled broom or a wire brush to scrape away any loose debris, dirt, or old adhesives that may be clinging to the concrete wall surface, guaranteeing a clean slate for your DIY renovation project. This essential step in surface preparation will assure a strong bond between the old concrete and the new finishes you'll be applying.
As you work, pay attention to the texture and porosity of the wall, taking note of any areas that may require extra attention.
Next, move on to more targeted cleaning techniques. Mix a solution of trisodium phosphate (TSP) and warm water, and apply it to the wall using a soft-bristled brush or a mop. Let it sit for 15-20 minutes to allow the solution to penetrate and loosen any stubborn grime.
Then, rinse the wall thoroughly with clean water to remove any residue. This combination of mechanical and chemical cleaning will leave your concrete wall surface clean, smooth, and ready for the next steps in your DIY renovation project.
Fix Cracks and Holes Completely
As you scrutinize the wall's surface, imperfections like cracks and holes come into sharp focus, demanding attention before you can move forward with your DIY renovation project. These flaws can't be ignored, as they'll only worsen over time, compromising the integrity of your renovation. To fix cracks and holes completely, you'll need a solid crack repair and hole patching strategy.
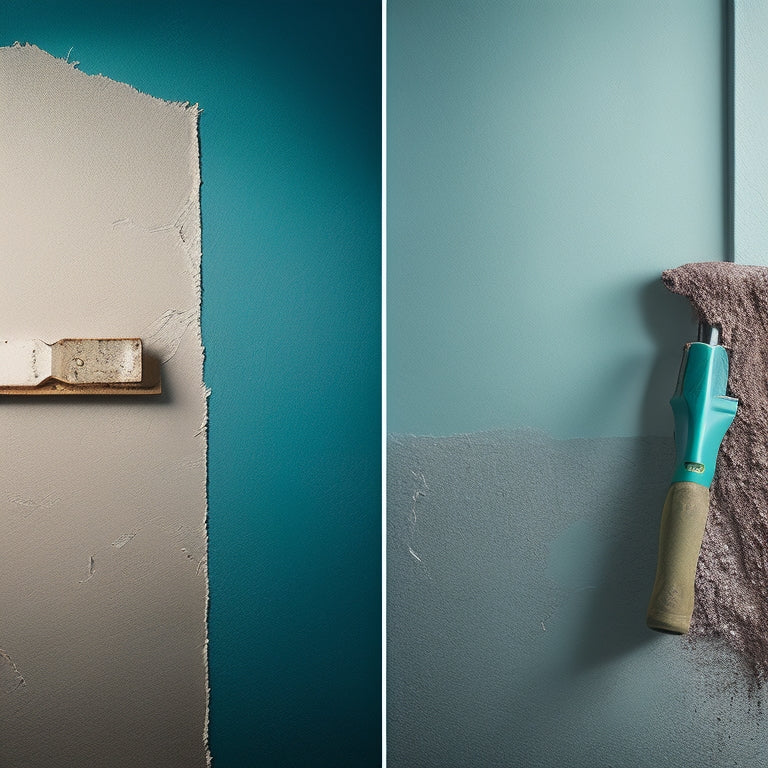
Start by cleaning the affected areas with a wire brush to remove any debris. For small cracks, apply a patching compound using a putty knife, feathering it out towards the edges. For larger cracks, use a concrete patching mix, following the manufacturer's instructions. Allow the compound to dry completely before sanding it down to a smooth finish.
For holes, use a patching compound or spackling paste to fill the void. Apply the compound in thin layers, allowing each layer to dry before adding the next. Once the hole is filled, use a putty knife to smooth out the surface.
With patience and attention to detail, you can successfully fix cracks and holes, creating a solid foundation for your DIY renovation project.
Sand and Smooth the Wall
With your cracks and holes expertly filled, it's time to release your inner perfectionist and sand the wall to a silky smooth finish, erasing any evidence of those former imperfections. This essential step in wall preparation requires attention to detail and the right techniques to achieve a flawless surface.
Sanding Techniques for Wall Smoothing
| Grit | Purpose | Effect |
|---|---|---|
| Coarse (80-100) | Remove excess filler | Rough, textured surface |
| Medium (120-150) | Smooth out imperfections | Matte, even finish |
| Fine (220-240) | Polish and refine | Silky, smooth surface |
As you progress through the grit levels, remember to work in small, circular motions, applying gentle to moderate pressure. Be sure to wipe away dust and debris with a damp cloth to prevent scratches. By mastering these sanding techniques, you'll be rewarded with a wall that's ready for painting or finishing, and your DIY renovation project will be one step closer to completion.
Remove Old Paint and Adhesives
Behind the freshly sanded surface, old paint and adhesives may still be lurking, threatening to disrupt your renovation's sleek new look, so get ready to strip them away.
You'll need to remove any remaining paint and adhesives to guarantee a smooth, even finish. Start by identifying areas with stubborn paint residue or adhesive buildup.
Use a paint stripper or a specialized adhesive remover to gently coax these unwanted layers off the wall. Be patient and work in small sections, as paint stripping and adhesive removal can be a time-consuming process.
As you scrape away the old paint and adhesives, take care not to gouge or scratch the underlying surface. Use a putty knife or scraper to remove loose debris, and then wipe the area clean with a damp cloth.
With the old paint and adhesives gone, your wall is now ready for the next step in the renovation process. You'll be amazed at how a little elbow grease can transform your space, setting the stage for a stunning new look that's sure to impress.
Apply Primer for Better Adhesion
Before applying your new finish, you'll want to lay a strong foundation by coating the wall with a high-quality primer, specifically designed to promote better adhesion and a flawless finish. This vital step guarantees a durable bond between the wall and your chosen finish, whether it's paint, wallpaper, or another decorative treatment.
When selecting a primer, consider the type of surface you're working with. For example, if you're dealing with a porous or stained surface, opt for a stain-blocking primer. For drywall or plaster, a universal primer will suffice. Always read the label and follow the manufacturer's instructions for application and drying times.
When it comes to application techniques, use a high-quality roller or brush to achieve an even, smooth coat. Work in sections, applying the primer in a 'W' or 'M' pattern to prevent drips and streaks. Allow the primer to dry completely according to the instructions before moving on to the next step in your DIY renovation.
Frequently Asked Questions
Can I Use a Power Washer to Clean Concrete Walls?
When cleaning concrete walls, you'll want to exercise caution with power washer techniques, as high pressure can damage the surface. Instead, use a wide fan tip, keep the nozzle at least 12 inches away, and work from the bottom up to avoid streaks.
Do I Need to Replace Drywall if It's Water Damaged?
You're standing in a stormy room, with water damage raining down on your drywall - but don't rush to replace it just yet. First, assess the moisture levels, then you can decide if drywall repair is possible, or if it's time to rebuild from scratch.
What Is the Best Way to Dispose of Leftover Materials?
When disposing of leftover materials, you'll want to explore recycling options and follow local disposal guidelines to minimize waste. Sort items into categories, like cardboard, plastic, and hazardous materials, to guarantee a responsible and eco-friendly cleanup.
Can I Paint Over Existing Wallpaper or Borders?
You're tempted to paint over that outdated wallpaper, but don't - it'll only lead to a subpar finish. Instead, consider removing it or opting for wallpaper alternatives like stylish decals or statement wall tiles for a fresh, revamped look.
How Long Should I Wait Before Applying a Second Coat of Primer?
After applying the first coat of primer, you'll want to wait until it's completely dry to the touch, usually 30 minutes to an hour, to guarantee ideal paint adhesion and a smooth finish, allowing the primer drying process to set the stage for a flawless second coat.
Conclusion
As you stand back to admire your handiwork, the once-barren walls now resemble a blank canvas, primed and ready for your artistic touch.
The imperfections have been sanded away, leaving a smooth surface that's enthusiastic to be transformed.
The cracks and holes, once gaping wounds, are now mere memories, sealed and forgotten.
Your DIY renovation is off to a perfect start, with a solid foundation that's ready to support your vision.
Related Posts
-

Trowel Tool Cost for DIY Home Renovation Projects
When it comes to your DIY home renovation project, you'll need to budget for a variety of trowel tools, including stu...
-

DIY Plastering Supply Checklist for Home Renovation
To tackle a DIY plastering project for your home renovation, you'll need a solid checklist of supplies. Start with es...
-

Stucco Patching Material Checklist for Home Renovation
You'll need a range of essential tools, including a putty knife, wire brush, hawk or flat trowel, level, and straight...


