5 Best DIY Plaster Tool Costs for Home Renovation
When it comes to DIY plastering for your home renovation, you'll need to invest in the right tools to achieve a professional-looking finish. Crucial tools like mixing buckets, putty knives, and trowels can cost anywhere from $10 to $500 or more, depending on the quality and brand. Trowels alone can range from $10 to $30, while plaster hawks can cost between $20 to $50. Finishing tools can set you back $50 to $200+, and budget-friendly plaster mixers are available for smaller projects. To get the best value for your money, it's crucial to understand the cost breakdown of each tool - and that's just the starting point for your DIY project.
Key Takeaways
• A good quality plaster hawk can cost between $20 to $50, depending on the features and brand.
• Trowels and edgers are essential for a professional finish, with prices ranging from $10 to $40.
• Finishing tools can cost from $50 to $200+, depending on the type of finish and quality of the tool.
• Budget-friendly plaster mixer options are available for small to medium projects, with manual mixers being a cost-effective solution.
• Investing in the right tools can lead to better results and longer tool lifespan, making it a worthwhile investment for DIY enthusiasts.
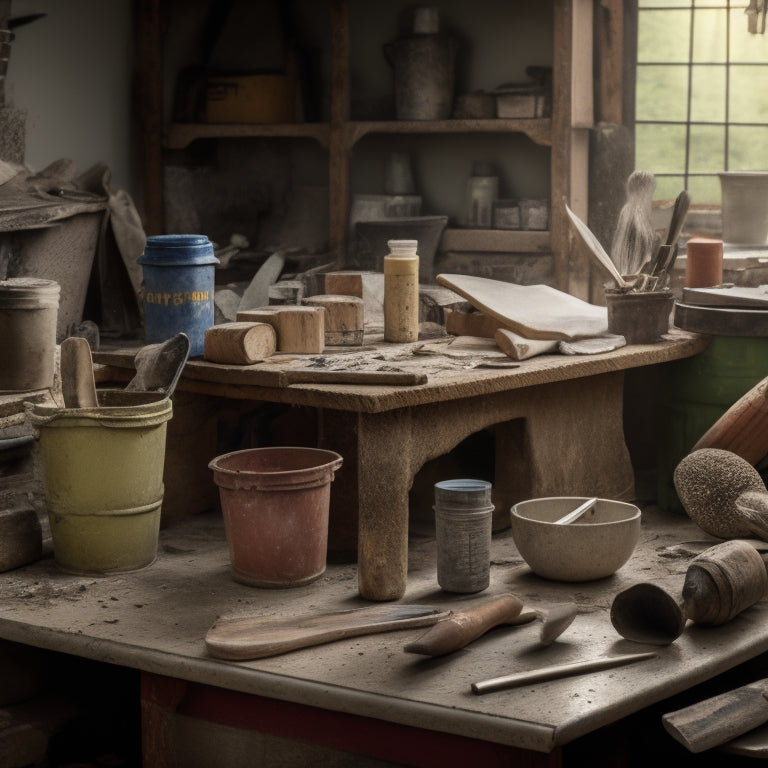
Essential Plastering Tools for DIY
What're the must-have tools you'll need to get started with DIY plastering, and how will they impact your renovation budget?
To achieve professional-looking results, you'll need to invest in the right tools. A sturdy mixing bucket, a putty knife, and a hawk (a tool used to hold and transfer plaster) are essential for mixing and applying plaster. You'll also need a trowel, which is used to spread and smooth the plaster. Additionally, a level and a straightedge will help you achieve a smooth, even finish.
When it comes to surface preparation, you'll need a wire brush or sandpaper to clean and roughen the surface, ensuring a strong bond between the old surface and the new plaster. A dust mask and safety goggles will protect you from inhaling dust and debris.
Mastering various plastering techniques, such as scratch coating and brown coating, will also require practice and patience. By investing in these must-have tools and taking the time to prepare your surface properly, you'll be well on your way to achieving a beautiful, long-lasting finish that will enhance the value of your home.
Cost of Trowels and Edgers
Your trowel and edger selection can make a significant difference in the quality of your plastering job, and their costs will vary depending on the type, size, and brand you choose. As a DIY enthusiast, you'll want to think about the different trowel types, such as v-notched, square-notched, and rounded-edge trowels, which can range from $10 to $50. Edgers, on the other hand, come in various materials like stainless steel, aluminum, and plastic, with prices between $15 and $40.
Here's a breakdown of the costs:
| Tool Type | Material/Size | Price Range |
|---|---|---|
| Trowel | V-notched, 11' | $10-$20 |
| Trowel | Square-notched, 14' | $15-$30 |
| Edger | Stainless Steel, 4' | $20-$35 |
| Edger | Aluminum, 6' | $25-$40 |
When selecting your trowel and edger, think about the size of your project, the type of plaster you're working with, and your personal preference for comfort and control. By investing in the right tools, you'll be able to achieve a professional-looking finish and take pride in your DIY project.
DIY Plaster Hawk and Pan Prices
You'll also need to contemplate the costs of a plaster hawk and pan, which are essential for holding and applying plaster to your walls and ceilings. These tools are vital for a successful DIY plastering project, and their prices vary depending on the quality, size, and brand.
When it comes to plaster hawk prices, you can expect to pay between $20 and $50 for a high-quality hawk. Be sure to read plaster hawk reviews to find the best one for your needs. A good plaster hawk should have a sturdy handle, a comfortable grip, and a durable metal or plastic plate.
A plaster pan, on the other hand, can cost anywhere from $10 to $30. When comparing pans, consider the size, material, and depth. A larger pan with a non-stick coating can make it easier to mix and apply plaster.
For a pan comparison, look for reviews and ratings from other DIYers to find the best value for your money.
Finishing Tools Cost Estimation
Finishing tools, such as trowels, floats, and edgers, are must-haves for achieving a professional-looking finish. Their costs can add up quickly, ranging from $50 to $200 or more, depending on the quality and brand.
You'll need a variety of finishing tools to master different finishing techniques, such as smooth, textured, or decorative finishes. Investing in high-quality finishing tools will guarantee a flawless finish and minimize the need for rework.
When estimating the cost of finishing tools, take into account the type and quality of tools you need. A basic set of finishing tools can cost around $100, while a high-end set can cost upwards of $500.
Additionally, factor in the cost of tool maintenance, as regular cleaning and upkeep will extend the lifespan of your tools. You'll also need to take into account the cost of replacement parts, such as trowel blades or edger wheels, which can range from $10 to $50.
Budget-Friendly Plaster Mixer Options
With the right finishing tools in hand, it's time to turn your attention to the heart of your DIY plaster project: mixing and applying the plaster, which requires a reliable and efficient mixer that won't break the bank.
You don't need to spend a fortune on a high-end mixer to get the job done. Instead, consider budget-friendly options that'll help you stay on track financially.
Here are some scenarios where budget mixers shine:
-
You're working on a small to medium-sized project and don't need a heavy-duty mixer.
-
You're a DIY enthusiast who wants to try your hand at plastering without investing in expensive equipment.
-
You're on a tight budget and need a mixer that'll get the job done without draining your wallet.
Manual mixers are a great option for those on a tight budget. They're affordable, lightweight, and easy to use.
Plus, they're a great way to get some exercise while mixing your plaster! Look for manual mixers with sturdy handles and robust mixing blades to guarantee you get the job done efficiently.
With a budget-friendly mixer, you can focus on perfecting your plastering skills without worrying about breaking the bank.
Frequently Asked Questions
Can I Use a Putty Knife as a Substitute for a Plastering Trowel?
You're wondering if a putty knife can substitute for a plastering trowel.
While a putty knife can spread and smooth plaster, it's not ideal for applying thick layers or achieving a smooth, even finish.
A trowel's curved blade and angled edge are designed for plastering techniques like scratching, filling, and finishing.
You'll struggle to achieve professional results with a putty knife alone.
Invest in a trowel for best results, as it's an essential tool for mastering plastering techniques.
Do I Need a License to Plaster My Own Home?
As you stand in your half-finished living room, the dusty air thick with anticipation, you wonder: do you need a license to plaster your own home?
The answer is, it depends on where you live. Check your local plastering regulations to see if a permit is required for DIY home improvement projects.
In some areas, you're free to get creative, while others may require a professional touch.
Take control of your renovation and research the rules before you start smoothing out those walls.
How Do I Clean and Maintain My Plastering Tools?
You'll want to keep your plastering tools in top shape to guarantee a smooth finish.
Start by storing them in a dry, organized area, like a tool storage box or pegboard, to prevent rust and damage.
When cleaning, use gentle techniques like wiping with a soft cloth or brushing off debris.
Avoid harsh chemicals or abrasive materials that can damage your tools.
Regularly inspect and maintain your tools to extend their lifespan and achieve professional-looking results.
Can I Rent Plastering Tools Instead of Buying Them?
As you channel your inner Renaissance master, you wonder if renting plastering tools is a cost-effective option.
In today's sharing economy, you're in luck! Many hardware stores and online platforms offer plaster tool rental services.
This way, you can access high-quality tools without breaking the bank.
Renting can be especially useful for infrequent projects or specialized tools.
You'll find it's a thrifty way to get the job done without sacrificing quality.
Are There Any Safety Precautions I Should Take While Plastering?
While plastering, you'll want to prioritize plastering safety to avoid injuries.
Make certain you wear protective gear like gloves, safety goggles, and a dust mask to shield yourself from debris and dust.
Wear old clothes and consider a hat to prevent hair from getting caked with plaster.
Additionally, guarantee good ventilation and a clean workspace to minimize hazards.
Conclusion
You've made it to the final stroke of your DIY plastering project!
With the right tools, you've smoothed out imperfections, created a masterpiece, and saved a fortune.
Think of the money you've saved as a mountain of cash, towering over your newly renovated home.
Remember, investing in quality plaster tools is key to a professional finish.
Now, go ahead, put your feet up, and admire your handiwork - you've earned it!
Related Posts
-
Budget-Friendly Materials for Your Home Renovation Project
As you plan your home renovation project, finding budget-friendly materials is key to turning your design vision into...
-

Trowel Tool Cost for DIY Home Renovation Projects
When it comes to your DIY home renovation project, you'll need to budget for a variety of trowel tools, including stu...
-

Why Delay Your Renovation With Poor Tool Management
You're likely unaware that poor tool management is a leading cause of renovation delays, and it's not just about havi...


