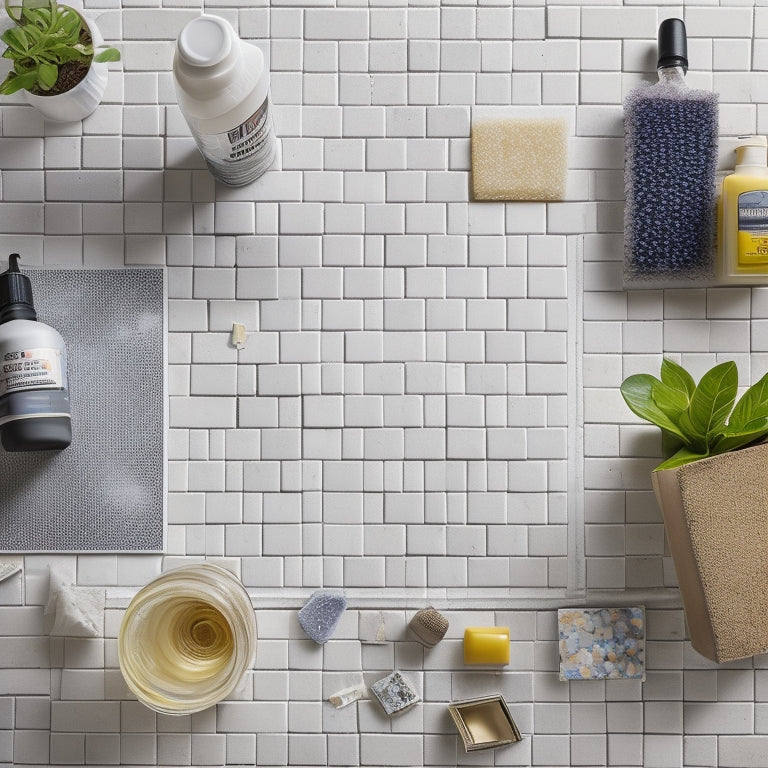
3 Key Tools for Grouting Success in Renovation
When tackling a grouting project in your renovation, you'll need three important tools to guarantee success. First, a grout float is essential for spreading and smoothing grout, allowing you to achieve a professional-looking finish. Next, a grout sponge is necessary for removing excess grout from surfaces, preventing mess and unevenness. Finally, a grout sealer is vital for protecting your grout from stains and water damage, assuring durability and aesthetic appeal. With these tools in hand, you'll be well-equipped to tackle your grouting project - and with the right techniques and precautions, you'll be able to achieve a flawless finish that lasts.
Key Takeaways
• A grout float is essential for spreading and smoothing grout, ensuring an even layer and professional finish.
• A grout sponge is necessary for removing excess grout from surfaces, preventing mess and ensuring clean lines.
• A grout sealer is crucial for protecting grout from stains and water damage, maintaining its appearance and durability.
• Using high-quality, durable tools is vital for achieving a successful grout job and reducing the risk of rework.
• Following manufacturer instructions and safety precautions is essential for ensuring a safe and successful grouting process.
Choosing the Right Grout Mix
Selecting the right grout mix is essential to guaranteeing a successful renovation project, as it directly impacts the durability, aesthetic appeal, and overall performance of your tile installation.
You'll need to take into account various grout types, each with its unique characteristics, advantages, and limitations. For instance, cement-based grouts are suitable for most interior and exterior applications, while epoxy-based grouts offer superior chemical resistance and are ideal for high-traffic areas or commercial projects. Acrylic grouts, on the other hand, provide excellent stain resistance and are a popular choice for kitchen and bathroom renovations.
When it comes to color selection, you'll want to choose a grout that complements your tile's color and style. Reflect on the undertones of your tile, as well as the overall aesthetic you're trying to achieve.
It's also essential to guarantee the grout color won't show dirt or stains easily, as this can affect the overall appearance of your tile installation.
Essential Grouting Tools and Accessories
Now that you've chosen the perfect grout mix, it's time to gear up with the essential tools and accessories that will help you achieve a seamless, professional-looking finish. To guarantee a successful grouting project, you'll need the right tools to apply, clean, and seal your grout.
| Tool/Accessory | Description |
|---|---|
| Grout Float | A rubber float used to spread and smooth grout between tiles |
| Grout Sponge | A porous sponge used to remove excess grout from tile surfaces |
| Grout Sealer | A protective coating applied to grout lines to prevent stains and water damage |
These must-haves will help you achieve a smooth, even finish and prevent common grouting mistakes. When selecting your tools, prioritize quality and durability to guarantee they withstand the demands of your project. Remember to always follow manufacturer instructions and take necessary safety precautions to avoid injuries and guarantee a successful grouting experience. With the right tools and accessories, you'll be well on your way to achieving a beautiful, long-lasting grout finish.
Mastering Grout Application Techniques
With your essential tools and accessories in hand, you're ready to master the art of grout application, a vital step that requires precision and patience to achieve a flawless finish.
To guarantee a successful grouting process, it's imperative to get the grout consistency just right. Aim for a mix that's neither too runny nor too thick, as this will affect the application speed and final result.
When applying grout, work in small sections, about 4 square feet at a time, to maintain even coverage and prevent the grout from drying out before you've had a chance to clean it.
Hold the grout float at a 45-degree angle and press it firmly into the gaps, using long, sweeping strokes to spread the grout evenly. Apply gentle to moderate pressure, depending on the size of the gaps and the type of grout you're using.
Maintain a consistent application speed to avoid creating uneven layers or air pockets. By following these techniques and taking your time, you'll achieve a beautiful, professional-looking finish that will last for years to come.
Frequently Asked Questions
Can I Use Grout to Fill Gaps Larger Than 1/2 Inch?
When filling gaps larger than 1/2 inch, you'll need to choose the right grout type for the job.
Standard cement-based grout isn't suitable for gaps this large, as it may shrink or crack.
Instead, you'll want to opt for an epoxy-based or polyurethane-based grout, which are designed for gap filling and offer superior strength and durability.
These grouts are more flexible and can handle larger gaps without compromising the structural integrity of the surrounding surface.
How Do I Remove Dried Grout From Tile Surfaces?
The stubborn remnants of grout - a pesky reminder of a job not yet done.
You'll need to tackle grout removal techniques head-on to restore your tile's former glory. Start by mixing a solution of baking soda and water to create a paste, then apply it to the affected area. Let it sit before scrubbing with a non-abrasive pad and rinsing with warm water.
For tougher grout, try using a grout saw or an acid-based cleaner, but be sure to follow safety precautions and tile cleaning methods to avoid damaging your surfaces.
Is It Necessary to Seal Grout After It's Fully Cured?
You're wondering if sealing grout is necessary after it's fully cured. The answer is yes, it's highly recommended.
Grout sealing provides several benefits, including protection from stains, water damage, and mold growth.
You'll want to choose the right grout sealing technique for your specific tile surface, such as applying a penetrating or topical sealer.
Can I Use Bleach to Clean Grout Lines?
You're maneuvering the grout cleaning process like a detective searching for clues, and you're wondering if bleach is the magic solution.
Hold on, though - using bleach to clean grout lines is like playing with fire. It may seem effective, but it can damage the grout and surrounding surfaces.
Instead, opt for grout cleaning tips that recommend gentler alternatives, such as oxygen-based cleaners or baking soda and vinegar.
These bleach alternatives will get the job done without compromising safety or efficacy.
How Long Does It Take for Grout to Fully Cure?
You're wondering how long it takes for grout to fully cure.
The grout drying time varies depending on factors affecting curing, such as temperature, humidity, and type of grout. On average, it can take anywhere from 24 to 48 hours for grout to set, but full cure can take up to 28 days.
You'll know it's fully cured when it's hard and resistant to water.
Always follow the manufacturer's instructions and take necessary safety precautions to guarantee a successful and safe grouting process.
Conclusion
As you near the finish line of your renovation project, remember that grouting is the final flourish that ties everything together.
Don't let a sloppy grout job undermine all your hard work - after all, 'the devil is in the details.'
By choosing the right grout mix, equipping yourself with essential tools and accessories, and mastering application techniques, you'll guarantee a professional-looking finish that lasts.
With these three key tools in your arsenal, you'll be well on your way to grouting success.
Related Posts
-

Crack Repair Inspection Checklist for Home Renovation
When creating a crack repair inspection checklist for your home renovation project, you'll want to identify crack typ...
-

5 Must-Have Plastering Tools for Safe Renovation
You'll need a range of essential tools to tackle your plastering project safely. Invest in a variety of trowels, incl...
-

7 Must-Have Safety Gears for Brick Wall Renovation
When renovating a brick wall, you'll face a multitude of hazards, making it essential to wear and use the right safet...
