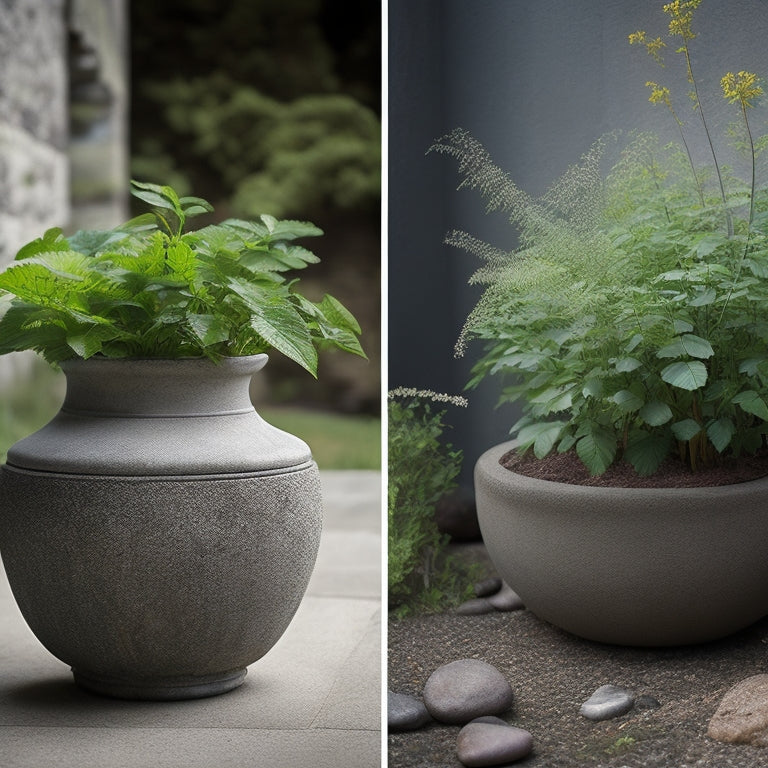
3 Essential Tips for Planter Renovation With Concrete
Share
You'll set your planter renovation up for success by preparing the cinder block base, applying concrete overlay techniques, and finishing with a protective seal. Start by clearing debris and inspecting for damage, then make repairs and guarantee drainage. Next, apply a thin layer of concrete overlay, choosing from polymer-modified, stamped, or self-consolidating materials. Finally, select a color and texture that complements your outdoor decor, and seal the planter to protect it from the elements. With these essential tips under your belt, you're ready to access the full potential of your concrete planter renovation.
Key Takeaways
• Clear the planter base of debris, dirt, and old mortar to ensure a clean surface for renovation.
• Inspect the base for damage, make necessary repairs, and ensure proper drainage to prevent water accumulation.
• Apply a thin layer of concrete overlay to enhance durability and weather resistance, following manufacturer's instructions.
• Select a suitable sealant for the planter's climate and type, applying it evenly to protect the concrete from the elements.
• Choose a color and texture that complements outdoor decor, considering aesthetic appeal and functionality.
Preparing the Cinder Block Base
Preparing the Cinder Block Base
Clear the cinder block base of any debris, dirt, or old mortar, as a clean surface is essential for a strong and durable planter renovation. You'll want to verify the base is free of any obstructions that could compromise the new overlay. Take the time to thoroughly sweep or blow away any loose particles, and then use a wire brush to remove any stubborn dirt or grime.
Next, inspect the cinder block base for any signs of damage or wear. Check for cracks, crumbling, or broken blocks, and make any necessary repairs before proceeding. Cinder block preparation is critical, as it provides a solid foundation for your renovation.
Don't forget to take into account drainage when preparing your cinder block base. Make sure the surface is level and even, and that water can flow freely away from the planter. You may need to add a slight slope or install a drainage system to prevent water from accumulating.
Applying Concrete Overlay Techniques
With your cinder block base solidly prepared, you're ready to apply a thin layer of concrete overlay, which will transform the surface into a durable, weather-resistant canvas for your planter renovation. This is where the magic happens, and your planter starts to take shape.
When it comes to overlay materials, you have a few options to choose from. Here are some popular ones:
| Material | Characteristics |
|---|---|
| Polymer-modified Overlay | High-strength, flexible, and resistant to cracks |
| Stamped Overlay | Textured, patterned surface that mimics natural stone |
| Self-Consolidating Overlay | Flows easily, requires minimal tamping or finishing |
For application methods, you can either use a trowel, a squeegee, or a sprayer, depending on the type of overlay you're using. Make certain to follow the manufacturer's instructions and apply the overlay in thin, even layers to avoid unevenness and defects.
Remember to work in small sections, and use a level to ascertain the surface is even and plumb. With the right overlay materials and application methods, you'll be able to achieve a beautiful, durable finish that will withstand the elements and add a touch of elegance to your planter.
Finishing Touches and Sealing
How will you protect your newly transformed planter from the elements and guarantee its beauty lasts for years to come? This is where finishing touches and sealing come in.
You've worked hard to achieve a stunning concrete overlay, and now it's time to add the final flourishes. Start by selecting a color that complements your outdoor decor; from soft pastels to bold brights, the options are endless.
Next, consider texture options to add depth and visual interest. Will you opt for a smooth, glossy finish or a rough, stone-like texture?
Once you've made your selections, it's time to seal your planter. This essential step will protect your concrete from the elements, preventing cracking and discoloration.
Choose a high-quality sealant that suits your climate and planter type. Apply it according to the manufacturer's instructions, taking care to cover every surface evenly.
With your planter sealed and finished, you can sit back and admire your handiwork, knowing it will remain beautiful and durable for years to come.
Frequently Asked Questions
Can I Use a Wire Brush to Clean the Planter Surface Before Renovation?
You're wondering if a wire brush is the right tool for cleaning your planter surface before renovation. The answer is yes, but with caution.
A wire brush can be effective for surface preparation, especially for removing dirt and debris. However, be gentle to avoid scratching the surface.
Combine it with other cleaning techniques, like soap and water, to get the best results.
Remember to rinse thoroughly to prevent any residue from affecting your concrete renovation.
How Do I Prevent Water From Seeping Into the Planter's Drainage Holes?
To prevent water from seeping into the planter's drainage holes, you'll need to employ effective waterproofing techniques.
First, apply a waterproofing membrane to the entire planter, ensuring a watertight seal.
Next, use drainage solutions like a drainage mat or a layer of small rocks to direct water away from the holes.
What Type of Concrete Mix Is Best for Planter Renovation Projects?
Imagine renovating a planter for a rooftop garden, where drainage is essential.
When it comes to choosing the right concrete mix, you'll want one that's durable and resistant to water.
For planter renovation projects, consider a high-strength concrete mix with a ratio of 1:2:3 (cement:sand:aggregate). This mix provides excellent compressive strength and can withstand harsh weather conditions.
Look for mixes with additives like fly ash or silica fume for added durability and water resistance.
Can I Add a Trellis or Other Structural Elements to the Planter During Renovation?
You're wondering if you can add a trellis or other structural elements to the planter during renovation. The answer is yes, but it's essential to guarantee the concrete mix can support the added weight.
You'll need to choose a mix with high compressive strength and consider adding reinforcement like rebar or fiber mesh.
Proper trellis installation requires careful planning to avoid compromising the planter's structural support.
How Long Does It Take for the Concrete to Fully Cure and Be Ready for Use?
You're enthusiastic to get your planter ready for use, but don't rush the curing process!
Concrete strengths develop over time, and full curing can take anywhere from 28 to 90 days, depending on factors like temperature, humidity, and mix design.
You'll know it's ready when it's reached its maximum strength.
Be patient, and let the concrete do its thing – it'll be worth the wait.
Conclusion
As you step back to admire your newly renovated planter, remember that concrete renovation is like cooking a recipe - it requires the right ingredients, techniques, and patience.
Just as a dash of salt can elevate a dish, a well-executed concrete overlay can transform a dull planter into a stunning centerpiece.
With these three essential tips, you've got the recipe for success.
Now, go ahead and serve up a beautiful, functional planter that will be the talk of the town!
Related Posts
-

Top Drill for Concrete Wall Renovation
When choosing the top drill for your concrete wall renovation, you'll want to prioritize key features like drill powe...
-

10 Best Power Tools to Buy for Home Renovation
To tackle your home renovation project efficiently, you'll need the right power tools for the job. A cordless drill f...
-

What Tools to Rent for Block Wall Renovation
When renovating a block wall, it's vital to have the right tools for the job. You'll need demolition tools like pry b...


