3 Best Steps to Planter Renovation Success
Share
To guarantee a thriving planter renovation, you'll want to follow three essential steps. First, assess your planter's current condition, inspecting for signs of wear, damage, or deterioration, and evaluating soil quality and drainage. Next, brainstorm design ideas, create a budget breakdown, and prioritize essential renovations over cosmetic updates. Finally, prepare for construction by clearing the workspace, marking the planter area, and compiling a list of necessary materials. By following these steps, you'll be well on your way to a stunning planter renovation that brings your outdoor space to life - and there's more to explore to make your vision a reality.
Key Takeaways
• Inspect the planter thoroughly to identify signs of wear, damage, or deterioration to determine renovation needs.
• Create a clear design plan and budget to guide the renovation process and ensure successful execution.
• Prepare the workspace by clearing debris, marking the planter area, and compiling necessary materials to ensure a smooth renovation process.
• Select high-quality materials that align with the chosen aesthetic and durability to ensure the planter renovation lasts against the elements.
• Prioritize essential renovations, such as soil condition and drainage, over cosmetic updates to ensure a functional and thriving planter.
Assess Current Planter Condition
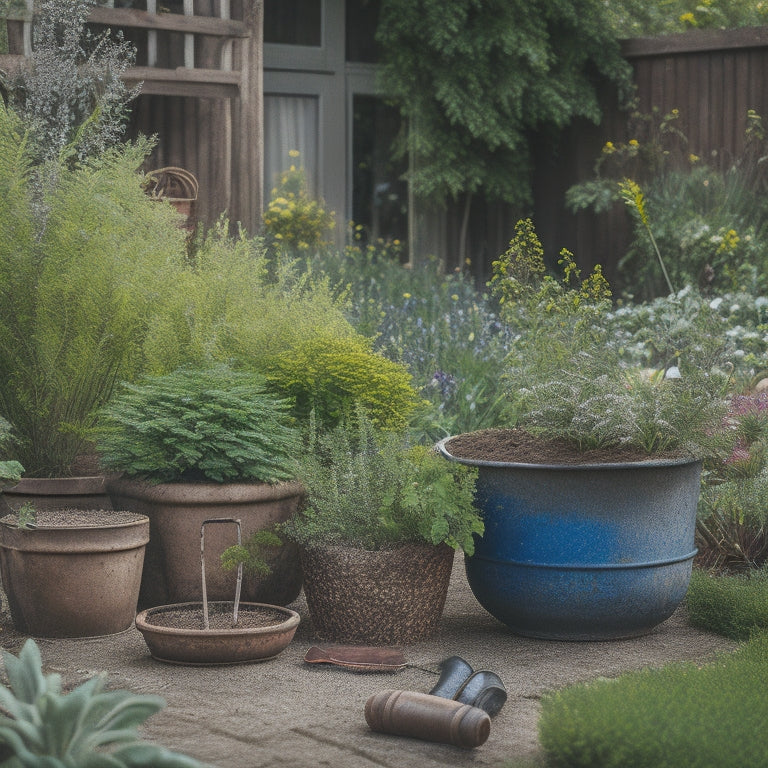
Take a close look at your planter, examining it from multiple angles to identify any signs of wear, damage, or deterioration that may be impacting its overall appearance or functionality.
As you conduct your planter inspection, pay attention to cracks, chips, or fading on the exterior, as well as any rust or corrosion on metal components. Check the drainage holes to verify they're clear and functioning properly.
Next, turn your attention to the soil inside the planter. Perform a soil evaluation to evaluate its condition, texture, and moisture levels.
Check for any signs of soil compaction, nutrient depletion, or pest infestations. Are there any weeds or unwanted growth that need to be addressed?
Take note of the soil's pH levels and nutrient content, as this will inform your renovation plans.
Design and Budget Planning
With your planter's condition assessed, you're ready to envision its revitalized state. Start by brainstorming design ideas that align with your style, the planter's purpose, and its surroundings. Gather design inspirations from online platforms, gardening books, or even nature itself.
Consider the planter's size, shape, and material, as well as the type of plants you want to feature. Think about the overall aesthetic you want to achieve – modern, rustic, or whimsical? Create a Pinterest board or sketch out your ideas to visualize the final result.
Next, create a realistic budget breakdown to bring your design to life. Determine the cost of materials, labor, and any necessary tools or equipment. Set aside a contingency fund for unexpected expenses.
Consider phasing your renovation to prioritize essential elements, such as structural repairs, over cosmetic updates. By allocating your budget effectively, you'll guarantee your planter renovation stays on track and within your means.
With a clear design direction and budget in place, you'll be well-prepared to tackle the renovation process with confidence.
Prepare for Construction
Before breaking out the tools, clear the surrounding area of any debris, furniture, or plants to create a safe and accessible workspace for your planter renovation. This critical step in site preparation guarantees you can move around comfortably and focus on the task at hand.
Remove any obstructions, such as rocks or weeds, and dispose of them properly. Next, mark the area where your planter will sit, taking note of any utility lines or pipes that need to be avoided.
With a clean slate, it's time to think about material selection. Make a list of the materials you'll need, from lumber and screws to soil and plants.
Consider the style and design you've chosen and select materials that fit the aesthetic. Don't forget to check the condition and quality of each material, confirming they can withstand the elements and last for years to come.
Frequently Asked Questions
How Do I Handle Planter Renovation During Extreme Weather Conditions?
When renovating planters during extreme weather, you'll need to prioritize weather considerations.
Assess the climate and choose plants that can thrive in harsh conditions, considering factors like temperature, humidity, and sunlight.
Select plants with adaptability, like succulents or drought-tolerant species, to guarantee they'll survive the renovation process.
Can I Reuse Old Planter Materials to Save on Costs?
When reusing old planter materials, you're not only reducing waste but also saving big on costs.
By repurposing items like pots, plant labels, and trellises, you're employing clever cost-saving strategies.
Take a closer look at your existing materials and identify what can be reused.
Clean and refurbish them to give your new planter a unique, eco-friendly twist.
You'll be amazed at the reuse benefits that come with getting creative and resourceful!
What Are the Benefits of Hiring a Professional Contractor?
When you hire a professional contractor, you're not just paying for labor - you're investing in cost efficiency and design expertise.
They'll help you optimize your planter's layout, ensuring maximum visual impact while minimizing waste.
With their keen eye for detail, they'll select materials that not only look stunning but also withstand the elements.
Their expertise will save you time and money in the long run, resulting in a breathtaking planter that exceeds your expectations.
How Long Does a Typical Planter Renovation Project Take?
When estimating the timeline for your planter renovation, you'll want to break it down into project phases.
Typically, a renovation takes around 4-6 weeks, but this can vary depending on the scope of your project.
You'll need to factor in design and planning, material sourcing, construction, and final touches.
Are There Any Necessary Permits or Licenses Required?
As you embark on your planter renovation, you'll need to navigate permit requirements and license types.
Check with your local government to determine if you need a building permit, electrical permit, or plumbing permit, depending on the scope of your project.
Additionally, verify if your contractors hold the necessary licenses, such as a general contractor's license or specialty licenses for electrical or plumbing work.
Conclusion
Now that you've assessed, designed, and prepared, it's time to bring your planter renovation to life!
Don't let concerns about 'ruining' your existing planter hold you back - think of this renovation as a chance to upgrade and enhance its beauty.
With a solid plan in place, you'll be amazed at the transformation that's possible.
Get ready to enjoy your newly renovated planter, teeming with vibrant plants and adding curb appeal to your outdoor space.
Related Posts
-

Why Home Renovators Need Smart Tool Storage Now
You need a smart tool storage system that streamlines your workflow, reduces clutter, and protects your investments b...
-

DIY Plastering Supply Checklist for Home Renovation
To tackle a DIY plastering project for your home renovation, you'll need a solid checklist of supplies. Start with es...
-

7 Best Plastering Bat Sizes for DIY Renovations
When tackling DIY renovations, you'll want to choose the right plastering bat size to achieve a professional-looking ...


